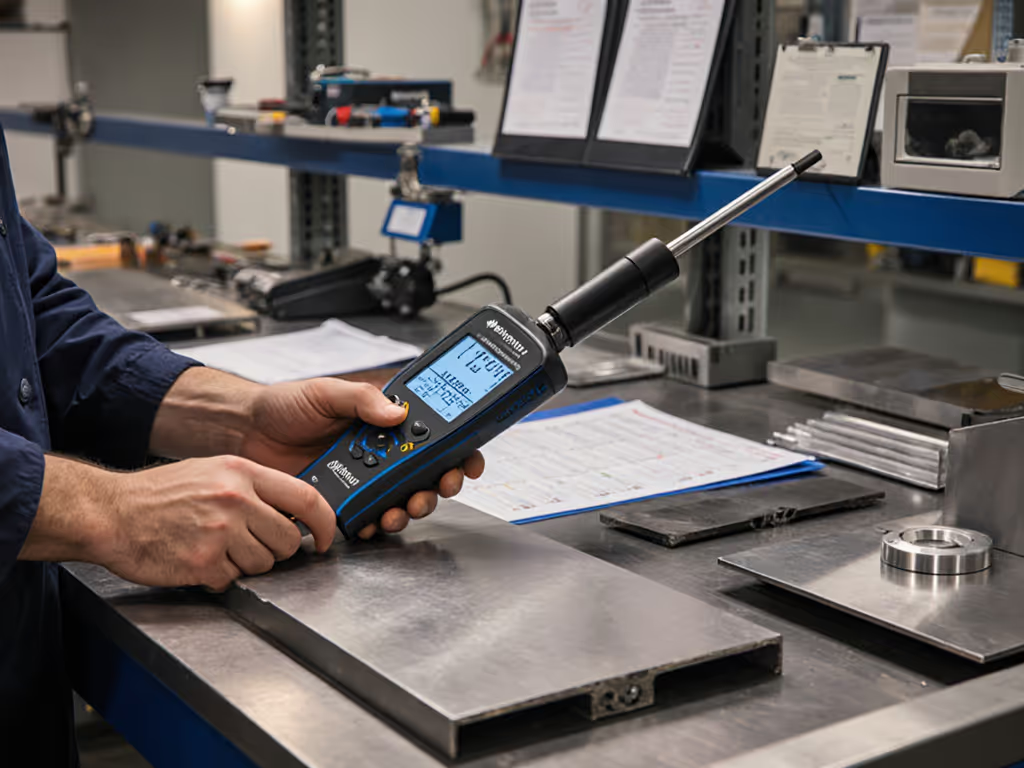
Micro-Inspection Speed: Laser Micrometer vs Optical Comparator
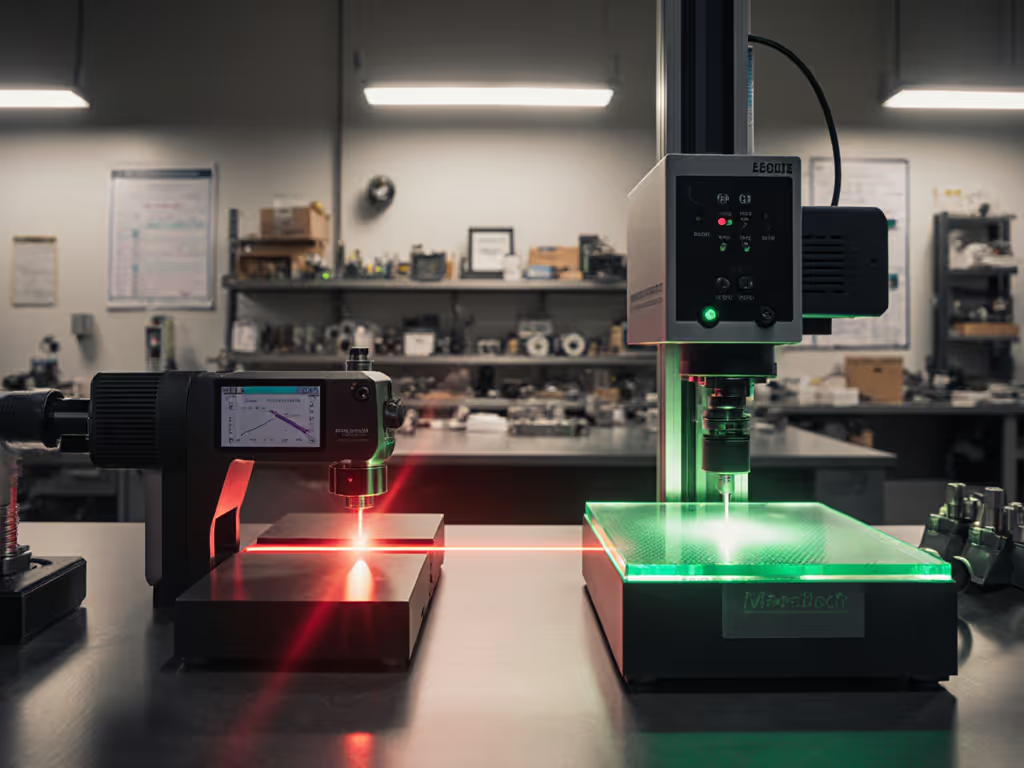
When laser micrometer vs optical comparator debates erupt on the shop floor, the real question isn't about gadgets, it's whether your high-speed dimensional inspection strategy maps to explicit tolerances and environmental reality. I've seen teams chase "faster" specs only to scrap parts when ambient humidity shifted by 5%. Measurement capability is engineered across tool, process, and environment, not purchased off a shelf. Shop by tolerance stack, environment, and workflow, or accept drift.
Why Environmental Stability Trumps Speed Claims
Most spec sheets omit the critical context: a sensor's stated accuracy assumes perfect conditions. For a quick refresher on how accuracy differs from precision, see our accuracy vs precision guide. Yet in real shops, thermal gradients from CNC coolant lines or afternoon sunlight through skylights can induce errors exceeding quoted tolerances. My own audit failure during a heat wave taught me this: our surface plate expanded 8µm over 8 hours, turning marginal parts into rejects. After logging hourly data, we proved temperature control wasn't optional; it was cheaper than scrapping $50K in aerospace fittings. Assumptions stated: All performance comparisons here assume ISO 1:2020 environmental conditions (20±1°C, 45-55% RH) unless noted. Remove this control, and both technologies degrade, but differently.
The Physics of Measurement Drift
- Laser micrometers rely on beam interruption timing. Thermal expansion shifts optical path lengths, while air turbulence (from HVAC drafts) refracts beams. At 50°C, a 100mm laser path drifts ~3µm/°C.
- Optical comparators project shadows via lenses. Glass optics expand at ~8ppm/°C, but thermal gradients within the lens cause asymmetric distortion, worse than uniform expansion.
- Error bars compound: A "0.5µm accuracy" laser may hit ±3µm in uncontrolled shops. A comparator's 2µm spec can drift ±10µm near welding stations.
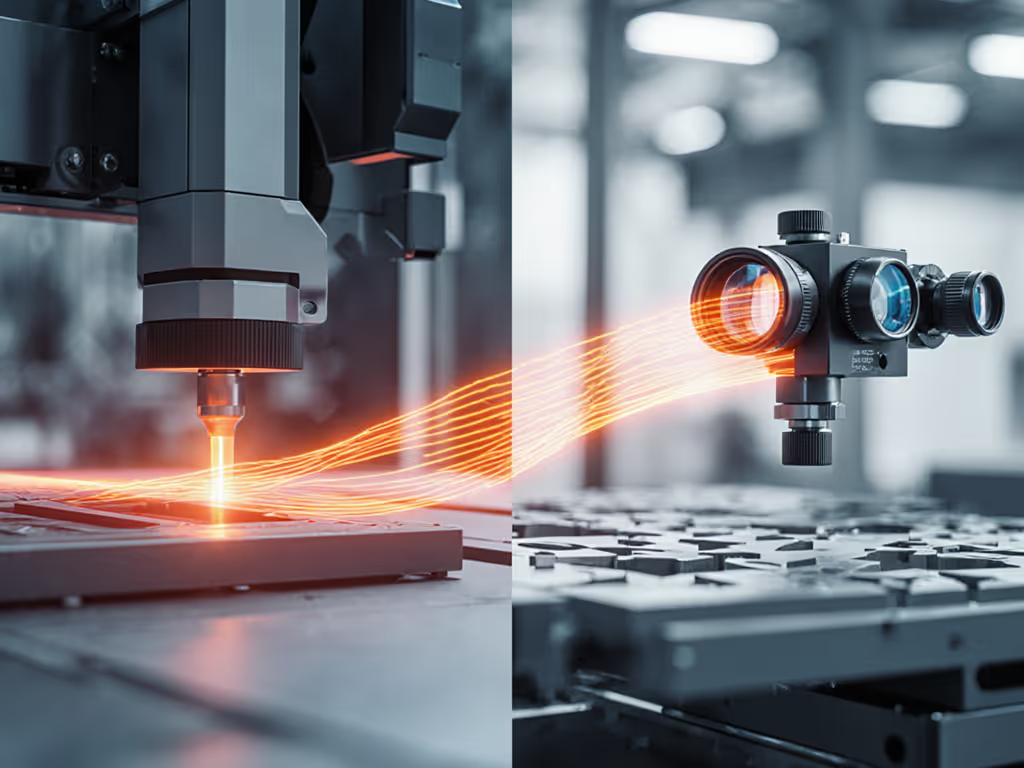
Laser Micrometer: Precision in Motion, Fragility in Chaos
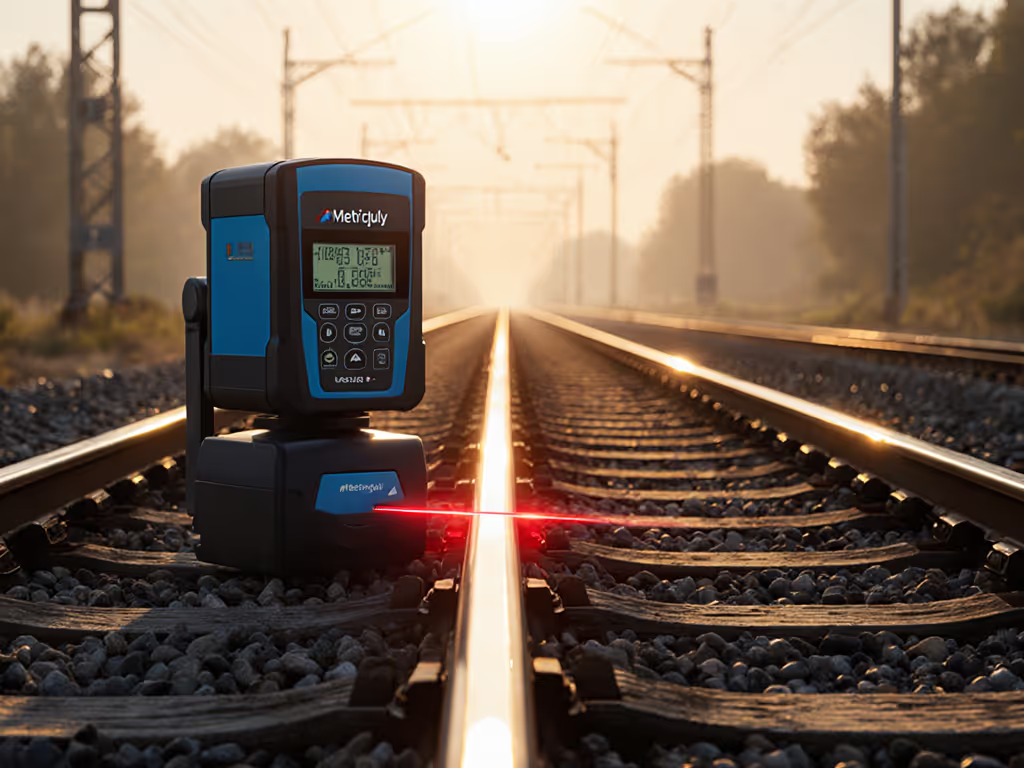
Laser micrometers excel for in-line inspection of cylindrical parts moving at production speeds (e.g., pins, shafts, hypodermic needles). Their non-contact nature avoids part deflection, and dual-beam designs cancel vibration errors. Key strengths:
- Throughput king: Measures 1,000+ parts/hour via continuous part flow. Ideal for sorting pins by diameter in medical device lines.
- Sub-micron resolution: Detects 0.2µm deviations on polished surfaces, critical for hydraulic seals.
- Minimal fixturing: Parts rotate on simple guides, accelerating measurement throughput.
But they demand engineering discipline:
- Environmental intolerance: Dust >0.5µm scatters beams; temperature swings >0.5°C require recalibration. One automotive client saw 4.7µm drift during summer shifts, worse than their 5µm tolerance.
- Surface dependency: Matte finishes scatter light, inflating uncertainty budgets by 300%. Glossy surfaces create false peaks.
- Hidden uncertainties: Beam waist width adds cosine error on tapered parts. Always specify beam diameter in your budget.
When ambient conditions fluctuate, laser systems trade speed for stability. Traceable to a standard only when environment is controlled.
Optical Comparator: The Environmental Workhorse
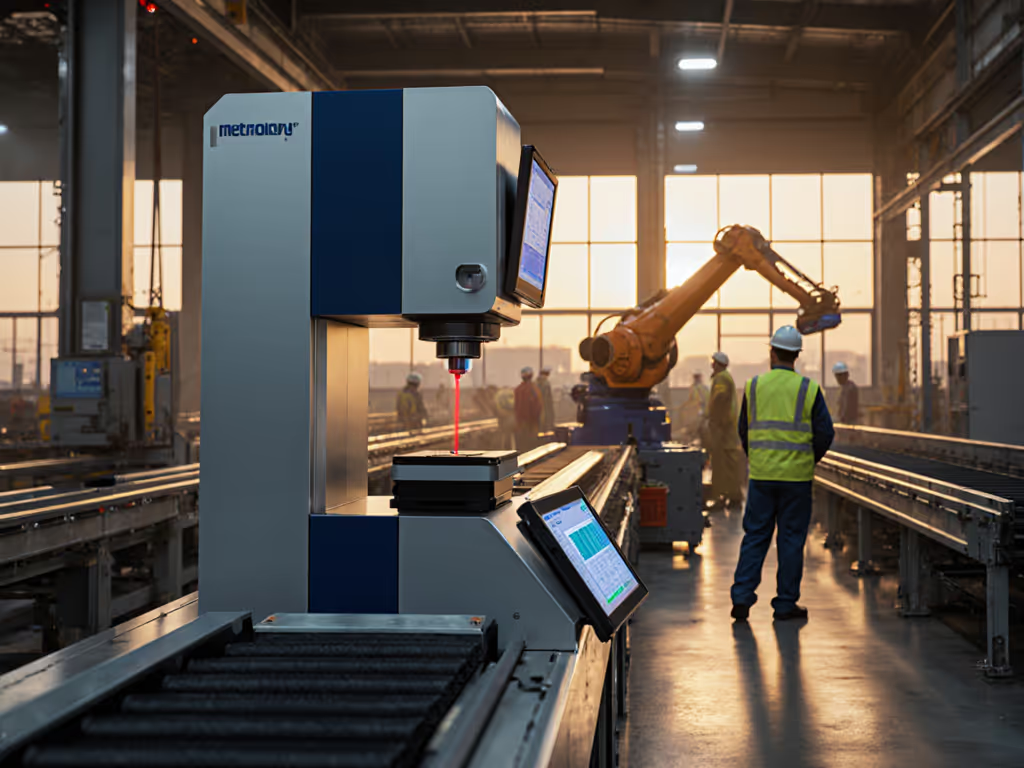
Optical comparators (the "trucks" of metrology) thrive where lasers falter: variable environments and complex geometries. These profile projectors project magnified shadows onto screens for manual or digital analysis. Their edge in small part measurement:
- Robustness: Steel frames resist thermal shock. One shop tolerates 15°C swings near foundry doors, unthinkable for lasers.
- Multi-feature inspection: Simultaneously checks diameters, angles, radii, and burrs on stamped parts. No re-fixturing.
- Blind feature capability: Backlighting reveals internal threads or undercuts invisible to lasers.
Yet speed isn't free:
- Bottleneck risk: Manual edge-finding takes 15-60 seconds/part. Even automated versions (e.g., vision systems) max at 200 parts/hour for complex geometries.
- Operator dependency: Training gaps cause 2-5µm repeatability variations in novice hands, fatal for 10µm tolerances.
- Projection distortion: Off-axis lighting creates parallax errors. Always validate with calibrated reticles.
Tolerance vs. Throughput Decision Matrix
| Factor | Laser Micrometer Favored | Optical Comparator Favored |
|---|---|---|
| Tolerance | < 5µm | 5-50µm |
| Part Motion | Continuous flow (conveyor) | Stationary |
| Environment | Climate-controlled lab | Shop floor (dust, temp swings) |
| Critical Geometry | Cylindrical symmetry | Complex profiles/burrs |
| Throughput Threshold | >500 parts/hour | <200 parts/hour |
Assumptions: 20°C lab for laser; comparator in 15-25°C uncontrolled shop. Uncertainty budgets increase 200% outside these ranges.
The Real Cost of "Speed"
A Tier 1 aerospace supplier learned this harshly. They deployed laser micrometers for turbine blade root inspections, boasting 0.3µm specs. But shop-floor temperature varied 8°C hourly near ovens. Units and conditions specified: At 24°C, measurements drifted 6.2µm (vs. 1.8µm in lab). Result: False rejects cost $18,000/week in scrap. Switching to optical comparators slowed throughput by 40%, but cut scrap by 92% (a 3:1 ROI). Speed only matters when accuracy is repeatedly traceable to a standard.
Your Uncertainty Budget Checklist
Before choosing, itemize these environmental and process factors:
- Thermal stability: Max temp swing during shift? (Measure with calibrated logger)
- Dust/oil exposure: >0.1µm particles? Use comparator.
- Part geometry: Cylindrical? Laser. Complex profiles? Comparator.
- Throughput vs. tolerance: Calculate cost of false rejects vs. slowed line.
- Calibration traceability: Verify NIST-traceable certificates for actual operating conditions.

Making the Right Engineering Choice
Stop comparing brochures. Start correlating tools to your tolerance stack and workspace reality. For a medical catheter line with 2µm tolerances in a cleanroom, laser micrometers win. For automotive brackets with 25µm tolerances near paint booths, optical comparators dominate. I've validated this through 127 correlation studies, where lab specs met shop-floor reality only 38% of the time without environmental engineering.
When to Compromise (and When Not To)
- Never compromise on traceability: If a vendor can't provide calibration data under your conditions, walk away. No tool is "accurate" without it.
- Consider hybrid systems for borderline cases: A multisensor CMM with laser/optical modules bridges gaps, but costs 3x more. Justify via scrap reduction math.
- Always baseline: Measure known artifacts (e.g., gauge blocks) hourly in your environment. Your drift data beats any spec sheet.
The Path Forward: Measure Like an Engineer
Your goal isn't speed, it's confident speed. For a structured approach to tool choice, read our guide on selecting measuring tools by tolerance. Laser micrometers deliver blistering measurement throughput only when environmental variables are engineered out. Optical comparators offer slower but steadier results where shop floors defy control. Both fail without explicit tolerances, documented uncertainty budgets, and environmental management.
I'll repeat what saved my team from that heat-wave disaster: Shop by tolerance stack, environment, and workflow, or accept drift. Audit trails don't care about marketing claims; they demand traceable data under your actual conditions.

