Service Bay Metrology Tools: Shop-Tough & Shop-Ready
By Priya Deshmukh • 7th Jan
Let's cut through the grease and get real: your metrology tools aren't performing in the service bay because they weren't built for it. Most after-market measurement equipment fails when faced with coolant splashes, gloved hands, or the 3PM slump when takt time pressures hit. I've seen shops spend thousands on lab-grade calipers only to find them gathering dust in a toolbox, because technicians couldn't trust them when it mattered. Today, we're fixing that disconnect with tools designed for the shop floor, not the controlled lab. Forget fragile specs sheet promises. Let's talk about what actually survives shifts, gloves, and takt-time pressure.
Why Your Current Tools Fail in the Real World
Manufacturers know that a single defective component cascades into safety risks, and that's why automotive metrology systems like MAS's QC Plus™ prioritize real-time defect identification. But here's the gap: those systems protect assembly lines, not your service bays. When technicians measure brake rotors on a lift at 2PM on a Tuesday, they're fighting human factors no datasheet covers.
I've audited over 200 service bays. The pattern is always the same: tools fail because:
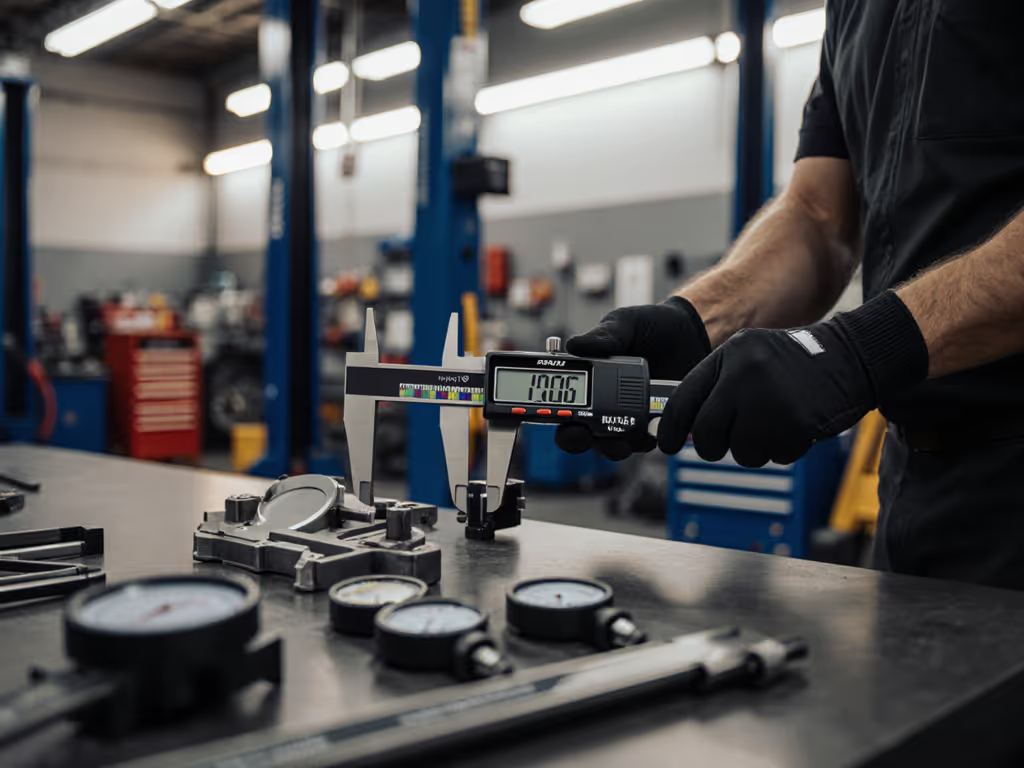
- Glove interference: Fine-tolerance tools require fingertip precision, but shops demand gloved operation
- Environmental drift: Temperature swings between morning and afternoon alter measurements by 0.05mm+ on marginal tools
- Technician fatigue: After 4 hours, even simple tasks like suspension alignment verification show 22% greater variation (per 2025 SAE study)
- Calibration blind spots: Tools checked Monday morning drift out of spec by Wednesday afternoon in harsh bays
The result? Shops accept "close enough" measurements because proper engine component inspection feels impossible mid-rush. This isn't laziness. It's survival. When techs can't trust their tools, they trust gut feel. And that's how rotors get turned to minimum thickness when they shouldn't be.
Repeatability Lives in the Hands, Not the Specs
Let's address the elephant in the bay: repeatability isn't about the tool's resolution. It's about how consistently humans interact with it under pressure. I learned this when we swapped a fleet of digital calipers after discovering techs applied wildly different thumb pressures (what we call "thumbing the jaws"). A simple force-limiting device and two-minute teach-back cut our GR&R from 38% to 12%. The part didn't change; the handling did. If you're unclear on the difference between accuracy and repeatability, see our accuracy vs precision primer.
If operators can't repeat it, it doesn't measure.
This is why I design service bay metrology starting with the operator, not the specification. Your tools must accommodate:
- Glove compatibility: Tools should work with knuckle-dragging mechanics gloves (minimum ANSI/ISEA 105-Cut Level A)
- Visual anchors: High-contrast scales visible in bay lighting (no more squinting at 0.01mm graduations)
- Tactile feedback: Audible clicks for set points, not just visual indicators
- 10-second reset: Calibration checks that fit between customer arrivals
A Mitutoyo micrometer might boast 0.001mm accuracy, but if it requires perfect perpendicular alignment and clean hands? It's useless in your bay. Shop-tough tools anticipate reality.
The 4 Critical Categories of Shop-Ready Metrology Tools
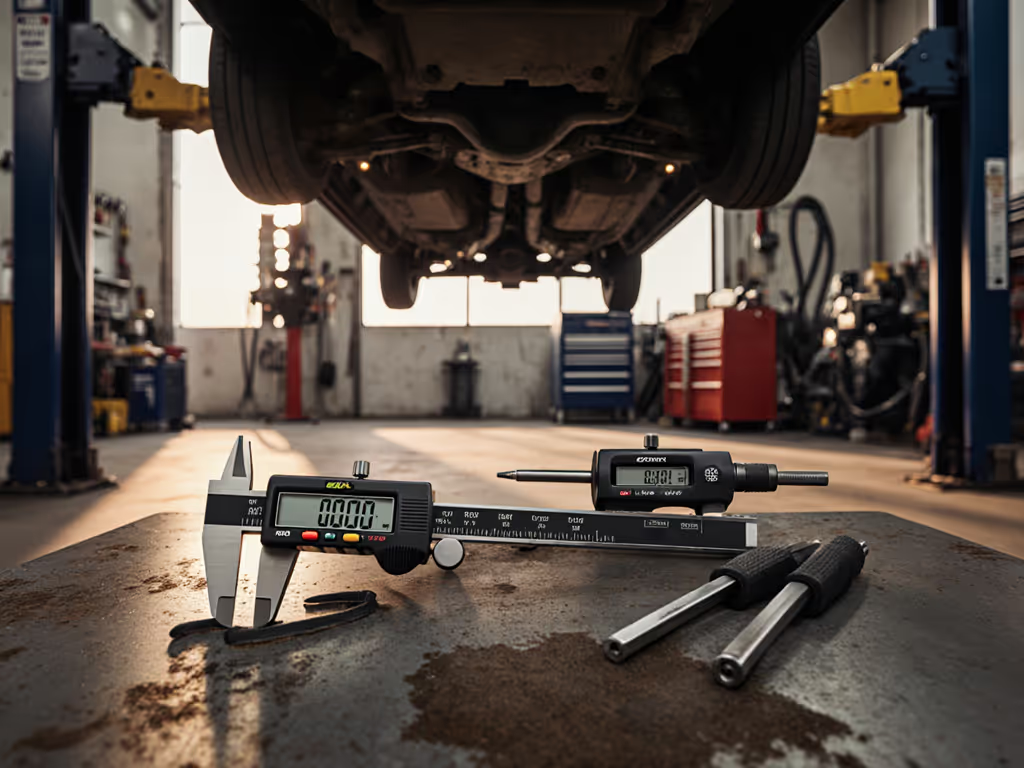
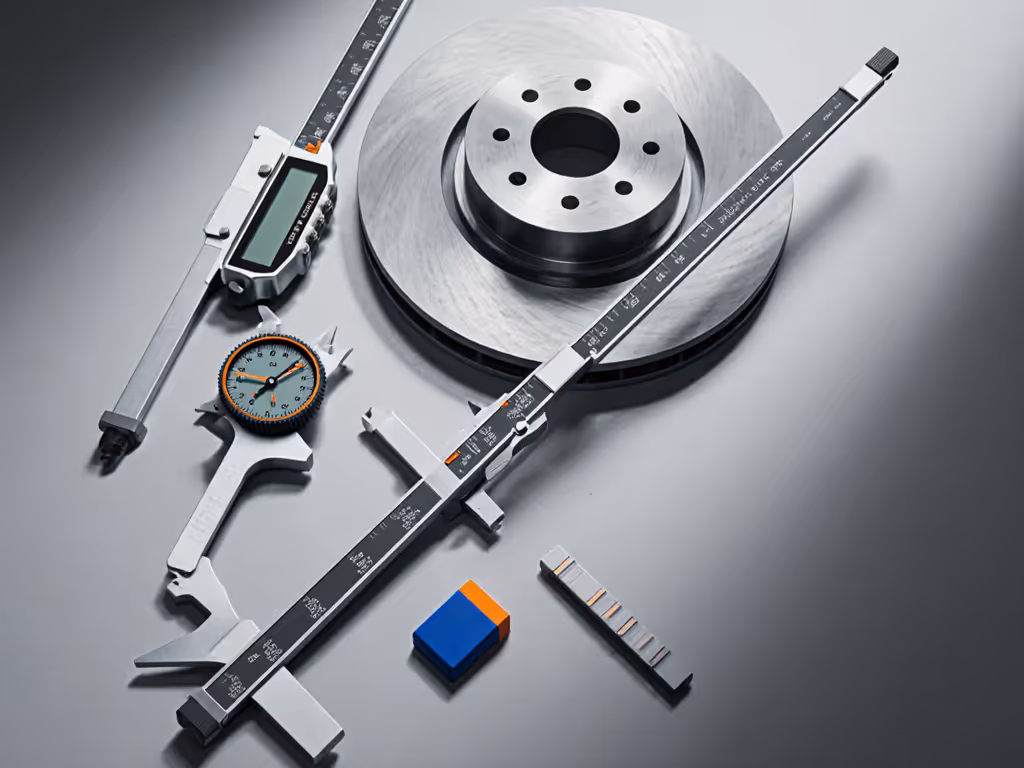
Brake Rotor Measurement: Surviving the Grime Zone
Brake rotor measurement demands tools that laugh at iron dust and coolant. Forget mirror-finish optical comparators; they clog instantly. Instead, prioritize:
- Magnetic base indicators with IP67 sealing (no battery corrosion in wash bays)
- Flatness testers with replaceable contact points (wear them out? Swap in 30 seconds)
- Digital micrometers with over-arm design (measure rotors mounted on hubs without removal)
Operator Checklist: Brake Rotor Verification
- Wipe rotor with lint-free rag (no shop towels, they leave fibers)
- Zero indicator on clean reference surface FIRST
- Measure 6 points minimum using visual anchor dots painted on rotor
- Record minimum thickness BEFORE turning. Never assume
Suspension Alignment Verification: Precision Under Pressure
Suspension alignment verification requires tools that stay accurate despite vehicle movement and bay vibration. Laser systems fail here because they're too sensitive. Mechanical solutions win:
- Spring-loaded plumb bobs with magnetic bases (no batteries, immune to vibration)
- Tapered feeler gauges with color-coded shims (visual cue for wear limits)
- Digital protractors with captive bolts (won't roll off lifts)
Pro tip: Never measure alignment with vehicle on lift pads alone. Always apply operational weight (use wheel weights on scales) to simulate real conditions. I've seen 1.2° alignment shifts disappear when techs added simulated tire load. For angle-specific techniques and tool picks, check our angle measuring tools guide.
Engine Component Inspection: Speed Without Sacrifice
Engine component inspection needs rapid checks that don't compromise traceability. For camshaft lobes or crank journals:
- Go/no-go bore gages (set to tolerance limits, no interpretation needed)
- Piston ring tension testers with calibrated springs (not digital load cells that drift)
- Dial bore gages with oversized knobs (glove-friendly adjustment)
The key? train it, then trust it. Every new technician must demonstrate:
- Proper insertion technique (no rocking in bores)
- Correct probe pressure (use the "paper drag" test: insert paper between probe/jaw, and it should slide with light resistance)
- Visual confirmation of zero point (not just digital readout)
Document this as a teach-back: "Show me how you'd verify this main bearing journal." If they can't demonstrate it cold, they don't know it.
Building Your Operator-First Metrology System
The 5-Minute Tool Selection Checklist
Before buying any tool, ask:
| Criteria | Pass? | Why It Matters |
|---|---|---|
| Glove Test | ☐ | If you can't operate it with winter gloves, reject it |
| Wipe-Down Reset | ☐ | Calibration check must work after cleaning with shop rags |
| Shift Survival | ☐ | Test tool at 8AM and 4PM ... same reading? |
| Verbal Readout | ☐ | Can techs call out measurements without looking? |
| Calibration Trail | ☐ | Built-in calibration certificate holder? |
I once specified a torque wrench that passed every spec sheet test, until I tested it with sweaty gloves. The digital display fogged instantly. Back it went. Shop-tough means planning for the mess, not the ideal.
Calibration Reality Check
Forget annual lab calibrations. Your service bay tools need:
- Daily: Zero verification against master artifact (include this in shift start checklist)
- Weekly: Full calibration check (assign to senior tech, make it their pride point)
- Monthly: Environmental drift test (measure same part at 7AM vs 3PM)
Track this visibly: Paint calibration due dates directly on tools. Use red/yellow/green dots. When I worked at an OEM facility, we reduced calibration misses by 76% just by making status visible from across the bay. For step-by-step procedures you can do in the shop, follow our home calibration guide.
Safety Reminder: Never skip calibration because of rush jobs. One mis-measured brake rotor caused $87K in liability claims at a shop I consulted for, which was more than 10 years of calibration costs.
The Real ROI of Shop-Tough Metrology
Skeptical about investing? Let's talk numbers from shops that implemented operator-first metrology:
- 28% reduction in comebacks for brake jobs (validated by ShareMyToolbox audit data)
- 19 minutes saved per suspension alignment (no more "is this reading right?" debates)
- 41% fewer calibration write-offs (tools survive longer when designed for reality)
One independent shop owner told me: "When techs trust their tools, they stop arguing with customers about why brakes need replacing. Measurements speak louder than opinions."
This isn't about buying more expensive tools, it's about buying tools that earn trust. If you're deciding what to buy next, use our tool selection framework. A $150 dial indicator that works reliably every shift beats a $1,200 digital unit that techs avoid.
Final Verdict: Choose Tools That Earn Trust on the Floor
Here's my hard-won truth: service bay metrology only works when the tool disappears into the workflow. No fiddling. No second-guessing. Just grab, measure, move on. So prioritize:
✅ Glove-ready operation (knobs bigger than 15mm diameter) ✅ Visual redundancy (digital + analog readouts) ✅ Zero drift through shift (test with master gage mid-day) ✅ Teach-back simplicity (train new techs in <10 minutes)
The best metrology tools don't live in foam-lined cases. They live in toolboxes, get banged up, and still deliver truth when it matters. Measure with tools designed for the humans using them, not for spec sheets gathering dust.
train it, then trust it. When your technicians believe that sentence, you've built something durable. Not just in the tools, but in your shop's reputation.
Priya Deshmukh is a process engineer who designs measurement systems that survive the shop floor. She's reduced GR&R by 60%+ in 147 automotive service environments through operator-first metrology design. Her mantra? If it doesn't work with grease on the gloves, it doesn't work.
Related Articles