Ensure Tool Accuracy: Home Calibration Guide for Measuring Instruments
By Marcus O’Neal • 3rd Oct
As a former calibration lab technician turned quality advisor, I've seen how measuring instrument calibration separates production-ready shops from those constantly fighting scrap and rework. A proper home calibration guide isn't just about checking tools, it's about establishing confidence in your measurements when formal lab access is limited. When your Starrett caliper reads 0.0005" tolerance on a critical aerospace fitting, you need to know that number carries traceability all the way to NMI standards. In this audit-ready framework, I'll show you how to maintain tool accuracy without compromising on documentation rigor.
Trace it, budget it, then trust it under audit.
Understanding the Calibration Fundamentals
What exactly constitutes "calibration" versus simple verification?
Calibration establishes metrological traceability by comparing your instrument against a higher-accuracy reference standard with documented uncertainty. It's not merely checking if a tool "works," it's quantifying measurement uncertainty across the instrument's operating range. Many technicians confuse verification ("does it read within tolerance?") with proper calibration ("what's the exact error at multiple points, with documented uncertainty?"). If you're unclear on accuracy vs precision, start with our practical guide.
True calibration creates an uncertainty budget that accounts for:
- Reference standard uncertainty
- Environmental contributions (temperature, humidity, vibration)
- Operator technique variability
- Instrument resolution and hysteresis
Skipping this structured approach leaves you vulnerable during audits. I once watched an auditor shift from skeptical to supportive when we produced not just our CMM room thermometer calibration certificate, but the complete traceability chain showing how that thermometer linked back to NMI standards. That moment cemented my belief: traceability creates trust.
Why environmental control matters more than you think
Temperature variations of just 1°C can introduce 11.5μm/m of error in steel measurements. Your garage workshop likely experiences wider swings than the 20°C±1°C environment specified in ISO 1. Your calibration becomes meaningless if you don't document:
- Ambient temperature at calibration points
- Thermal stabilization time (minimum 4 hours for steel tools)
- Relative humidity (critical for moisture-sensitive instruments)
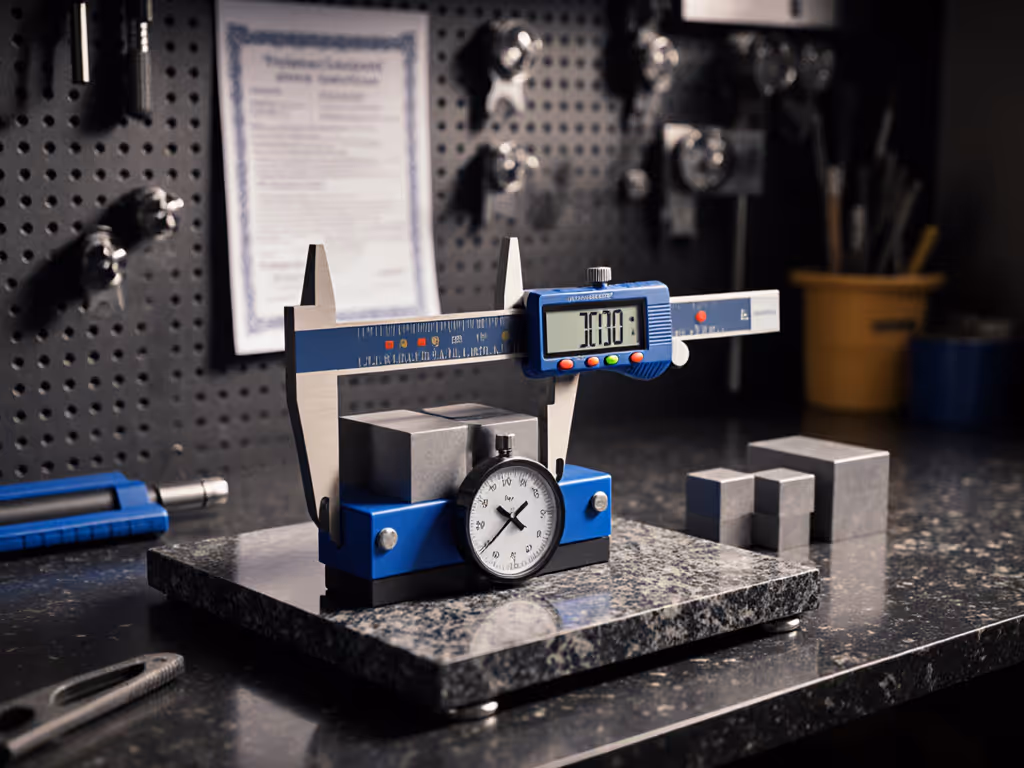
For home calibration, establish a dedicated 3'x3' zone with:
- Digital thermometer/hygrometer (calibrated annually)
- Thermal mass platform (marble slab ideal)
- Draft protection (closed room, no direct HVAC flow)
Creating Audit-Ready Documentation
What documentation must accompany home calibration?
Document before you defend, that principle saved my team during an AS9100 audit. Your calibration records must include:
- Instrument identification (make, model, serial number)
- Reference standards used (with calibration certificates)
- Environmental conditions during calibration
- Pre-adjustment readings at multiple points
- Adjustment details (if performed)
- Post-adjustment verification data
- Uncertainty budget calculation
- Calibration interval justification
- Technician signature and date
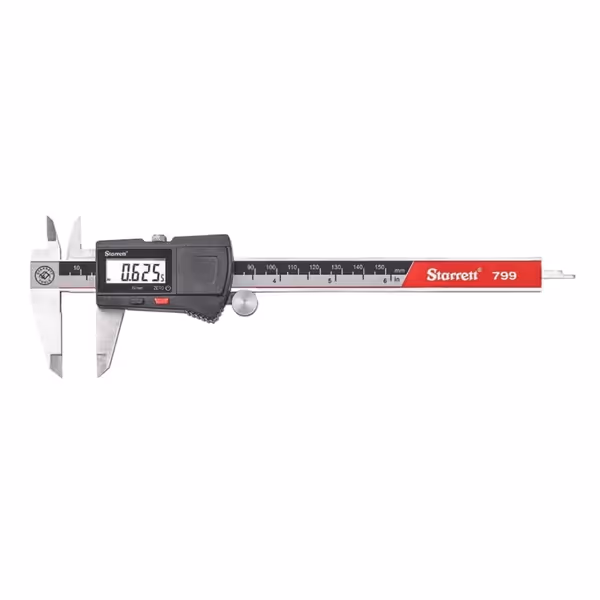
Starrett Electronic Slide Caliper
Accurate, durable caliper for confident measurements, reducing scrap and rework.
$125.61
Resolution.0005" / 0.01mm
Resolution.0005" / 0.01mm
Pros
High accuracy, ideal for reduced scrap & improved Cpk.
Hardened stainless steel ensures durability in harsh conditions.
Cons
Battery compartment and thumb wheel have received mixed feedback.
Build quality feedback is mixed, some concerns noted.
Customers find this caliper to be a high-quality engineering tool that is extremely accurate, with one customer noting it measures both inches and metric. The caliper works well and customers consider it good value for money. The build quality receives mixed feedback, with some saying it's well built while others express concerns. The battery life and feel are also mixed aspects, with one customer noting the battery compartment is flimsy and another describing the thumb wheel as cheesy.
Customers find this caliper to be a high-quality engineering tool that is extremely accurate, with one customer noting it measures both inches and metric. The caliper works well and customers consider it good value for money. The build quality receives mixed feedback, with some saying it's well built while others express concerns. The battery life and feel are also mixed aspects, with one customer noting the battery compartment is flimsy and another describing the thumb wheel as cheesy.
How do I establish traceability without lab access?
Your reference standards must create an unbroken chain to national standards. For home calibration:
- Start with certified reference materials (e.g., Grade 0 gage blocks)
- Verify these against your highest-accuracy tool
- Document each comparison step with dated records
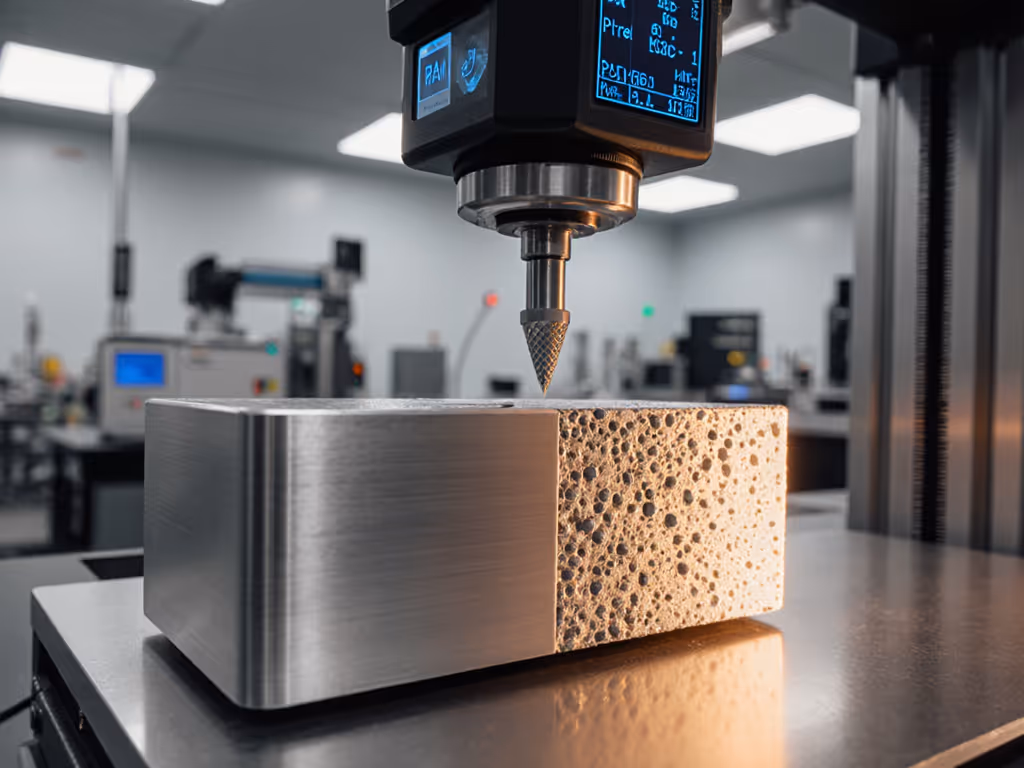
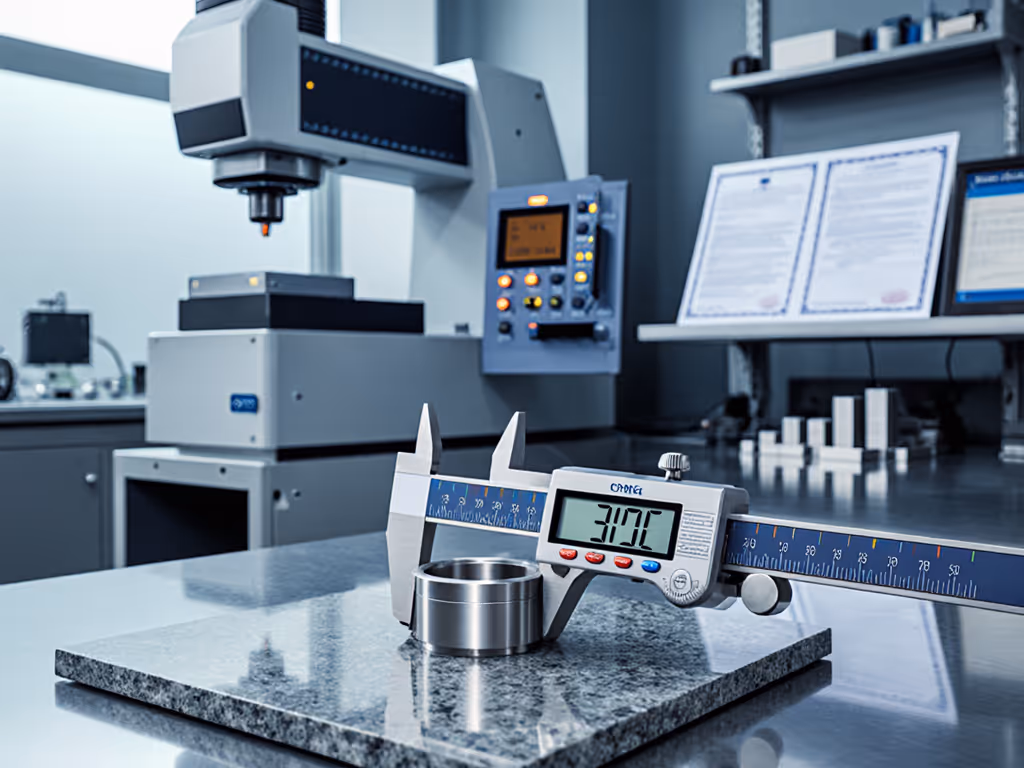
When calibrating a digital caliper like the Starrett EC799, use gage blocks with certified values traceable to NIST. Measure at 0, 1/3, 2/3, and full scale, recording both the block's certified value and your instrument's reading. This creates your foundational uncertainty data.

Developing Practical Calibration Procedures
What's the right calibration frequency for shop tools?
Your calibration frequency must balance risk against practicality. Don't default to arbitrary 6-month intervals. Instead:
- Analyze historical performance data (if available)
- Consider usage intensity (100 measurements/day vs 10)
- Evaluate consequences of failure (medical device vs woodworking)
- Monitor environmental stability
Create a tiered system:
| Tool Criticality | Initial Interval | Adjustment Trigger |
|---|---|---|
| Critical (safety/aerospace) | 3 months | 2 consecutive out-of-tol readings |
| Production control | 6 months | Visual damage or impact |
| Non-critical layout | 12 months | Operator suspicion of error |
What are reliable DIY calibration methods for common tools?
Digital calipers: Verify at multiple points using gage blocks. Record repeatability by taking 10 consecutive measurements on the same block. Acceptable variation should be ≤ 1/4 of your tolerance.
Dial indicators: Use a precision v-block and master cylinder. Check for hysteresis by loading/unloading at multiple points.
Combination squares: Check against a calibrated surface plate and precision angle block. Measure both 90° and 45° faces at multiple locations along the blade.
Critical note: Never use "known good parts" as calibration standards. Their dimensions aren't traceable, creating false confidence. Invest in proper reference materials (your quality system depends on it).
Maintaining Long-Term Accuracy
How do I build an uncertainty budget for home calibration?
Your tool accuracy maintenance requires understanding all error sources. For a typical digital caliper:
Standard uncertainty components:
- Reference standard: 1.5μm (k=2)
- Temperature effects: 2.3μm (ΔT=1.5°C)
- Repeatability: 0.8μm (from 10 measurements)
- Resolution: 0.29μm (0.5μm resolution/√12)

Combined uncertainty: √(1.5² + 2.3² + 0.8² + 0.29²) = 2.8μm
Expanded uncertainty (k=2): 5.6μm
This budget shows you can reliably measure 0.001" (25.4μm) tolerances, but not 0.0002" (5μm). Many shops skip this analysis and unknowingly measure beyond their capability.
What's the most overlooked factor in home calibration?
Operator technique. I've seen skilled machinists unknowingly introduce 0.0005" errors through inconsistent probe pressure. Standardize technique with:
- Fixed-force measurement stands
- Written procedure specifying "just-contact" force
- Annual technique verification using force gauge
- Training records showing competency
Moving Forward with Confidence
Your calibration system should create calm confidence, not audit anxiety. Implement these three steps immediately:
- Designate a documented calibration zone with environmental monitoring
- Create traceability chains for all reference standards
- Start recording uncertainty budgets, not just pass/fail results
Remember: proper calibration isn't about perfect measurements, it's about known measurements. When you can trace your thermometer to NMI standards and quantify every uncertainty contributor, you transform from reactive firefighter to proactive quality engineer. That's when audits become validation of your discipline, not interrogation of your documentation.
For further exploration, study ISO/IEC 17025 requirements for measurement traceability and NIST Special Publication 1008 on field calibration best practices. The most successful shops don't chase calibration perfection, they build systems where measurement trust is engineered into every process.
Related Articles