Rail Track Measurement Tools: Accuracy Compared for High-Speed Safety
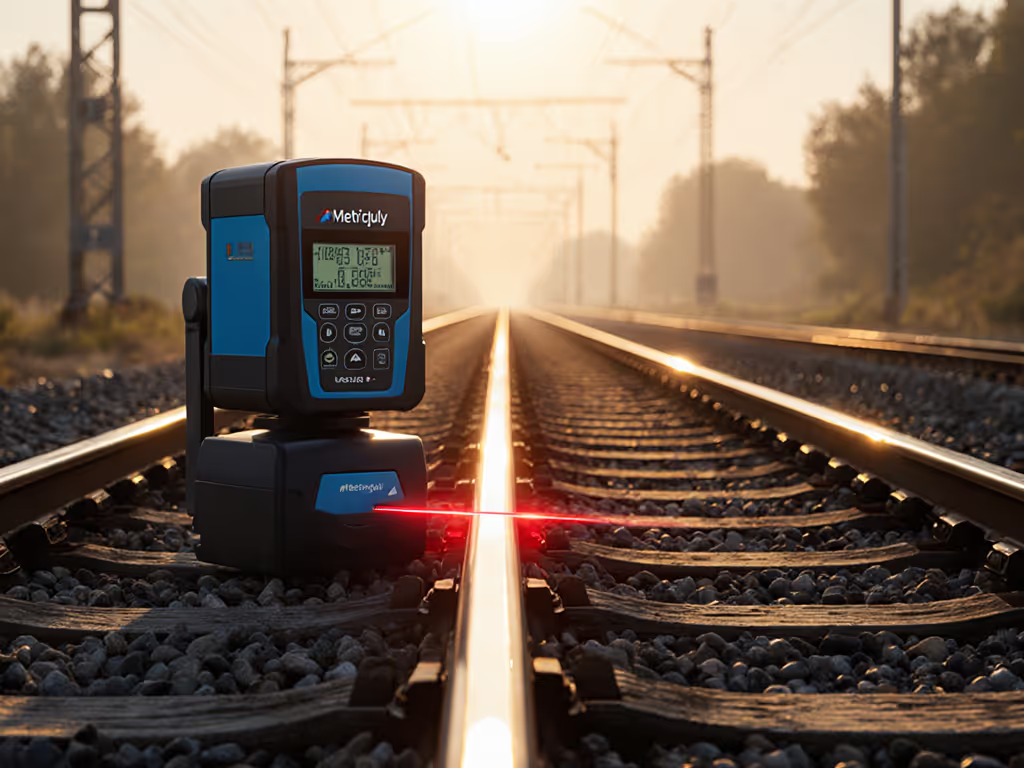
For high-speed rail networks, railway track measurement isn't just about compliance, it's the bedrock of passenger safety and operational continuity. When I measure a 350 km/h corridor, I don't just see gauge tolerances; I see the chain of traceability linking my laser scanner to the National Metrology Institute. That's why rail alignment tools comparison must start with uncertainty budgets, not marketing specs. Uncertainty bites at edges when speeds exceed 200 km/h, and audits separate those with disciplined documentation from those gambling with passenger safety. Let's dissect what truly matters.
Trace it, budget it, then trust it under audit.
Why Accuracy Metrics Lie Without Context
Professionals in precision manufacturing know that "accuracy" on a spec sheet often masks critical details. Consider these real-world gaps in rail alignment tools comparison:
- Gauge measurement accuracy claims rarely include thermal drift coefficients. A device rated ±0.5 mm at 20°C may drift ±1.2 mm at 45°C (per GT Rail Service data). High-speed rail demands thermal stability budgets.
- Rail wear analysis requires distinguishing surface deformation from actual metal loss. Optical systems like laser profilometers (±0.3 mm accuracy) capture surface topology but miss subsurface fatigue, requiring ultrasonic validation.
- Wheel profile comparison tools often omit repeatability data under vibration. If a scanner's repeatability is ±0.4 mm but your train-induced vibration hits ±0.6 mm, your uncertainty budget collapses.
Marcus O'Neal's Rule: *Spec sheets alone fail audits. Always demand the uncertainty budget including:
- Sensor resolution limits
- Environmental influence coefficients (±X mm/°C)
- Calibration interval drift data
- Measurement repeatability at operational speeds*
The Core Comparison Framework: Uncertainty First
Forget "best tool" debates. Build your comparison matrix around traceable uncertainty sources. Below is the audit-ready framework I use for high-speed rail metrology:
Contact vs. Non-Contact Systems: Hidden Uncertainties
| Parameter | Mechanical Gauge Trolley (e.g., TEC) | Laser Imaging System (e.g., TEP) | Critical Uncertainty Adders |
|---|---|---|---|
| Track Gauge | ±0.5 mm | ±0.5 mm | • Thermal expansion of rail (±0.1 mm/10°C)<br>• Trolley wheel wear (±0.3 mm after 10,000 km) |
| Cant/Super-elevation | ±1.5 mm | ±1.5 mm | • Liquid wedge compensation limits (see PMC [4])<br>• Vibration during push (±0.8 mm at 5 Hz) |
| Rail Profile | N/A | ±0.3 mm | • Laser spot size limitations<br>• Rail surface contamination (dust/rust adds ±0.4 mm error) |
| Wear Analysis | Manual gauging (±0.7 mm) | Point cloud vs. CAD (±0.3 mm) | • Alignment algorithm drift (per Witpress [5])<br>• Subsurface defects invisible to optics |
Key insight: High-speed rail metrology requires combined uncertainty below 30% of tolerance limits. For a broader comparison of non-contact measurement methods and their real-world limits, see our guide. If curvature tolerances are ±2 mm, your total uncertainty (equipment + environment + technique) must be ≤ ±0.6 mm. Most systems fail this when environmental factors are added.
Environmental Control: Where Audits Fail Projects
I once watched an auditor dismantle a $200k laser system because the operator couldn't prove environmental compensation. They'd ignored humidity's impact on laser refraction, despite GT Rail's spec sheet stating "Humidity: 15-85%, no condensation". Here's what your environmental protocol must include:
-
Temperature Compensation All steel rails expand at ~0.011 mm/m/°C. For a 10m chord measurement, a 15°C swing adds ±1.65 mm error. Laser systems like those in PMC [4] use liquid double-wedge compensation, but validate its range. If your system compensates only up to 30°C, summer measurements on sun-baked tracks become invalid.
-
Vibration Mitigation High-speed trains induce rail vibration at 2-50 Hz. Non-contact systems require vibration isolation tables; contact trolleys need damped wheels. Document measured vibration levels during operation, auditors demand this.
-
Weather Resilience As Trackopedia notes, optical systems outperform string-based methods in rain/fog. If your field work faces rain, dust, or washdowns, understand IP ratings for measurement tools before deploying equipment. But confirm laser wavelength suitability: 905nm lasers penetrate fog better than 1550nm. Audit checkboxes:
-
Environmental specs matched to local climate extremes (not lab conditions)
-
Compensation algorithms validated per ISO 17123-5
-
Real-time environmental logging during measurement
Audit-Ready Documentation: Your Liability Shield
The thermometer incident taught me this: audits reward proactive traceability. If you're formalizing procedures, our ISO/IEC 17025 requirements guide outlines audit-ready documentation and uncertainty practices. When comparing rail alignment tools, prioritize systems that generate:
-
Complete Uncertainty Budgets Not just "±0.3 mm", but the breakdown: "0.15 mm (sensor) + 0.1 mm (thermal) + 0.05 mm (repeatability)". Systems like GeoTEC Software (per GT Rail) export this natively.
-
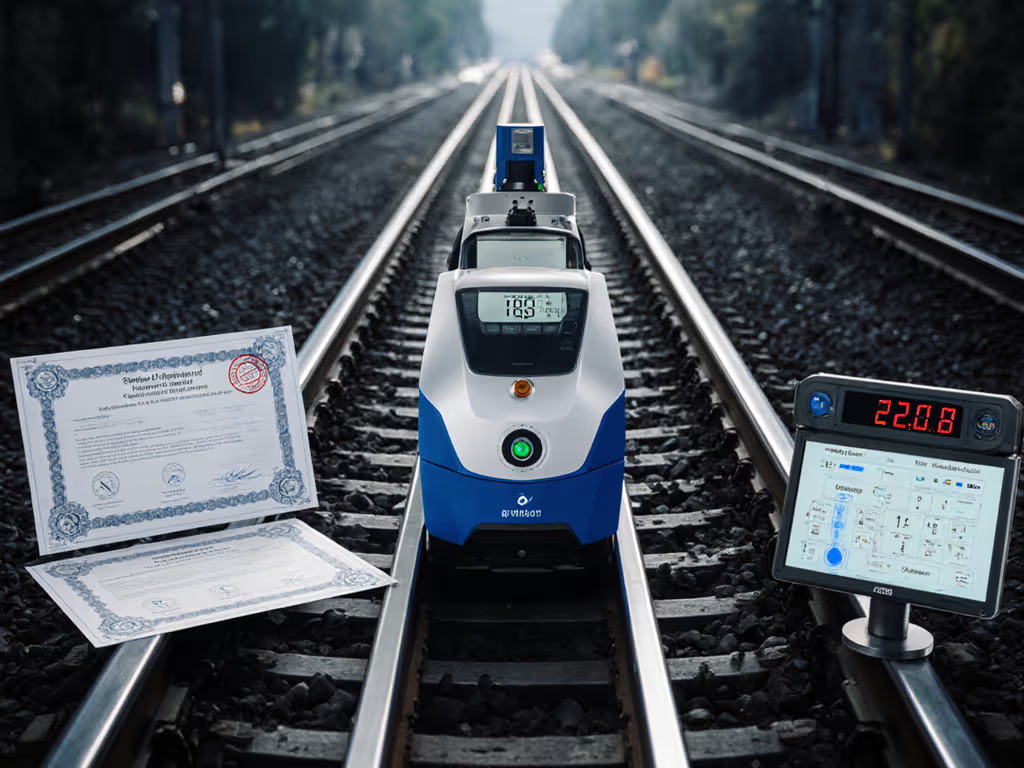
Traceable Calibration Chains Every tool must link to an NMI via documented steps. For a fundamentals refresher, see our explainer on measurement traceability. Example: "Laser scanner calibrated against NIST-traceable gauge block (Certificate #XYZ), validated quarterly per EN 13848-6".
-
Environmental Metadata Measurements are worthless without context. Demand logs showing temperature, humidity, and vibration at the exact measurement time. GT Rail's TEP trolleys embed this in every data point.
The Uncertainty Checklist: Before You Measure
Adopt this pre-measurement checklist, saved my team during a critical high-speed audit:
- Verify calibration validity for the specific parameter (e.g., gauge calibration ≠ cant calibration)
- Confirm environmental limits aren't exceeded during measurement (not just during calibration)
- Run repeatability tests at operational speed (e.g., push trolley at 5 km/h mimicking field use)
- Cross-check one critical point with independent method (e.g., laser + mechanical gauge)
- Document all compensations (e.g., "Thermal compensation applied: +0.23 mm at 35°C")
Conclusion: Safety Through Uncertainty Transparency
Railway track measurement for high-speed networks demands systems engineered for provability, not just precision. When comparing tools:
- Dissect uncertainty budgets, not headline accuracies
- Validate environmental compensation in your operating conditions
- Demand traceable calibration chains to NMIs
- Document every environmental influence during use
Tools with clear service histories and environmental specs earn trust because they leave no audit gaps. Remember: uncertainty bites at edges during high-speed operation, but disciplined documentation transforms measurement from a compliance cost into a safety asset. For deeper technical validation, I recommend reviewing:
- EN 13848 series (Railway applications - Track geometry quality)
- ISO 17123-5 (Optical distance measurement)
- NIST Handbook 151 (Equipment calibration protocols)
Trace it, budget it, then trust it under audit, because when trains hit 350 km/h, your documentation is the only thing keeping passengers safe.

