Force Gauge Comparison: Shop-Floor Accuracy Uncovered
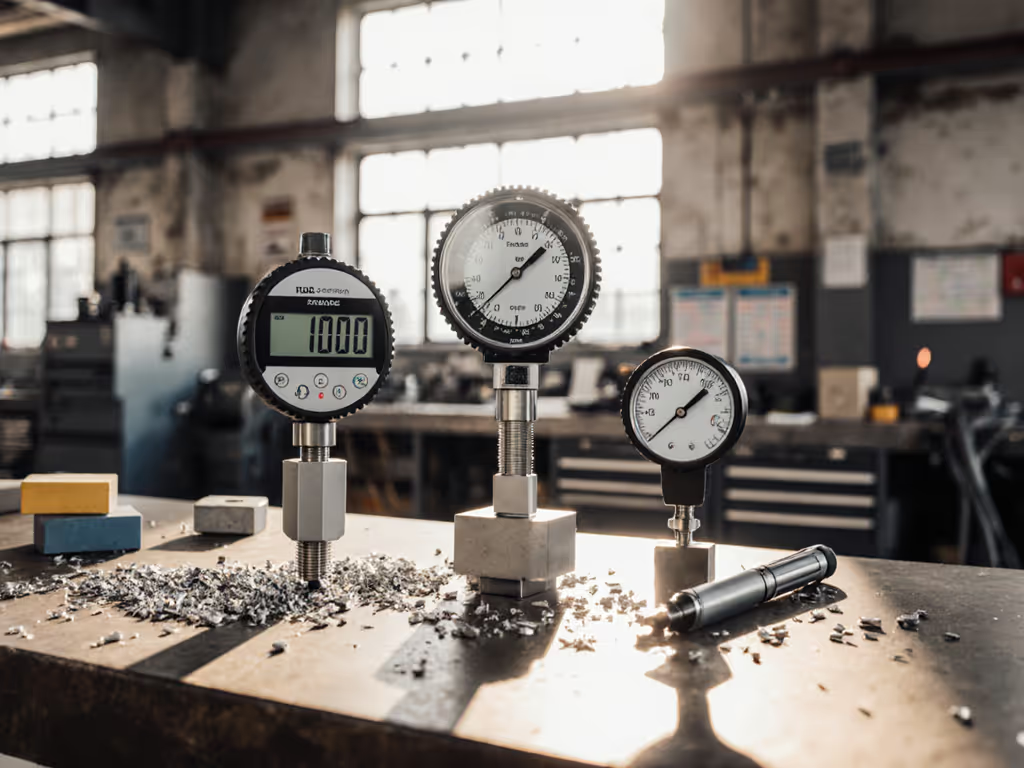
If you're wrestling with inconsistent force gauge comparison results on the production line, you're not alone. Most test and measurement equipment decisions get made from spec sheets alone, yet I've seen shops fail GR&R studies with higher-spec digital gauges while passing with simpler tools. If this difference between accuracy vs precision feels fuzzy, start with our quick primer. Why? Because repeatability lives in how humans touch tools, not just specs. That moment I swapped a "beloved" digital caliper after discovering operators 'thumbed' different pressure? That 38% to 12% GR&R drop wasn't from the tool itself. It came from designing measurement into the workflow. Let's cut through the marketing noise and find what actually works when production pressure hits.
The Hidden Cost of "Perfect" Specs
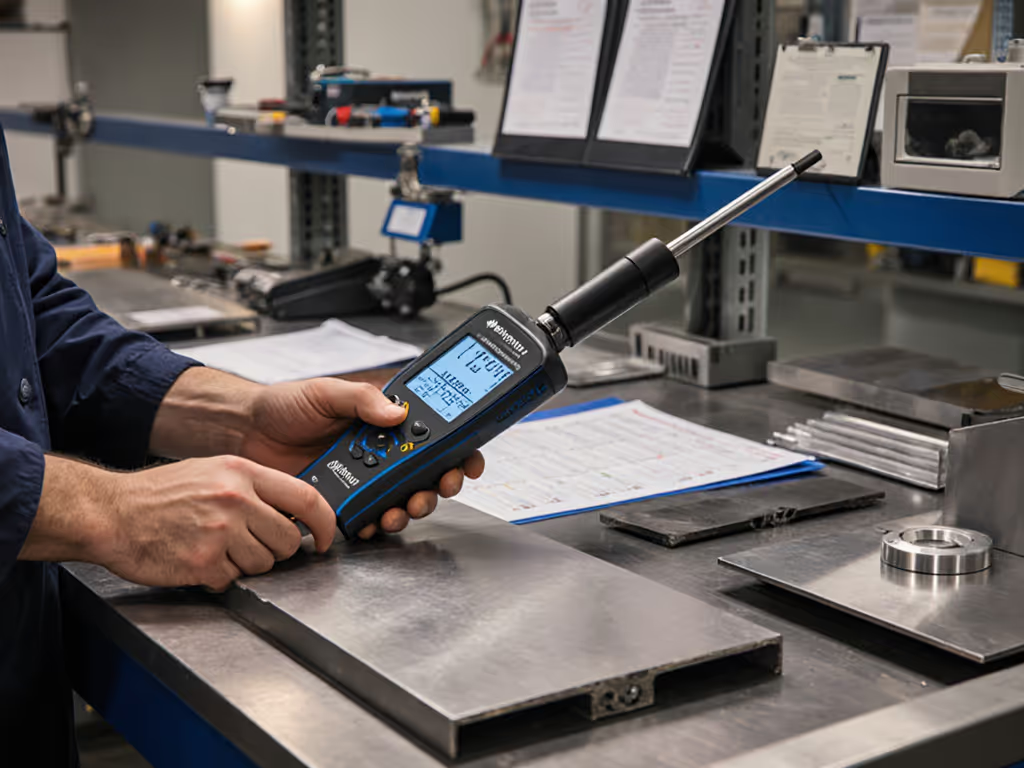
You've felt this: a shiny new force gauge arrives with ±0.1% accuracy claims, only to falter during peel strength testing when coolant sprays the display. Or worse, you pass calibration but fail audits because your tensile test equipment drifts between shifts. Why? Spec sheets lie by omission. They tout resolution ("0.01N!") while hiding how attachment weight skews real-world accuracy, or how temperature swings in unheated bays wreck repeatability. I've audited shops where:
- Operators think they're capturing peak compression force measurement values, but thumbs sliding on analog dials cause 15% variance
- Digital gauges with "high accuracy" display errors compound when measuring 400N on a 1000N-capacity model (±3N error vs ±1.1N on 500N model)
- Calibration requirements for force gauges get ignored because techs can't interpret when ±0.2% F.S. ±1 digit matters for their specific task
This isn't theoretical, try it with glove-on usability. Grab your most-used gauge right now. Can you?
When Precision Becomes Performance Theater
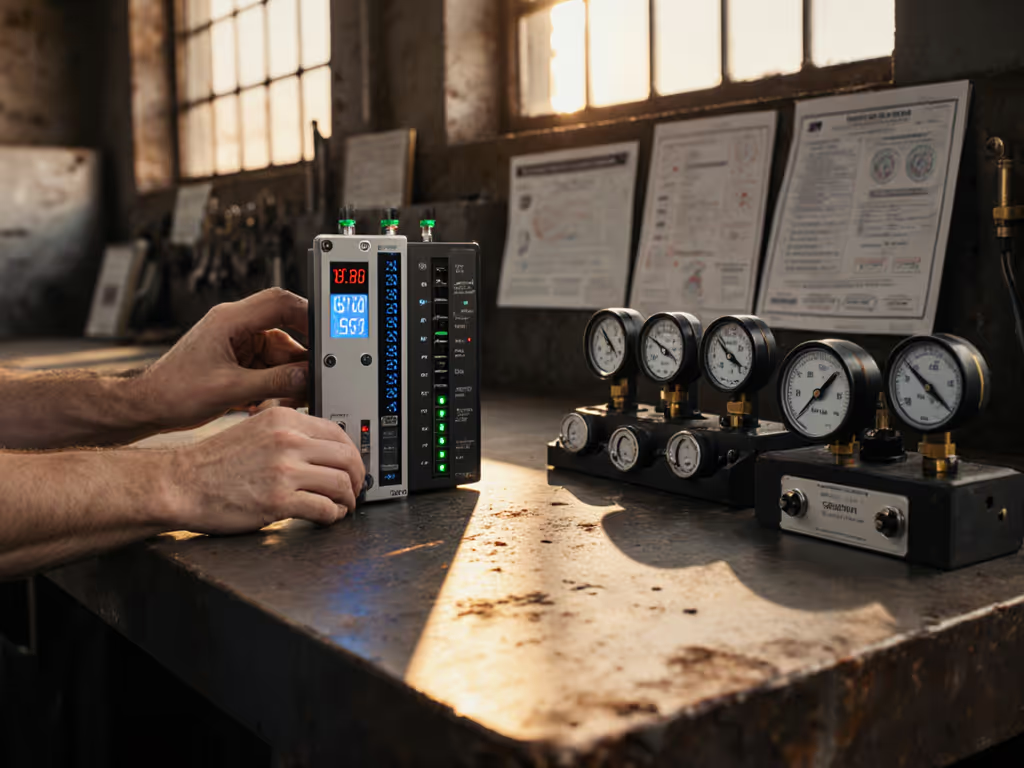
That IMADA ZTA series? Brilliant for lab work. But on a stamping press floor with vibration and oily gloves? Its 4-digit display becomes cryptic. Similarly, mechanical gauges get dismissed as "low-tech," yet their ruggedness shines during compression force measurement of hydraulic fittings where drops are inevitable. The trap? Matching tolerance stacks to tool capability without overpaying. Consider this real case:
A medical device shop bought $2,500 digital gauges for spring-force checks (±0.5N tolerance). Result? Constant calibration drift from coolant exposure. If your floor is wet, oily, or dusty, learn how IP ratings for measuring tools impact durability and accuracy. Swapped to analog ring gauges (0.5% F.S. accuracy), and GR&R stabilized at 18% (faster). Why? Simpler interface = consistent thumb placement. The part didn't change; the handling did.
Your Operator-First Selection Framework
Forget "digital vs mechanical" debates. Start here: What failure hurts worst? Scrap? Audit fails? Safety recalls? Align your tool to that risk. Below is the workflow I use with aerospace teams (works for any shop):
Step 1: Map Force to Workflow Reality (Not Spec Sheets)
Most errors happen before measurement even starts. Ask:
- "What's the max shock load?" → Capacity must be twice expected force (e.g., 400N breaking test = 800N gauge). Operator cue: "If it could snap, size up."
- "What force value gets recorded?" → Calculate real accuracy error: ±(0.2% × gauge capacity + 1 digit). For 400N on 500N gauge: ±1.1N. On 1000N gauge? ±3N. Visual anchor: Tape this formula above your workstation.
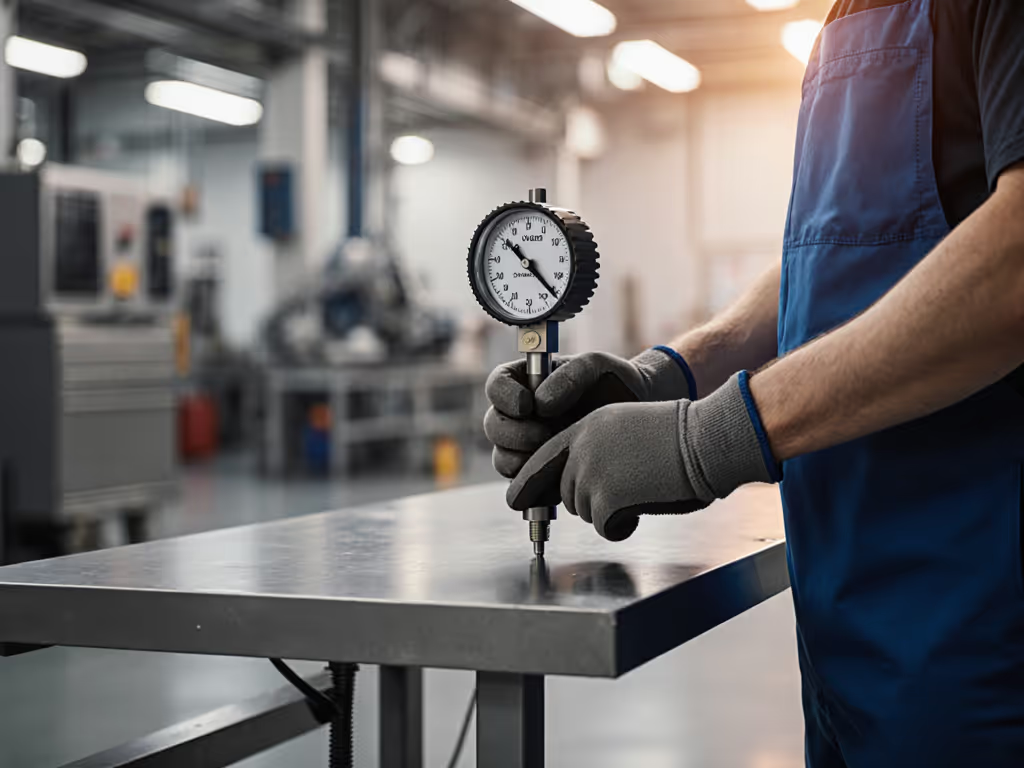
- "Who operates it?" → If gloved, prioritize analog dials or digital with large buttons. Safety reminder: If eyes can't lock on the reading in 2 seconds, it's wrong for your floor.
Step 2: Verify "Calibration" Isn't a Checkbox
"Calibrated to NIST" means nothing if your shop runs at 35°C while the lab is 20°C. For setting guardrails around real-world variation, build an uncertainty budget before you pick a gauge. Demand:
- Actual uncertainty budgets (not just "±0.25%")
- Proof of stability testing across your temperature range
- Attachments included in calibration (that hook weight changes readings!)
Teach-back cue: "Show me how you zero this with gloves on." If they hesitate, skip the tool.
Step 3: Pressure-Test for Takt-Time Survival
A gauge is useless if it slows production. Run this drill:
- Give it to your fastest operator during a rush order
- Time how long it takes to capture peel strength testing data
- Count steps: Attach probe? Warm up? Navigate menus?
Verdict: If it takes >15 seconds per measurement, it'll get bypassed. I've seen $3K digital gauges gather dust because mechanical ones delivered readings in 5 seconds.

The Checklist That Survives Shift Change
Print this. Laminate it. Tape it to every gauge station. This isn't theory, it's what passes AS9100 audits when the auditor shows up unannounced.
5-Point Operator Verification Routine (Pre-Shift)
- Glove Check: Can you operate buttons/dials with work gloves? Fail = wrong tool.
- Zero Stability: Place on flat surface; does reading drift >0.5% in 30 sec? Fail = immediate calibration. Need a refresher? Follow our step-by-step home calibration guide for common tools.
- Attachment Weight: Does probe/hook weight show on display? (e.g., "-0.2N") If not, readings are junk.
- Peak Lock Test: Simulate breaking test; does it capture peak reliably 3x? Fail = replace batteries/mechanism.
- Visual Anchor: Is there a clear reference line for analog, or bold digital text? Fail = unusable under coolant glare.
"If operators can't repeat it, it doesn't measure." Stencil this on every station.
When to Pay for Digital (and When to Walk Away)
| Scenario | Digital Gauge Value | Mechanical Gauge Value |
|---|---|---|
| Tensile test equipment | Only if you need data logging for FDA submissions | Avoid, can't capture peak forces reliably |
| Peel strength testing | Critical for tracking force curves (e.g., seal integrity) | Use only for pass/fail checks |
| Rugged environments | Only with IP67 rating and glove-friendly interface | Default choice (no battery/digital fragility) |
| Calibration requirements | Ideal for traceable records (if software integrates with QMS) | Ensure gauge has calibration port for quick checks |
Rule of thumb: If your measurement requires more than reading a number, go digital. If it's "Is this within range?", mechanical wins for speed and reliability.
Final Verdict: Accuracy Starts at the Fingertips
Here's the uncomfortable truth no spec sheet admits: Your most expensive gauge will underperform if operators fight it. I've watched shops slash scrap rates by 22% not by upgrading tools, but by matching tools to human factors. Want proof? Next time you do a force gauge comparison, test it like it's Third Shift at 3 AM:
- Cover the display with coolant spray
- Wear your thickest production gloves
- Time it against a colleague under takt-time pressure
Your winning pick?
- For compression force measurement in harsh cells: Analog ring gauge (0.5% F.S.) with shock-absorbing housing. Why? No menus, zero drift from coolant, survives 6-foot drops. (Yes, I've tested it.)
- For peel strength testing needing data logs: Digital gauge with physical peak-hold button and 0.25% accuracy, but only if it passes the glove-on usability test. To streamline reporting, consider wireless measurement tools for SPC/QMS that push readings directly into your system.
Stop buying tools for what they claim to do. Buy them for what your operators can consistently do under pressure. Because that caliper swap that cut GR&R? We didn't just fix measurement, we designed repeatability into how humans touch tools. And that's the only accuracy that survives the shop floor.

