AI Training Data Validation: Metrology Principles That Work
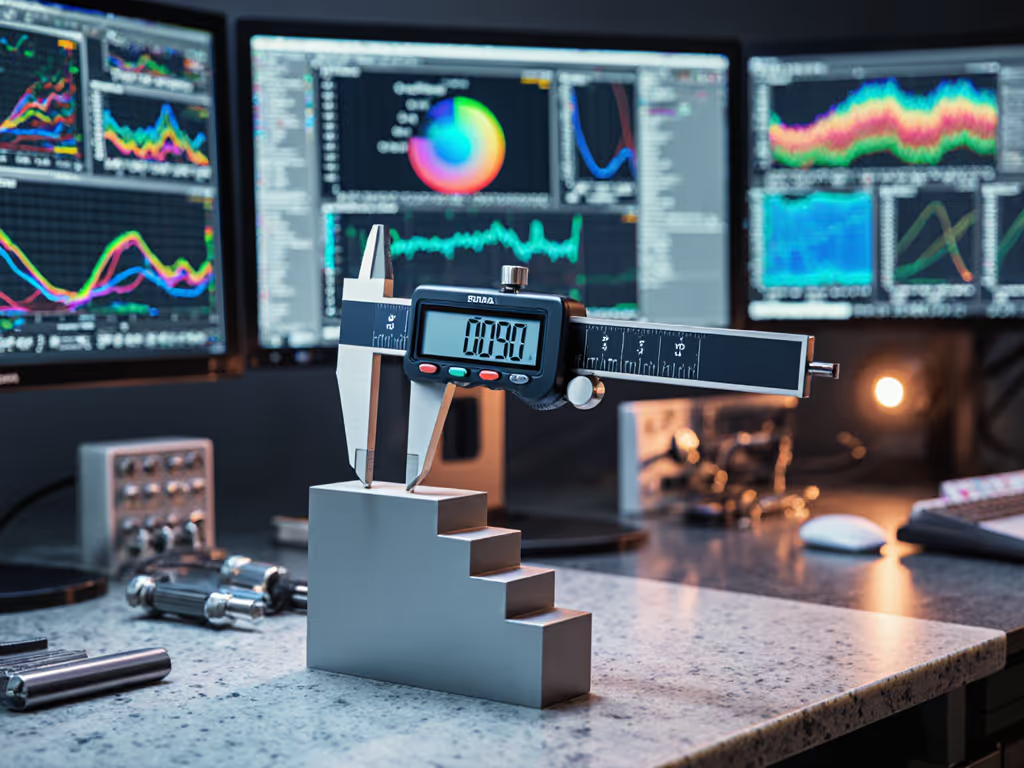
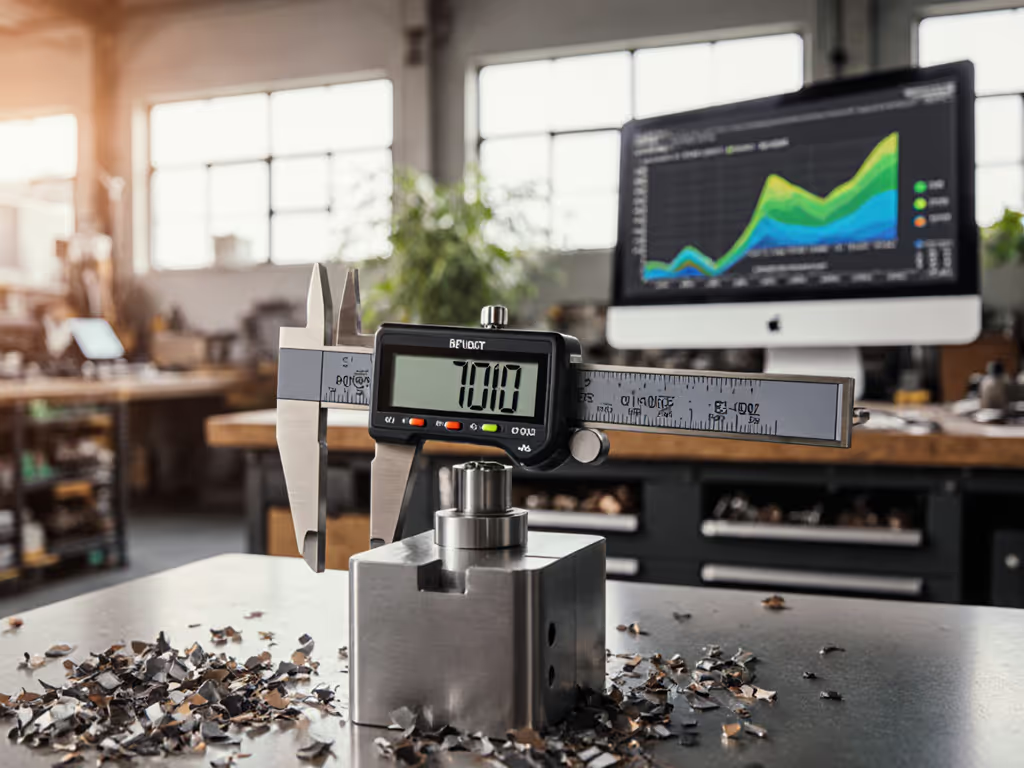
On the shop floor, AI training data validation isn't just theory, it is the same discipline we apply to calipers and CMMs. When we treat measurement for AI with the same rigor as mechanical metrology, we stop chasing phantom accuracy and start building systems that actually hold tolerance. I've spent 12 years watching measurement systems fail not because the tools were bad, but because we overlooked how humans interact with them. That's where real repeatability lives.
The Measurement Crisis Hiding in Your AI Pipeline
When "Good Enough" Data Becomes Scrap You Can't See
You're meticulous about your GR&R studies for micrometers, yet you're probably feeding AI models data with hidden variations that would make your quality manager scream. Just like a worn gage block stack introduces undetected errors in your honing process, "good enough" training data creates invisible tolerance stacks in your AI outputs. The result? Decisions that seem precise but fail when the coolant line vibrates or shop temperature drifts.
If operators can't repeat it, it doesn't measure.
Consider this: Your team follows a strict calibration schedule for surface plates, yet most AI validation lacks equivalent traceability to ground truth. When your vision system rejects good parts during third shift, is it a lighting issue, sensor drift, or contaminated training data? Without proper validation protocols, you're troubleshooting blind, just like trying to measure runout with a bent dial indicator.
Why Your Current Validation Falls Short
Traditional data validation methods fail shop-floor professionals because they ignore three critical realities you live with daily:
- The human factor in data capture. Just as inconsistent thumb pressure ruins micrometer readings (like the caliper incident where we cut GR&R from 38% to 12% with a simple force limiter), variable techniques in data labeling create hidden noise
- Environmental influence. You wouldn't measure a turbine blade at 80°F when your specification requires 68°F±2°, yet most AI systems ignore thermal drift in sensor data
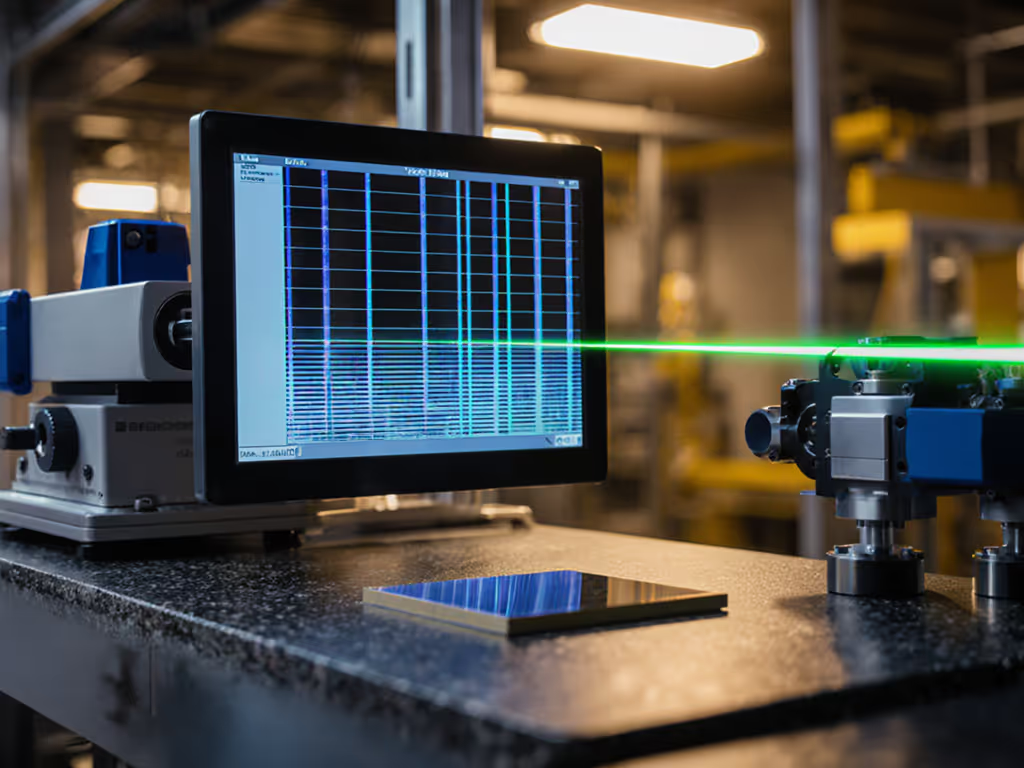
- Tool-to-work interaction. That handheld laser scanner works perfectly in the lab but gives inconsistent readings on oily surfaces, exactly like a digital indicator that "walks" on rough-turned stock
Without addressing these, your "validated" AI model becomes another source of phantom variation, costing you scrap, rework, and audit findings when it matters most. To cut scrap at the source, review common measurement error types.
Building Shop-Floor Ready AI Validation Systems
The Metrology Mindset for Data
Treat AI training data validation like you would a new optical comparator installation. Start with three operator-first truths:
- Define your uncertainty budget first Before collecting a single data point, document all potential error sources (sensor resolution, lighting conditions, operator variability) just like you would for a tolerance stack
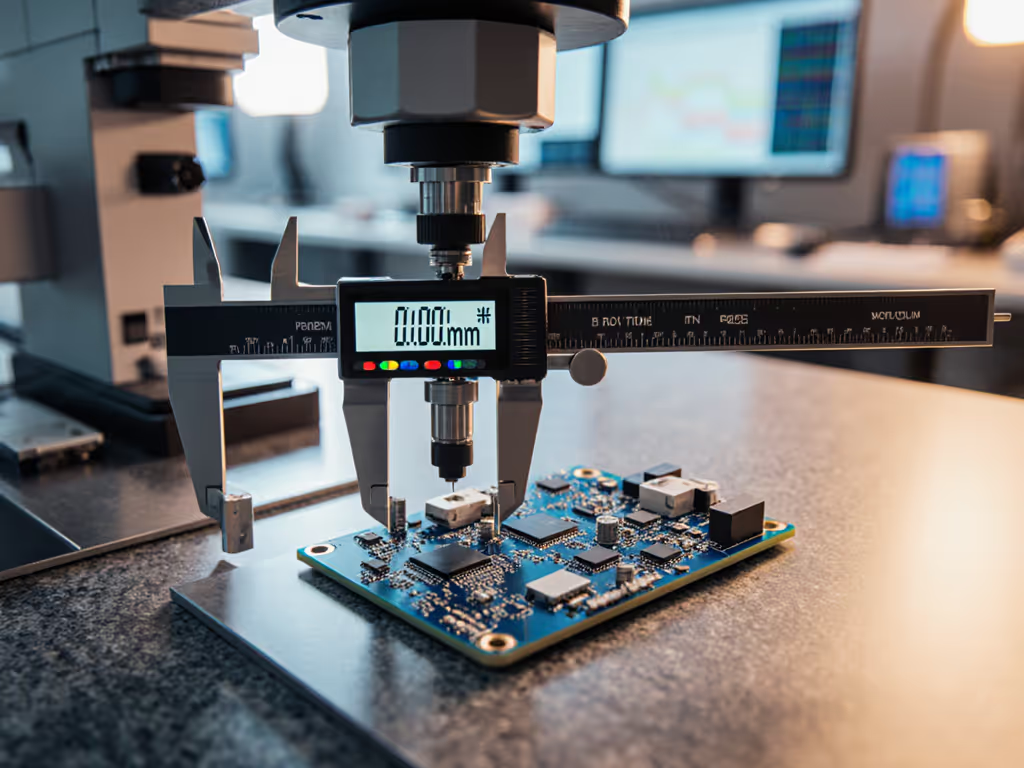
- Validate the measurement system, not just the data Perform GR&R studies on your data capture process itself
- Design for glove-on usability in real production environments
Practical Validation Checklist for Production Teams
Adapt these shop-proven techniques from your metrology playbook to AI data:
Ground Truth Verification Protocol
- Step 1: Identify the master artifact Just like you'd use a certified gage block, establish unambiguous reference standards for critical features
- Step 2: Document operator technique Record exactly how data should be captured (lighting, angle, sensor placement) with visual anchors
- Step 3: Run the 3-shift repeatability test Have multiple operators collect the same data under actual production conditions
Bias Detection Methods That Survive Takt Time
Traditional statistical bias detection fails on the floor because it assumes pristine data conditions. Try this instead:
- Contextual sampling Collect data during actual production runs (not perfect lab conditions), capturing real-world variations in coolant, vibration, and operator technique
- Fixture-based verification Create a physical master part with known features that you run through the inspection system weekly
- Operator teach-back Have technicians explain why certain data points are rejected. This often reveals hidden bias faster than any algorithm
Dataset Uncertainty Quantification in Plain Language
Forget complex statistical metrics. Use these operator-friendly uncertainty checks:
- "Would this pass audit?" test If your calibration certificate wouldn't survive an AS9100 audit, neither should your data documentation For lab-side compliance requirements, see our ISO/IEC 17025 accreditation guide.
- "Cold-start" validation Test model performance with data collected after equipment maintenance (when sensors are clean but environmental conditions vary)
- GR&R-style data study Calculate variation between operators, shifts, and equipment using standard metrology formulas
Your Action Plan for Measurement-First AI
Start tomorrow with these three concrete steps that work in real production environments:
-
Conduct a "data capability study" Just like you would for a new machining process, measure your data collection system's repeatability before trusting it
-
Implement "golden batch" validation Set aside a small set of verified parts (your "master artifacts") to run through your AI system weekly
-
Create a visual data validation board Post your ground truth standards, acceptance criteria, and recent validation results where operators can see them, just like your calibration status board
Final Verdict: Precision Starts Where You Touch the Data
Today's most reliable AI systems aren't built on bigger datasets, they are built on measurement discipline that survives third shift, gloves, and coolant spray. While flashy "self-validating" AI promises might sound good in boardrooms, they fail when your vision system starts rejecting good parts because the lighting changed during a shift change. For a practical overview of where AI actually improves measurement consistency, explore AI in metrology.
Here's my verdict as a process engineer who's debugged more measurement systems than I can count: Your AI validation strategy must account for human interaction the same way you'd design a jig that works with shop-ratty gloves. If your data collection can't pass the "glove-on usability" test, it doesn't matter how sophisticated your model is, its output won't survive takt time pressure.
The part didn't change in my caliper story; the handling did. That's the breakthrough your AI implementation needs. Stop treating data as perfect inputs and start engineering the entire measurement system (including how humans interact with it). That's when your AI transitions from a science project to a production-grade tool that earns trust on the floor, not just on spec sheets.
When your team can validate AI training data with the same confidence they use to certify a new CMM, you'll finally achieve what every quality professional truly wants: the calm confidence that what you're measuring is actually what you think you're measuring.

