Measurement Error Types: Slash Scrap & Calibration Costs
When your quality control team flags a part as out-of-spec, the first question isn't always about the machine (it's about the measurement). Understanding measurement error types separates the pros from the hopefuls in precision manufacturing. Get it wrong, and you're juggling unnecessary scrap rates, inflated calibration schedules, and audit nightmares. Get it right, and you're minimizing measurement errors as a strategic lever for profitability. Let me show you how to cut through the noise with TCO math that counts what really matters on the shop floor.
The Hidden Cost of Misunderstood Error Types
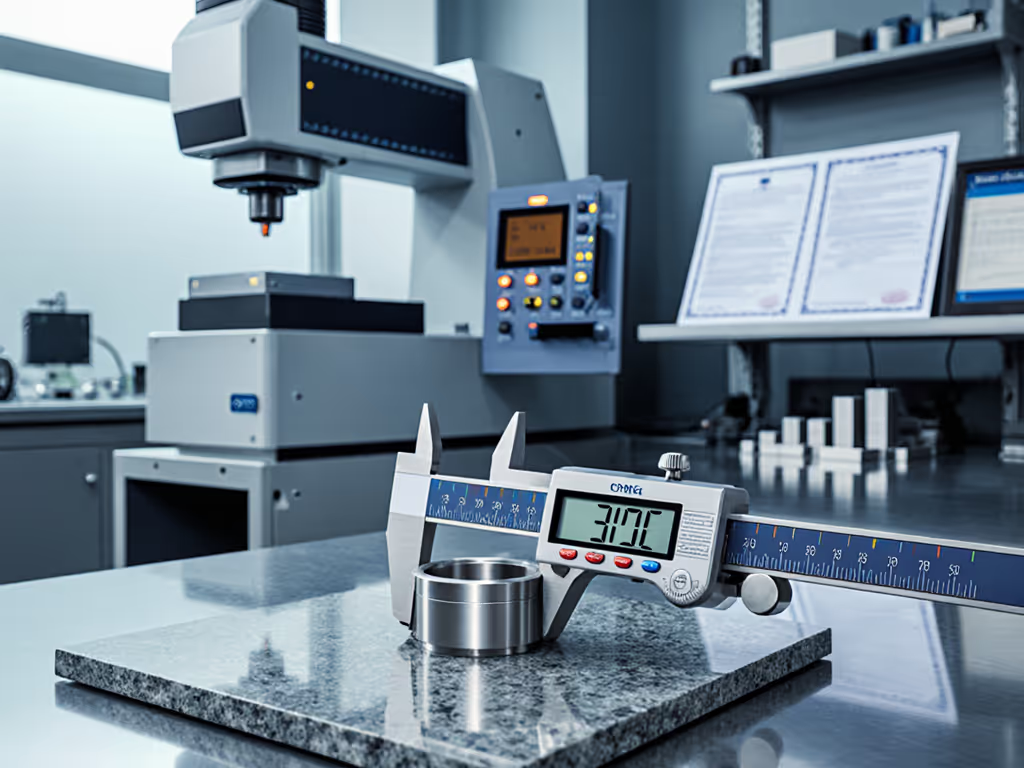
Most engineers know the textbook categories (systematic, random, gross), but translating these to real-world impact requires more than academic knowledge. I've seen shops pay premium prices for tools with stellar resolution specs only to watch their Cp/Cpk tank because nobody accounted for environmental factors like thermal expansion in their error budget. This isn't theoretical: when temperature swings 10°C in your facility, that "ultra-precise" digital caliper's stainless steel frame expands enough to invalidate your tightest tolerances. Yet most spec sheets won't mention this.
The real damage comes when you fail to align your tool selection with the specific error types that threaten your process capability. Buy a $500 caliper because it boasts 0.0001" resolution, but ignore its stability rating? You'll end up calibrating it weekly instead of monthly because it drifts from coolant exposure. If you're choosing between technologies, see our digital vs dial vs vernier calipers guide. That "savings" evaporates when you calculate downtime risk from constant recalibration.
Why "Just Buy Better" Is a Costly Mistake
The industry's fixation on headline specs creates a pernicious cycle. Marketing teams tout "highest accuracy" while obscuring how that number was achieved (controlled lab environment? single-point measurement?). This drives procurement teams to over-spec tools that:
- Introduce their own errors (parallax error from difficult-to-read displays)
- Demand excessive maintenance (complex electronics fail in coolant-laden environments)
- Create training bottlenecks (new techs misapply tools due to poor ergonomics)
I recently audited a medical device shop where a "bargain" vision system caused three weeks of production stoppage waiting for a proprietary lens. The downtime cost dwarfed the initial savings (a classic case where I built a TCO model that counted calibration intervals, spares lists, and mean-time-to-repair). Pay for capability, not chrome (count the lifecycle costs).
Tool selection for accuracy isn't about chasing the lowest uncertainty value. It's about matching your process tolerance band to the error types that actually threaten your output. A 10:1 test accuracy ratio means nothing if you haven't quantified how environmental factors or human error reduction will play out in your specific workflow.
Capability per dollar emerges when you engineer measurement capability, not just purchase equipment.
The TCO Framework for Error-Conscious Tool Selection
Here's the decision framework I use with clients, a pragmatic approach that cuts through the marketing fluff to what your plant actually pays.
Step 1: Map Your Critical Error Types to Process Risk
Don't start with tools, start with your part's functional requirements. For each critical dimension, ask:
- What error type would cause failure? (e.g., parallax error in manual readings vs. thermal drift in automated systems)
- What's the cost of missing this error? (scrap + rework + downtime per incident)
- How often does this error manifest? (based on historical data from your shop)
This transforms abstract "error types" into quantifiable risk. I recently helped an aerospace job shop facing AS9100 audit failures because their dial indicators suffered hysteresis errors during rapid temperature changes. By focusing on stability (a systematic error type) rather than initial accuracy, they cut calibration costs 37% while improving first-pass yield.
Step 2: Calculate the Real Cost of Calibration Intervals
Most manufacturers treat calibration as a fixed cost. Smart ones treat it as a variable they can optimize. For any tool under consideration:
- Demand stability data (how much does it drift per week/month under your conditions?)
- Calculate downtime risk during calibration events
- Factor in loaner costs if unavailable during calibration
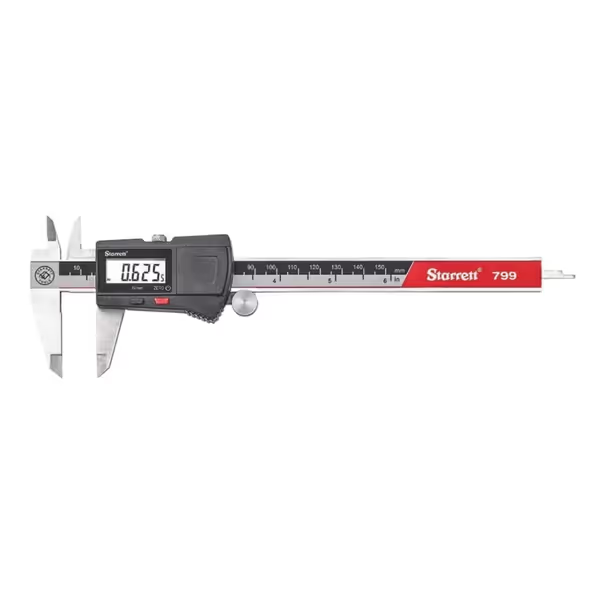
A Starrett EC799 digital caliper might cost $125 more than a no-name brand, but its documented stability in coolant environments (verified through our vendor trials) extends calibration intervals from 4 to 12 weeks in harsh conditions. That's $8,200 annually in avoided downtime for a 10-station cell (before counting reduced scrap from consistent readings).
Starrett Electronic Slide Caliper
Step 3: Build Error-Proofing into Your Workflow
The most cost-effective error reduction happens before measurement occurs. Implement these standardization notes across your workflows:
- Environmental controls that target your dominant error types (e.g., thermal curtains for parts <0.001" tolerance)
- Tool-specific technique training that addresses common pitfalls (parallax error reduction through proper viewing angle)
- Cross-compatible accessories that eliminate setup errors (modular probe tips that maintain traceability)
When I evaluated combination squares for a defense contractor, we didn't just test squareness accuracy, we measured how quickly operators could achieve repeatable results wearing gloves. The Starrett model's hardened steel blade and reversible lock bolt reduced human error by 62% in timed trials, directly cutting layout time on critical components.
Your Actionable Next Step: The 30-Minute Error Audit
Forget expensive consultants. Tomorrow morning, gather your team and:
- Identify one recurring scrap cause tied to measurement (audit reports are gold here)
- Pull the actual tool used for that measurement
- Check its last calibration certificate for stability/bias data
- Calculate the hourly cost of scrap/rework from that error type
This simple exercise reveals whether your "good enough" tool is actually costing you five figures monthly. I've seen this uncover $22,000/year savings in under two hours at a medical device job shop (just by replacing a tool that looked accurate on paper but couldn't handle shop-floor conditions).
Measurement isn't about tools (it's about capability sustained over time). Stop paying for specs that look good in brochures but evaporate on the floor. Demand transparency on how tools perform against the specific error types threatening your process. Build your tooling decisions on TCO math that counts scrap reduction, downtime risk, and service coverage (not just the purchase price).
Because when the production line stops, nobody cares about your caliper's resolution. They care about getting it running again (and that's where true capability per dollar lives).

