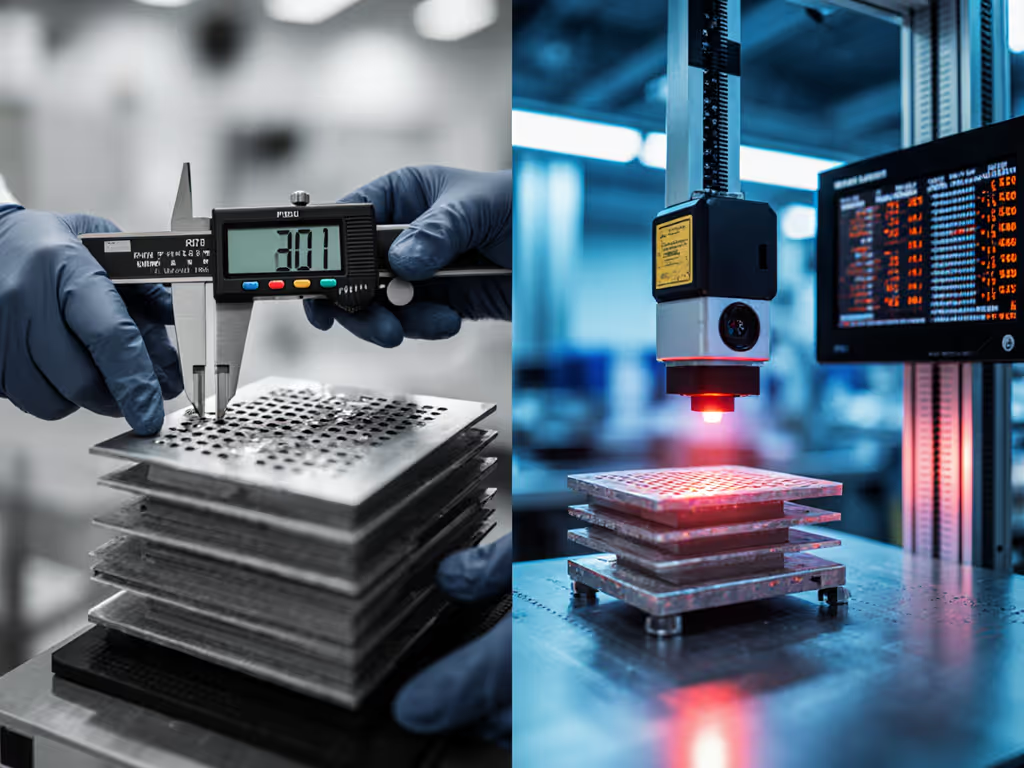
Ultra-Compact Metrology: Field Service Comparison

Ultra-compact metrology tools and field service measurement equipment have fundamentally changed how precision work happens outside the lab. Yet selecting among pocket-sized measurement devices and handheld metrology options remain a source of friction, especially when accuracy claims collide with real-world shop conditions and audit requirements.
This article cuts through the confusion by examining what compact tools actually deliver, how their specifications translate to field performance, and which approaches stand up when an auditor asks to see your calibration chain and environmental control. Because once you start relying on a measurement system in production, it must be as traceable and defensible as the instruments in your certified lab. For a deeper primer on measurement traceability, review how the entire chain—from NMI to shop floor—is documented.
What Defines Ultra-Compact Metrology in Field Service Work?
The Role and Limits
Compact metrology encompasses three primary tool families. Handheld laser distance meters (such as Bosch models) deliver fast, repeatable measurements in confined spaces and on-site layouts. Structured light 3D scanners capture millions of data points in seconds, digitizing complex geometries. Portable coordinate measuring machines (CMMs) and handheld contact probes provide tactile, traceable measurement for components that demand sub-micron repeatability. For field-side tradeoffs, see our portable CMM vs structured light comparison.
Each addresses a different constraint: speed, geometry complexity, or verified accuracy. The confusion arises because marketing often blurs these distinctions. A laser measuring tool may claim "accuracy," but accuracy under what conditions? At what distance? With what alignment risk? The audience you serve (quality managers, manufacturing engineers, compliance-auditing technicians) knows that precision specs live and die by environmental control and traceability. When I worked in calibration, an auditor once asked me to produce the thermometer calibration behind our CMM room logs. We traced it: thermometer to reference standard, reference to NMI, with uncertainty budget attached. The tone of that audit changed instantly. From that day forward, I've documented measurement environments as carefully as I document instruments.
The Compact Advantage and Trade-Off
Compact tools solve a real workflow problem: you cannot move every part to a laboratory CMM or temperature-controlled chamber. Yet the moment you move measurement onto the shop floor, uncertainty bites at edges. Temperature swings, vibration, coolant splatter, and uncontrolled humidity no longer form a stable backdrop.
This is not an argument against field measurement. It is an argument for being deliberate about which tool class fits the job, understanding its environmental tolerance, and building that transparency into your measurement system analysis (MSA) and audit file.
Specification Deep Dive: How to Read Compact Tool Data
Accuracy vs. Repeatability vs. Resolution
Many team members conflate these three terms, and spec sheets exploit that confusion. For a plain-language refresher on the concepts, start with accuracy vs precision.
- Accuracy (or Maximum Permissible Error / MPE) describes how far a measurement can drift from true value. Laser distance meters achieve 1 mm accuracy over 330 feet, a practical tolerance for layout work but inadequate for precision component inspection.[8]
- Repeatability captures how closely the same measurement clusters when taken multiple times under identical conditions. Portable CMMs often cite repeatability of ±10 μm, a sign the probe mechanism and structural frame are stable.[1]
- Resolution is the smallest division the instrument can display, often 0.1 mm on analog calipers or 0.01 mm on digital readouts. Resolution alone tells you nothing about trustworthiness; a 0.001 mm display paired with ±5 mm uncertainty is worse than useless.
When you evaluate compact tools, demand all three metrics at specified environmental conditions. For example, a portable CMM spec stating "Indication Accuracy: ±(28 + 5L/1000) μm at +23 ±1°C" is audit-ready language. It tells you accuracy degrades by 5 μm for every meter of measurement span (L) and that it holds only within a 2-degree temperature band. If your shop floor swings 18-22°C, you must budget additional uncertainty or control the environment.
Environmental Tolerance: The Hidden Specification
Here is where field reality bites. Lab CMMs specify tight environmental windows: 18-22°C and 55-65% relative humidity are common requirements.[1] Portable versions often relax these bounds (some instruments claim operation at 15-30°C), but with an accuracy penalty.[1] That penalty must appear in your uncertainty budget.
Smaller handheld tools, by design, tolerate wider ranges; yet their contribution to total measurement uncertainty remains significant if you ignore it. Laser distance meters, for instance, can work across wider temperature spans without internal correction, but thermal expansion of the tool itself and the workpiece creeps into the error term.
The audit question is straightforward: What were the environmental conditions during measurement, and how did they affect the reported uncertainty? If you did not log temperature and humidity, you cannot answer that question with confidence.
Compact Tools Compared: Use Cases and Boundaries
Laser Distance Meters: Speed at the Cost of Precision
Primary benefit: Rapid, non-contact distance capture across open spaces.[5][6] Bosch GLM series tools deliver area, volume, and Pythagorean functions with Bluetooth data logging and app integration.[6] If data capture and SPC integration matter, consider wireless measuring tools that stream results to IoT platforms. For layout, rough checks, and site measurements, they are efficient.
Accuracy profile: ±1 mm over typical working ranges; ±0.2 mm at close distances under ideal conditions.[8]
Field service fit: Setup surveys, component positioning, and rough-cut inspections where ±1 mm tolerances are acceptable. Not suitable for validating parts to ±0.1 mm or tighter without secondary confirmation via contact instruments.
Environmental considerations: Laser meters tolerate ambient variations better than contact tools, yet reflectivity, surface finish, and angle of incidence introduce systematic error (cosine error) that is easy to overlook. Training matters.
Structured Light 3D Scanners: High-Speed Digitization with Accuracy Limits
Primary benefit: Comprehensive surface geometry capture in minutes.[2] A single-digit-to-two-micron accuracy (over small volumes) paired with 40-500 mm measurement areas enables rapid prototyping and reverse engineering.[2][4] Intelligent algorithms concentrate point density on critical features: the ATOS 5 scanner, for example, deploys up to 12 million points per scan with adaptive resolution.[2]
Accuracy profile: Typically 40-50 microns at full object size, though sub-micron accuracy is achievable on smaller, controlled measurement volumes.[2][3] Not comparable to contact CMM precision for tight-tolerance production work.[3]
Field service fit: Complex-geometry documentation, design validation, and rapid iteration in R&D or reverse-engineering projects. Excellent for capturing hidden or internal geometry detail, something contact probes struggle with. Not for ISO 9001 / AS9100 in-process inspection of precision aerospace parts.
Environmental considerations: Minimal dependence on workpiece temperature; however, ambient light and reflectivity matter. Optical measurement avoids contact force variation but cannot probe concealed surfaces.[3]
Portable CMMs and Handheld Contact Probes: Traceability at a Compact Scale
Primary benefit: Contact-based measurement, trigger or continuous probe, delivers repeatability (often ±10 μm or better) on metallic and rigid components.[1][3] Traceability is native: probe calibration and styli verification chain directly to reference standards, no secondary guesswork needed.
Accuracy profile: Portable CMM accuracy ranges from ±(28 + 5L/1000) μm for carry-anywhere models to ±(0.3 + L/1000) μm for precision laboratory portables, depending on frame mass and design.[1] These are MSA-grade specifications.
Field service fit: On-floor in-process inspection, tool offset validation, and fixture verification where ±5-10 μm repeatability is required. Manufacturing engineers trust contact CMMs in audits because the measurement chain, environmental log, and calibration certificate tell a complete, auditable story.[3]
Environmental considerations: Temperature sensitivity is acute; portable CMMs specify ±1-2°C operating bands.[1] A shop floor at 20°C at shift start and 24°C by midday will degrade your uncertainty if not logged and corrected. This is not a flaw; it is a signal to control the environment or accept the drift.
Building an Uncertainty Budget: From Spec Sheet to Shop Floor
A Practical Checklist
Once you have chosen a tool class, trace it, budget it, then trust it under audit. Here is a working checklist: For step-by-step methods, use our measurement uncertainty budget guide to formalize the stack.
- Calibration traceability: Tool certificate references an NMI-traceable standard or accredited laboratory. Record service dates and expiry.
- Environmental control log: Record ambient temperature and humidity at time of measurement. Flag any excursions beyond the tool's rated band.
- Probe/styli verification: For contact tools, document probe calibration and styli wear. Worn styli bias measurements; auditors notice.
- Measurement repeatability trial (GR&R): Run 10 repeated measurements on a reference artifact. Calculate standard deviation. If it exceeds tool spec, investigate probe contamination, fixturing, or environmental drift.
- Uncertainty stack: Combine tool repeatability, accuracy spec (adjusted for environmental conditions), environmental uncertainty contribution, and operator technique variation into a single total uncertainty. Compare to part tolerance; apply 4:1 or 10:1 test-accuracy ratio as required by your standard (ISO 9001, IATF 16949, etc.).
- Documentation: Attach calibration cert, environmental log, GR&R data, and uncertainty summary to the inspection record. When the auditor asks, you hand over the complete chain.
When to Step Up - and When Compact Tools Suffice
Decision Framework
The test-accuracy ratio (TAR) rule guides the choice. If a part tolerance is ±0.1 mm (100 μm), a 10:1 TAR requires measurement uncertainty of ±10 μm or better. A laser meter at ±1 mm (1000 μm) fails by a factor of 100; a contact CMM repeatability of ±10 μm passes.
Conversely, if the tolerance is ±10 mm, a laser meter becomes viable because ±1 mm uncertainty is well within the 10:1 band.
Environmental sensitivity matters equally. A temperature-sensitive contact probe on an uncontrolled shop floor may accumulate more drift than a ruggedized laser meter over the same shift. Conversely, the laser meter offers no traceability to internal geometry (undercuts, holes) that contact measurement captures without disassembly.
The pragmatic path: use portable, audit-traceable contact tools for critical dimensions and tightly controlled tolerances. Use laser meters for rapid, non-contact checks and spatial surveys. Use structured-light scanners for complex surfaces and archive/documentation. Use laboratory CMMs for final validation of sub-micron critical features, especially for regulated industries where the audit file must be unassailable.
Common Pitfalls and How to Avoid Them
Environmental Blind Spots
A technician measures a part at 17°C (start of shift) and again at 25°C (midday) on the same portable CMM. The tool spec allows 18-22°C. Without logging both temperatures and correcting measurements, you report results as if both are equally valid. They are not. The temperature-induced length error on a steel part spans microns per degree. Auditors see this omission and interpret it as lack of control.
Fix: Log ambient temperature at every measurement session. When temperature drifts beyond spec, either control the environment or apply a documented correction factor to the result.
Probe Force and Cosine Error
Handheld contact probes require light, consistent touch. A technician applies 5 N of force on a soft aluminium part, creeping the probe into the surface, then 1 N on a hardened steel part, registering a phantom offset. Similarly, a laser meter aimed at an angle (cosine error) registers a longer distance than true surface position. Neither error shows on the readout.
Fix: Train operators on probe force and laser alignment. Validate repeatability on known reference parts; GR&R trials expose these biases quickly.
Calibration Interval Drift
A tool is calibrated on day one. By the next service interval (often 12 months), drift may have accumulated, especially if the tool lived on a hot shop floor or in an unheated storage room. Many teams trust a tool between certs and miss creeping inaccuracy.
Fix: Maintain a reference artifact (gage block, master cylinder, or certified artifact) on the shop floor. Measure it weekly on the suspect tool. Plot trend. If drift emerges, shorten the calibration interval or retire the tool.
Toward Confident Field Measurement
Ultra-compact metrology tools have made precision measurement accessible and mobile. Yet accessibility does not mean certainty. The same rigor that governs laboratory calibration, documented environment, verified traceability, explicit uncertainty, and auditable technique, must govern field-deployed tools.
When you can produce the thermometer calibration behind your measurement log, the temperature/humidity record, the probe certification, and the uncertainty stack, an auditor stops questioning your measurement system. They see control. They see discipline. They see trust earned, not granted.
The tools are only as credible as the documentation behind them.
Further Exploration
If this framework resonates with your team's needs, the next logical steps are:
- Audit your current compact tool inventory: do all have valid calibration certificates and documented environmental tolerances?
- Conduct a measurement system analysis (GR&R) on your highest-use portable tool to establish a baseline repeatability and variance.
- Map your critical dimensions to a tool selection matrix: tolerance band, environmental window, traceability requirement, and frequency of use.
- Standardize your environmental logging process, even a simple paper checklist or mobile form entry, so no measurement session is undocumented.
- Engage your calibration service provider to discuss shortened intervals or in-house verification protocols for high-drift-risk applications.
These steps do not require capital investment, but they do demand disciplined thinking. That discipline is precisely what moves measurement from a cost center to a competitive capability, and what transforms an audit from a rubber-stamp exercise into a conversation of confidence.

