Geothermal Measurement Tools for Extreme Underground Profiling
When auditors question your measurement validity, they rarely care about your gauge's resolution, they ask for the chain of traceability. That lesson hit home when one demanded the calibration certificate for the thermometer logging our CMM room environment. We produced the full link: shop thermometer → reference standard → NMI calibration. The audit shifted from skeptical to collaborative instantly. This same rigor applies to geothermal measurement tools and underground temperature profiling (where environmental extremes demand uncompromising traceability). For precision engineers, these high-stakes tools reveal critical lessons about documenting uncertainty budgets and environmental controls that keep your own measurements audit-ready. Let's dissect how geothermal-grade metrology principles translate directly to your shop floor.
Why Geothermal Measurement Tools Matter to Precision Manufacturers (Not Just Energy Engineers)
Aren't these tools just for geothermal wells? How does this apply to my CNC shop or cal lab?
Absolutely applicable. Geothermal operations operate at the extreme edge of measurement physics: 350°C temperatures, 5,000-psi pressures, and fluid dynamics in unstable formations. Yet the core challenge mirrors yours: proving measurement validity under uncontrolled environmental conditions. When a Weatherford Quantum Geothermal PTS Gauge records pressure at 662°F (350°C), its uncertainty budget accounts for:
- Thermal expansion of sensor housings
- Fluid viscosity changes affecting flow sensors
- Time-dependent drift in high-heat environments
Your CMM faces similar (if less extreme) variables: coolant temperature swings, shop-floor vibrations, and thermal gradients across granite bridges. Geothermal measurement tools force engineers to confront uncertainty sources you might overlook, like how a 0.5°C shift in ambient temperature alters a 50mm steel part's dimension by 6 microns. Ignoring these chains creates audit vulnerabilities.
I see "thermal gradient measurement" in specs, why should I care beyond geothermal projects?
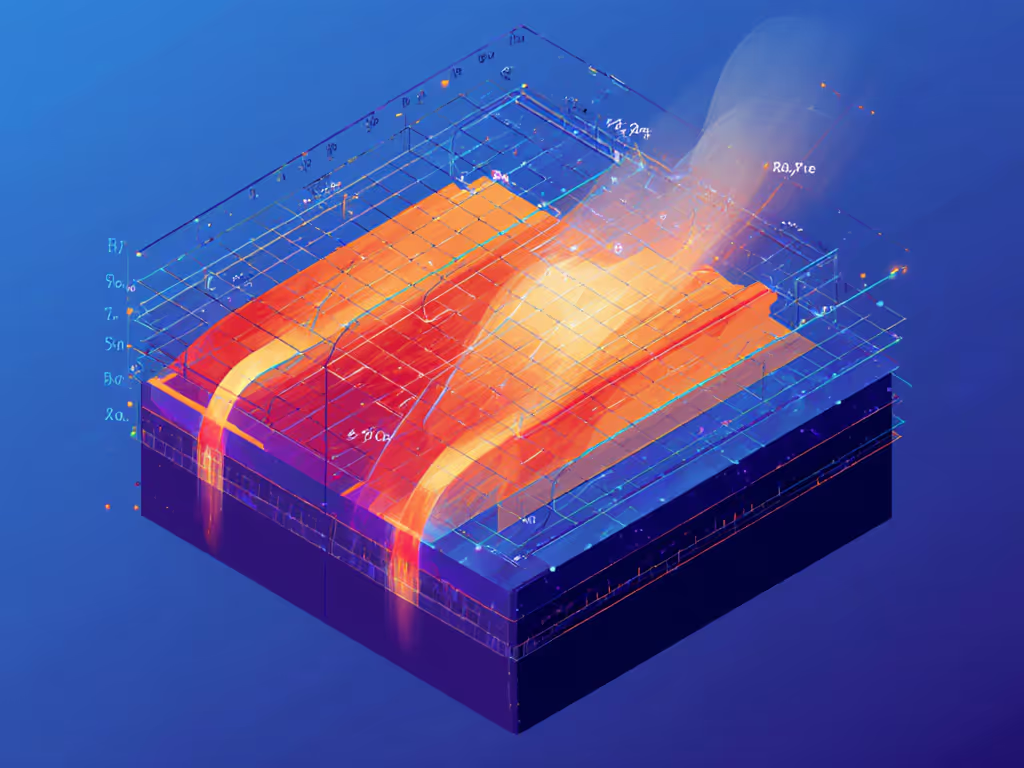
Thermal gradients aren't niche. They're your daily enemy. That "stable" 20°C CMM room likely has a 1.5°C gradient from floor to ceiling (verified by NIST Handbook 145). In geothermal work, such gradients directly indicate reservoir health. For your machined parts, they cause Abbe errors and thermal expansion mismatches. Key parallels:
- Geothermal flow monitoring requires compensating for thermal gradients along wellbores to calculate true reservoir pressure
- Your coordinate measuring machine requires compensating for thermal gradients across its structure to report true dimensions
A Solinst Levelogger 5's high-resolution temperature profiling (logging every 4 seconds during descent) reveals transient thermal layers invisible to spot-check thermometers. To automate continuous capture and feed results into SPC dashboards, consider wireless SPC tools. Similarly, your in-process gauges need continuous environmental logging (not just pre-shift checks) to satisfy ISO/IEC 17025's clause 7.2 on environmental monitoring. Without this, your uncertainty budget is incomplete.
Decoding Specification Sheets: Beyond Marketing Hype
How do I spot misleading claims about "subsurface temperature sensors"?
Spec sheets often hide critical limitations. Consider these red flags:
| Claim | Reality Check | Audit Risk |
|---|---|---|
| "High-temperature capable to 350°C" | Without stating duration (many tools survive 350°C for 1 hour but drift at 100 hours) (Weatherford's PTS Gauge specifies 350°C continuous via thermal barrier design) | Missing runtime limits invalidate uncertainty calculations |
| "0.01°C resolution" | Resolution ≠ accuracy - Solinst Leveloggers achieve 0.05°C accuracy only when deployed per protocol (slow descent rate, surface compensation) | Overstated resolution inflates TUR without improving measurement validity |
| "No recalibration needed" | All tools drift, geothermal gauges require post-run calibration checks per API RP 47 guidelines | Skipping verification fails ISO 9001 clause 7.1.5.2 |
True audit readiness comes from documented uncertainty contributions, not headline specs. A geothermal thermistor string's calibration certificate lists:
- Sensitivity to fluid velocity (affects response time)
- Hysteresis after thermal cycling
- Cross-sensitivity to pressure
Your dimensional tools need equivalent rigor. If your micrometer's certificate lacks temperature hysteresis data, it's as incomplete as a geothermal gauge without pressure compensation.
What's the real difference between "geothermal exploration tools" and standard shop-floor sensors?
It's about verified environmental resilience. Standard industrial RTDs might claim 150°C capability but fail under thermal cycling. Geothermal-grade tools undergo:
- Thermal shock testing: Rapid transitions from 20°C to 300°C (simulating well entry)
- Long-duration soak tests: 90+ days at max temperature (per IEC 60751 Annex D)
- Vibration profiling: Simulating downhole tool deployment
This translates directly to your shop: A probe surviving 100 thermal cycles in a geothermal well will outlast standard gauges in coolant-drenched machining environments. For wet and dusty conditions, learn how IP ratings for measuring tools affect durability and accuracy. When evaluating any tool, demand evidence of real-world environmental testing (not just lab specs). As one aerospace metrologist told me: "If it hasn't been baked, shaken, and soaked, it's not shop-floor ready."
Building Your Audit-Proof Measurement System: Practical Steps
How do I apply geothermal traceability principles to my calibration process?
Start with the golden rule: show your chain of traceability. When geothermal engineers document from borehole sensor → reference standard → NMI, they eliminate audit ambiguity. Replicate this for your critical measurements: If you're formalizing procedures, our ISO/IEC 17025 accreditation guide breaks down documentation and environmental monitoring expectations.
- Map environmental dependencies like geothermal teams do for thermal gradients. Example: Document how your shop's 18-24°C temperature band affects dial indicator repeatability (test at min/max temps)
- Quantify drift per condition (not just time). Geothermal gauges log performance degradation per exposure hour at 250°C. Your torque wrench should track drift per 1,000 ft-lb cycles
- Include environmental metadata in every calibration report. A geothermal pressure calibration includes wellhead temperature; your CMM report must log ambient temp at each measurement point

Trace it, budget it, then trust it under audit.
What's the actionable first step for improving my uncertainty budget?
Conduct a thermal gradient audit (tomorrow).
- Place calibrated thermometers at 3 heights in your measurement area (floor, workbench, ceiling)
- Log data every 15 minutes
- Correlate temperature variations with your critical measurement outcomes
Most teams discover ≥1.2°C gradients, enough to shift a 300mm part by 20 microns. This data becomes your first environmental uncertainty contribution. Then formalize it using our measurement uncertainty budget guide with step-by-step components. Unlike geothermal engineers who must budget thermal effects, many shops ignore them, creating hidden audit traps. Last month, I saw an AS9100 audit fail over unaccounted thermal drift in a thread gauge used near an oven. Don't be that team.
Tool Comparison: Geothermal-Grade Principles for Your Shop
While geothermal tools operate in extreme environments, their design philosophies reveal universal metrology truths. Below is a cross-walk of how top-tier geothermal instruments implement principles you can adopt today:
| Tool | Geothermal Application Insight | Shop-Floor Takeaway | Audit Impact |
|---|---|---|---|
| Weatherford Quantum PTS Gauge | Records pressure/temp/flow at up to 350°C with built-in thermal compensation algorithms | Mandate environmental compensation in all critical measurements (never assume "stable" conditions) | Passes ISO 17025 Section 7.7.1 (nonconforming work prevention) by design |
| Solinst Levelogger 5 | Uses surface-compensated 4-sec logging to resolve transient thermal layers | Implement continuous environmental logging during all critical measurements (not just spot checks) | Documents full measurement context for ISO 9001 clause 7.1.5.1 |
| BeadedStream Thermistor Strings | Custom-spaced sensors (every 0.5m) to profile thermal gradients | Place temperature sensors at critical points in your measurement path (not just one room thermometer) | Quantifies thermal expansion error sources per ASME B89.1.13 |
| Distributed Temperature Sensing (DTS) | Fiber-optic system measuring temp along entire wellbore (no discrete sensors) | Consider continuous monitoring for critical process parameters (e.g., coolant temp in grinding) | Eliminates "gap" uncertainty from sparse sensor placement |
Notice what's absent: marketing fluff about "revolutionary tech." Each tool's value lies in documented performance under specified conditions. That's the standard your shop-floor tools must meet.
Actionable Next Step: Audit Your Environmental Uncertainty Budget
Grab your three highest-risk measurement processes (e.g., first-article inspection, CMM calibration, thread certification). For each:
- Identify environmental variables (temp, humidity, vibration) per ISO 10012 Section 6.3
- Quantify their impact using physics-based calculations (e.g., thermal expansion coefficient × part length × ΔT)
- Document the uncertainty contribution in your measurement procedure
This takes <2 hours per process but transforms audit outcomes. Last quarter, a medical device client reduced nonconformities by 37% after adding thermal gradient data to their cal reports. They didn't buy new tools, they documented what mattered.
Geothermal teams survive extreme environments by obsessive traceability, not better hardware. Your audit success hinges on the same principle: show your chain of traceability from sensor to standard to NMI, with environmental effects fully budgeted. When the auditor asks for the thermometer behind your data, you'll hand them the chain, not an excuse.
Marcus O'Neal is a former calibration lab technician turned quality advisor. He helps precision manufacturers build measurement systems that pass audits without slowing production. His audits have closed with zero nonconformities 11 quarters running.

