Laser Tracker vs Portable CMM: Large-Scale Accuracy Guide
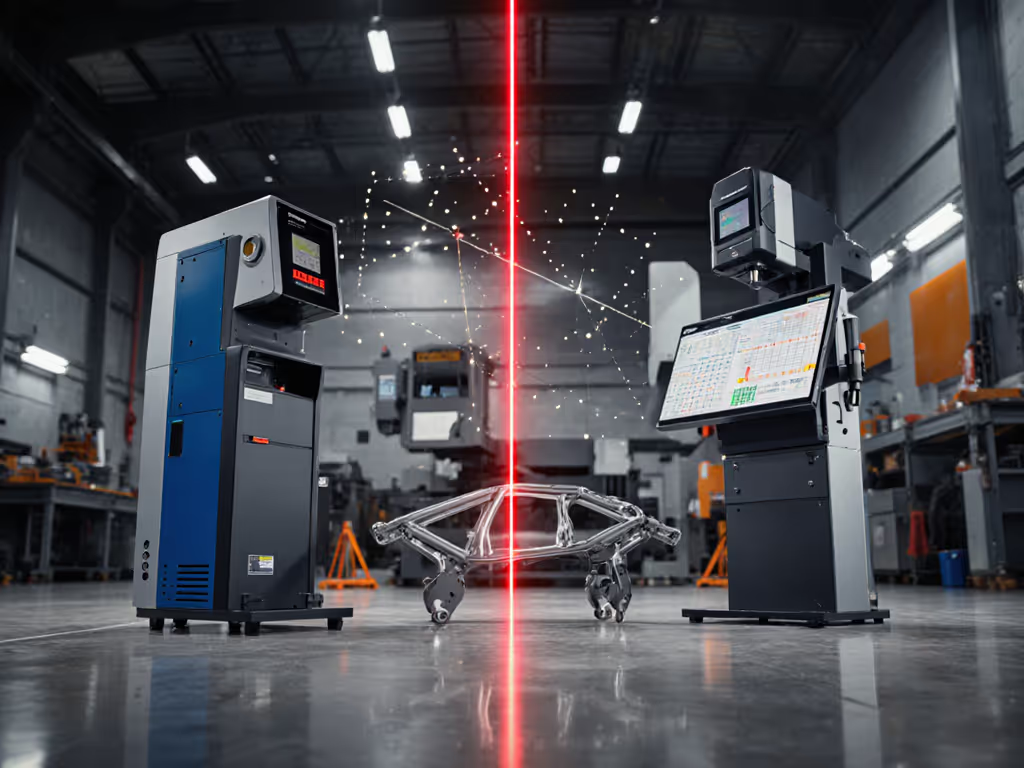
When your shop floor demands laser tracker vs portable CMM decisions for large-scale metrology comparison, specs alone won't save you from scrap or audit failures. I've seen teams spend six-figure budgets on "perfect" tools that crumbled under takt time, because nobody asked how operators would actually touch them. In this guide, I'll break down the real-world trade-offs so you can choose equipment that survives shift rotations, coolant splashes, and human nature. Let's cut through the marketing fluff with operator-first checklists you can implement tomorrow.
Step 1: Map Your Measurement Envelope (Not Just Part Size)
Forget brochure claims about maximum reach. What matters is how your large part inspection happens day-to-day. I've watched engineers measure a 40-foot aircraft fuselage section only to realize their portable CMM arm couldn't clear welding fixtures (wasting 3 hours per audit). Here's how to avoid that trap:
Operator Checklist: Pre-Installation Reality Check
- Measure the measurement zone: Walk the actual path with a tape measure. Note obstructions (cranes, tooling, safety zones) that affect sightlines or probe access
- Temperature scan: Record readings at start/end of shift near the work area. Laser trackers drift 0.02mm/m per °C, while portable arms handle swings better but have shorter reach
- Surface access test: Can operators safely reach all critical points without climbing? Document "can't measure here" zones upfront
If operators can't repeat it, it doesn't measure. This isn't philosophy (it is physics). Last year, we swapped a "high-accuracy" arm for a laser tracker on turbine casing alignment after discovering operators contorted to hit blind spots, introducing 0.3mm human-induced error. The part didn't change; our measurement workflow did.

Step 2: Translate Tolerances to Tool Capabilities (Bypass Spec Sheet Traps)
That shiny "±5μm" claim? Meaningless without context. I recently audited a shop using a portable CMM arm for ±0.05mm tolerances, only to find thermal expansion in aluminum fixtures added 0.08mm daily variation. Here's how to match tools to your actual needs:
Accuracy Reality Matrix
| Requirement | Laser Tracker | Portable CMM Arm | Critical Red Flags |
|---|---|---|---|
| Sub-50μm over 10m | ✅ (with SMR vProbe) | ❌ (arm deflection) | Arm users: Validate perpendicularity at max reach |
| Rapid gap/flush checks | ⚠️ (line-of-sight limits) | ✅ (direct contact) | Laser tracker users: Verify vProbe calibration weekly |
| Dark/reflective surfaces | ❌ (needs matte tape) | ✅ (tactile probe) | No matte tape in kit? Reject the quote. |
| Vibration environments | ❌ (laser sway) | ✅ (damped bases) | Arm base feet must have anti-vibe pads |
Your action step: Demand uncertainty budgets, not just accuracy specs. A laser tracker quoting "±15μm" should break down:
- 5μm from laser interferometer
- 7μm from thermal drift (show calculation)
- 3μm from operator technique (measured via GR&R)
If they can't provide this? Walk away. To understand where uncertainty actually comes from, see our measurement error types guide. I've seen shops pay premium for trackers that couldn't maintain ±50μm in real factory conditions, while a properly implemented arm held ±25μm reliably.
Teach-Back Cue for Teams
"If your field measurement accuracy drops when the welding rig starts, it's not the tool failing, it is the tool not matching the environment. Measure while the big gear runs."
Step 3: Stress-Test Workflow Integration Points
Tools live where humans work. I watched a team abandon a $150k laser tracker because it required 15 minutes per setup, killing takt time on a 2-minute cycle line. Portable metrology systems must bend to your process, not vice versa. Here's how to pressure-test integration:
Integration Stress Test Protocol
- Run a shadow shift: Have operators use demo units during actual production (not clean-room demos)
- Time each measurement cycle (include setup, probing, teardown)
- Note all frustration points (e.g., "had to wipe coolant 4x")
- Glove-on usability drill: Mandatory for shop-floor tools
- Can operators change probes wearing production gloves?
- Are critical buttons reachable with oily/rigid gloves?
- Pro tip: Use your actual winter gloves, thin demo gloves hide real issues.
- Data handshake test:
- Export sample data to your SPC system
- Verify timestamps match production logs (no UTC/timezone errors)
- Confirm GD&T callouts map correctly to your control plan
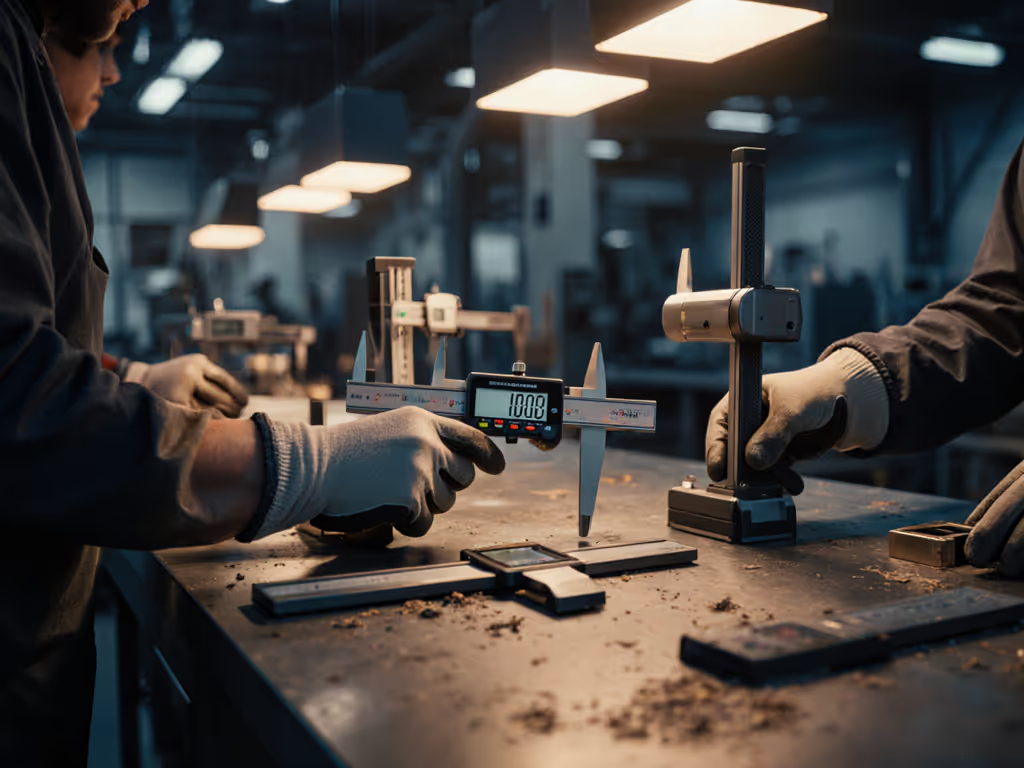
We once saved a medical device client 22 hours/week by switching from a tracker to an arm for implant frame inspections. Why? Their cleanroom required constant tool sterilization: arms could be wiped in 90 seconds, and tracker optics needed certified techs. Match the tool to your workflow rhythm, not trade show hype.
Step 4: Design for Operator Sustainability (The Hidden GR&R Killer)
Here's what spec sheets never mention: alignment verification tools fatigue human operators. I've measured GR&R spikes of 22% during third shifts purely from muscular fatigue, with no tool defect involved. Your choice must account for how humans actually work:
Ergonomic Threshold Calculator
| Tool Type | Max Continuous Use | Critical Fatigue Points | Mitigation |
|---|---|---|---|
| Laser Tracker | 4+ hours | SMR arm positioning, neck strain from target watching | Use pole-mounted vProbe; 10-min rotation shifts |
| Portable CMM Arm | 1.5 hours max | Shoulder strain, wrist torque from probe contact | Mandate force-limiting probes; 25-min rotation |
That anecdote about swapping calipers? Same principle applies here. On a bus frame line, we cut GR&R from 31% to 14% by:
- Adding vibration-dampened arm bases (reduced micro-movements)
- Implementing 2-minute teach-back sessions on "consistent probe drag"
- Using color-coded visual anchors for SMR placement on trackers
Your checklist for sustainable accuracy:
- Force feedback on probes (no "feel" guessing)
- Tool weight ≤15% of operator's dominant hand strength
- Fail-safes for accidental bumps (e.g., tracker auto-recalibrates on move)
- Glove-on usability verified for all controls
Making Your Decision: Actionable Next Steps
Don't fall for "one-size-fits-all" sales pitches. Your environment dictates the winner:
-
Choose laser tracker when:
-
You measure structures >4m continuously
-
Line-of-sight is achievable (e.g., aerospace framing)
-
Alignment verification across cells is critical (e.g., robot calibration)
-
Choose portable CMM arm when:
-
You need tactile probing on delicate surfaces
-
Measurements happen in cluttered spaces (no clear sightlines)
-
Large part inspection requires point-and-shoot speed on benchtops
Critical First Move Tomorrow
Grab your takt time sheet and a tape measure. Walk to the problem area and time how long it takes to:
- Position measurement equipment
- Complete one full cycle of critical points
- Return tools to storage
If step 2 eats >15% of your takt time, neither tool fits, rethink your process before buying. I've helped teams cut metrology time 70% by relocating inspection stations, not upgrading tools.
When the audit team arrives, they won't care which tool you bought, they'll ask for traceable data showing how you ensured repeatability. Build that proof into your workflow from day one. Design measurement into motion, not around it. And remember: if operators can't repeat it, it doesn't measure.

