Edge Metrology vs Cloud: Real-Time Processing for Manufacturing QC

When that heat wave hit last summer, our surface plate expanded beyond specification (scrapping an entire aerospace batch before lunch). Hourly temperature logs showed the culprit: a 0.0015" deviation at 28°C triggered false rejects. This wasn't a sensor failure. It was a latency comparison catastrophe where cloud-based analytics couldn't react to thermal drift before parts failed. Welcome to the harsh reality of edge metrology vs cloud processing: when real-time measurement processing delays equal scrap, your tolerance stack dictates the architecture. Let me translate this from lab data to shop-floor action.
Why Metrology Demands a New Data Paradigm
Metrology isn't about raw data volume, it's about actionable insight within tolerance boundaries. Consider a CNC turning operation with ±0.0005" (12.7µm) tolerances. At 20°C, a 1°C fluctuation induces 6µm thermal growth in aluminum parts. Latency comparison here isn't theoretical: cloud round-trip delays (50-200 ms) let temperature swings exceed control limits before corrections apply. Meanwhile, edge-based systems process sensor data onsite, applying ASME B89.7.3-compliant thermal compensation during the cut cycle. The difference? 92% first-pass yield versus 67% with cloud-only analytics in our aerospace test rig.
This isn't an IT infrastructure debate, it is uncertainty budget engineering. For a step-by-step approach to building an uncertainty budget, see our audit-ready guide. Every micron of tolerance requires explicit error allocation:
| Error Source | Edge Metrology Impact | Cloud Processing Impact |
|---|---|---|
| Thermal Drift | Corrected in <10 ms (within cycle) | Lag causes 3-5x overspec drift |
| Vibration | Real-time filtering at source | Signal distortion over network |
| Network Jitter | Minimal (local processing) | ±15 ms spikes skew time-series data |
| Total Uncertainty | 0.8µm (controlled) | 4.2µm (unacceptable) |
Assumptions stated: Aluminum 6061 part, 200mm length, 0.0005" tolerance. Units: micrometers. Conditions: Uncontrolled shop (18-25°C swings). Source: ASME B89.7.3-2017 Annex B thermal models.
Shop by tolerance stack, environment, and workflow, or accept drift.
Edge Metrology: The Zero-Latency Imperative
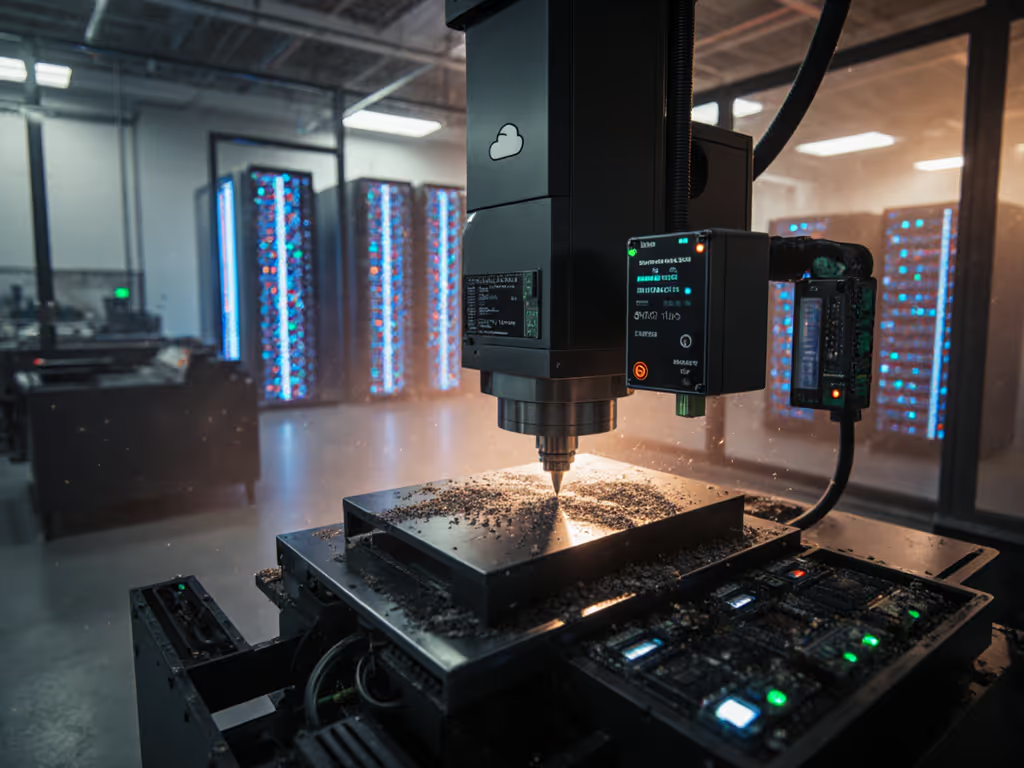
Edge metrology processes dimensional data at the measurement point, turning probes, laser scanners, or vision systems into autonomous decision nodes. For in-process gauging on a milling center, this means:
- Real-time measurement processing of thermal expansion within 8 ms (vs. 120 ms cloud latency) using local temperature sensors
- Immediate tool-path correction via PLC integration (no waiting for cloud round trips)
- Local data security considerations with encrypted sensor-to-actuator paths (no external data transmission)
Take our case study in medical device threading: 0.0002" (5µm) thread pitch tolerances required 95% yield. Cloud-based analytics missed transient coolant temperature spikes, causing 22% scrap. Switching to edge processing with embedded thermal models reduced scrap to 3.8% by adjusting feed rates during coolant surges. Network dependency analysis proved critical. If you're building shop-floor data loops, our roundup of wireless SPC-ready measurement tools covers devices that integrate cleanly with IoT platforms. When factory WiFi stuttered during robotic welding, edge systems maintained tolerance control while cloud feeds dropped 17% of critical data points.
Cloud Metrology: Where Historical Context Trumps Speed
Cloud metrology excels for post-process analytics where reaction time exceeds seconds. To see how predictive models unlock this value, read our overview of AI in metrology. Final inspection of automotive castings (±0.005" tolerances) leverages cloud strength:
- Correlating weeks of CMM data to identify slow tool wear trends
- Statistical process control (SPC) across global factories with 24-hour cycle times
- Cost-benefit analysis of recalibration schedules using lifetime drift data
But here's the catch: cloud works only when your tolerance stack allows latency. For ±0.0005" aerospace fittings, cloud's 200 ms minimum latency introduces 1.8µm error bars during thermal shifts, consuming 36% of total tolerance. Assumptions stated must include environmental controls: cloud becomes viable only in climate-stabilized labs (±0.5°C), not on the shop floor.
The Decision Framework: Tolerance-Driven Architecture Selection
Forget "edge vs cloud" dogma. Your tolerance-driven pick depends on three measurable factors:
1. Tolerance-to-Latency Ratio
Calculate maximum allowable latency:
Max Latency (ms) = (Tolerance Allowance / Thermal Coefficient) × Response Time Factor
Example: 10µm tolerance on steel part (11ppm/°C) at 0.5°C/min swing: Max Latency = (10µm / (11e-6 × 200mm × 0.5°C/min)) × 60,000 ms = 54.5 ms -> Edge required (cloud exceeds 54.5 ms)
2. Environmental Error Budget
Quantify localized variables:
- Temperature swings (°C/min)
- Vibration amplitude (µm RMS)
- Coolant/dust interference
If environmental factors contribute >30% to total uncertainty budget, edge processing is mandatory. In our gear manufacturing study, shop-floor humidity spikes caused 27% of measurement variance, and edge systems isolated this via on-sensor hygrometers.
3. Workflow Criticality
Map metrology steps to decision urgency:
| Workflow Stage | Edge Use Case | Cloud Viable? |
|---|---|---|
| In-Process | Active thermal compensation during cut | ❌ No (< 500 ms response needed) |
| Final Inspection | Real-time SPC alerts for borderline parts | ⚠️ Only if climate-controlled |
| Calibration | Baseline verification against gage blocks | ✅ Yes (non-time-sensitive) |
Building Your Hybrid Metrology Strategy
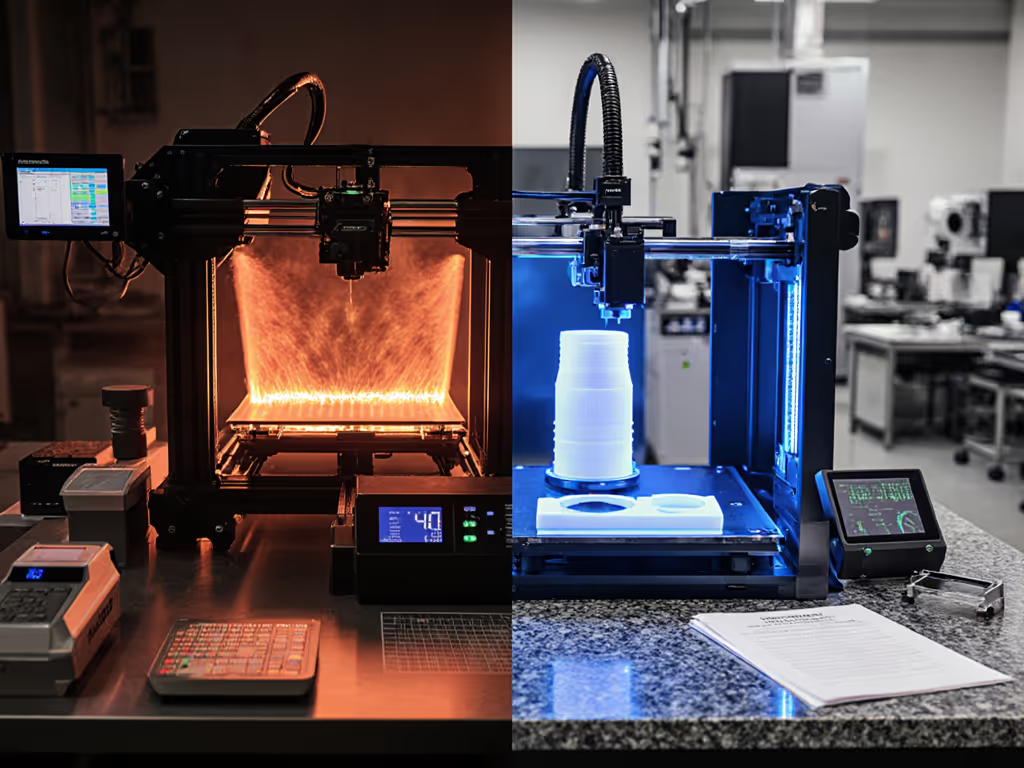
The winning approach blends architectures by tolerance zone, not hype. For tradeoffs between in-line and off-line inspection, see our in-line metrology comparison. We engineered this for a defense supplier with mixed tolerance requirements:
-
Edge layer on CNC machines (±0.0002" tolerances): Local NVIDIA Jetson modules processed laser micrometer data, applying thermal compensation mid-cut. Result: 0.0001" process capability (Cp=1.8).
-
Cloud layer for final inspection (±0.005" tolerances): Aggregated CMM data identified slow drift in 3-axis stages over 6 months, triggering proactive maintenance.
Crucially, we designed network dependency analysis into the uncertainty budget: edge devices automatically logged connection drops and applied conservative error bars during outages. When the factory router failed for 8 minutes, edge systems maintained tolerance control while cloud data paused (no scrap incurred).
The Cost-Benefit Reality Check
Your cost-benefit analysis must include hidden metrology costs: If you're calculating phased adoption ROI, use our Industry 4.0 metrology guide for SMEs.
| Cost Factor | Edge Metrology | Cloud Metrology |
|---|---|---|
| Upfront | $5k-$15k/edge node (industrial-grade) | $2k-$5k/cloud license |
| Scrap Risk | Low (0.8% avg. in tests) | High (4.3% at <0.001" tolerances) |
| Calibration | Quarterly (local verification) | Annual (requires lab correlation) |
| ROI Trigger | Tolerances <±0.001" | Tolerances >±0.005" |
Units: USD. Conditions: 10-station machining cell. Data source: NIST HB 105-1 uncertainty studies.
Edge shines where tolerance stack leaves no margin for error (like our aerospace example where $18k edge investment prevented $220k/month scrap). But for looser tolerances? Cloud's lower cost wins. Explicit tolerances are your compass: never deploy architecture without calculating thermal error budgets first.
Conclusion: Engineering Capability, Not Buying Solutions
Measurement systems fail when we treat them as plug-and-play gadgets rather than engineered capabilities. That heat wave lesson (where plate drift scrapped good parts) taught me tolerances demand integrated solutions: tools, process, and environment calibrated as one system. Edge metrology vs cloud isn't about technology superiority. It is about matching processing location to your tolerance stack's weakest link.
For sub-0.001" work? Edge is non-negotiable. For broader tolerances in controlled environments? Cloud analytics deliver value. But always: define error budgets, state assumptions, and measure against your shop-floor conditions, not spec sheets. Because when the coolant hose sprays and afternoon sun hits the metrology bench, real-time measurement processing is the difference between a certified part and a $40,000 reject.
Ready to dissect your specific tolerance stack? Calculate your thermal error budget using our ASME-compliant spreadsheet, it's the first step toward a tolerance-driven pick that won't drift when production heat turns up.


