History of Measuring Tools: From Cubits to Lasers

The history of measuring tools reveals how humanity engineered precision long before modern metrology labs existed. Understanding this evolution of measurement isn't just academic, it directly informs how we approach tolerance stacks and environmental controls today. As someone who's spent decades correlating lab data with shop-floor reality, I've seen how ignoring historical lessons leads to costly measurement errors. Let's examine key milestones through the lens of what actually matters to metrology professionals: explicit tolerances, uncertainty budgets, and conditions that impact real-world accuracy.
Frequently Asked Questions: A Metrologist's Perspective
What were the earliest standardized measurement systems?
Ancient civilizations developed remarkably sophisticated measurement systems out of practical necessity. The Egyptian royal cubit (circa 3000 BCE), measured from the pharaoh's elbow to fingertip and carved into granite standards, provided the consistency needed to construct the pyramids with millimeter-level joint precision. These granite rods established the world's first documented reference standards, though their thermal coefficient of expansion (approximately 8 ppm/°C for granite) meant temperature fluctuations introduced measurable error bars. Trade routes eventually forced cross-cultural standardization, as Mesopotamian gur-cubes and Roman foot measurements created reconciliation challenges we'd now call "inter-lab correlation issues."
How did measurement evolve from artisan workshops to scientific discipline?
The critical shift happened when societies recognized measurement as a system, not just tools. The metrology timeline shows parallel developments:
- 1631: Pierre Vernier's scale increased instrument resolution by 10x
- 1714: Britain's £20,000 longitude prize spurred marine chronometer development
- 1795: France established the decimal metric system during the Revolution
- 1875: 17 nations signed the Metre Convention creating the BIPM
These milestones weren't about isolated inventions, but engineered ecosystems. Vernier scales meant nothing without standardized screw threads for micrometers. Chronometers required astronomical observations for validation. The metric system's genius was defining units through reproducible phenomena (originally 1/10,000,000 of Earth's quadrant), establishing traceability we now take for granted. This systems approach remains essential (my core belief that "measurement capability is engineered across tool, process, and environment" comes directly from studying these historical inflection points).
What drove the precision demands of the Industrial Revolution?
Industrial revolution tools emerged from Darwinian pressure: interchangeable parts required consistent measurement. Eli Whitney's muskets (1800) needed gauges to verify tolerances, while James Watt's steam engines demanded cylinder roundness within what we'd now call ±0.1 mm. Key developments included:
- Standardized gauge blocks (Johansson, 1912)
- Optical comparators for profile measurement
- Dial indicators with mechanical amplification
Crucially, these tools required environmental controls we'd specify today as "20±1°C with 24-hour thermal stabilization." Without them, linear expansion would swamp functional tolerances, a lesson hammered into me during a heat wave that scrapped a production batch. I logged hourly temperature data showing how ambient swings exceeded our process tolerance by 300%, proving why environmental control isn't optional. Shop by tolerance stack, environment, and workflow, or accept drift.
How did modern metrology address measurement uncertainty?
The 20th century formalized what practitioners knew implicitly: all measurements contain error. For a practical breakdown of causes and how to minimize them, see our measurement error types guide. The 1889 adoption of the International Prototype Kilogram established artifact-based standards, but the 1983 redefinition of the meter using light wavelength marked the shift to fundamental constants. Modern measurement standardization hinges on:
- ISO/IEC 17025 uncertainty budgets
- SI unit definitions via physical constants (e.g., cesium frequency for seconds)
- Digital traceability through calibration chains
This evolution acknowledges measurement as a process with quantifiable error sources. When you specify a 50H7 bore, your uncertainty budget must account for temperature coefficients, probe pressure, and even the cosine error of your measurement technique. I've seen countless shops buy "high-precision" tools without considering these factors, only to fail GR&R studies because their workflow introduces unaccounted variables.
What historical lessons should guide today's tool selection?
The through-line from cubits to laser trackers is this: tools don't solve measurement problems, capabilities do. Consider these modern translations of historical lessons:
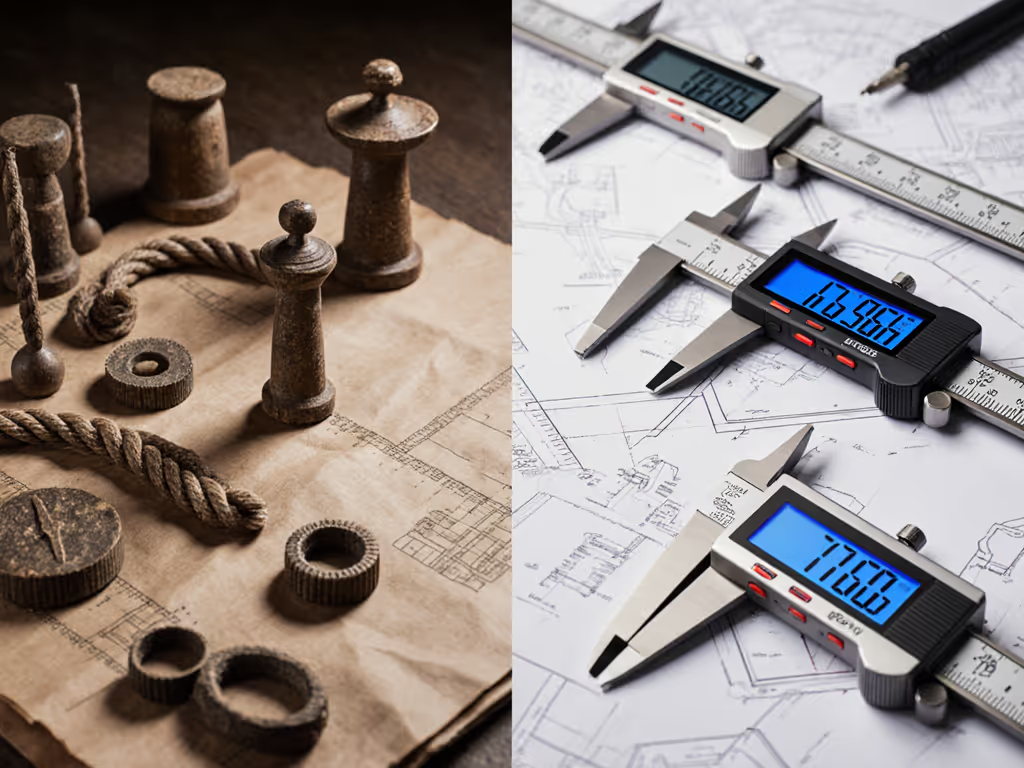
| Historical Challenge | Modern Equivalent | Key Mitigation |
|---|---|---|
| Inconsistent cubits between regions | Varying calibration intervals across departments | Centralized asset management with traceable certificates |
| Thermal drift of stone standards | CMM volumetric performance in uncontrolled environments | Environmental monitoring with documented uncertainty contributions |
| Artisan-dependent measurements | Technician technique variation | Standardized work instructions with error-proofing |
Your tolerance-driven pick starts by answering: What's the functional tolerance? What's the maximum acceptable measurement uncertainty (typically 10-25% of tolerance)? What environmental controls can you realistically maintain? I've watched teams waste capital on 0.5μm CMMs when their shop floor's thermal instability introduced 5μm of error, exactly why we specify units and conditions for every uncertainty calculation.
Why does measurement history matter for your daily work?
Understanding the evolution of measurement prevents repeating historical mistakes. The Romans used gromas for surveying because they understood alignment needed reference standards, something lost when shops buy laser levels without verifying their calibration against a master square. When selecting tools, state your assumptions explicitly:
- Maximum allowable temperature variation
- Required measurement uncertainty relative to tolerance
- Acceptable operator dependency
This systems approach transforms measurement from a cost center into engineered capability. Remember my heat wave experience: the surface plate didn't "fail," our process failed to account for environmental uncertainty. The data convinced management to invest in thermal control, finally aligning our CMM with micrometer readings on Monday mornings.
Shop by tolerance stack, environment, and workflow, or accept drift.
Conclusion: Learning From 5,000 Years of Measurement Wisdom
The history of measuring tools teaches us that precision isn't purchased, it's engineered through understanding error sources and controlling variables. Every modern metrology challenge has historical precedent: thermal effects plagued the Egyptians' granite cubits just as they challenge today's nanometer measurements. By studying this progression, we gain perspective on what truly matters: explicit tolerances, documented uncertainty budgets, and conditions that impact real-world accuracy.
For further exploration, I recommend reviewing the NIST Historical Metrology Collection and BIPM's online archives of measurement standardization milestones. Pay particular attention to thermal expansion coefficients of historical standards, they'll make you appreciate why we specify "20°C" for every critical measurement. When selecting your next tool, ask not what its resolution is, but how its uncertainty budget fits your tolerance stack. Because in the end, measurement capability flows from engineered systems, not polished spec sheets.
Related Articles

Medical Metrology: Your Audit Survival Guide
Make metrology audit-ready for FDA scrutiny by building complete traceability chains, quantifying uncertainty, controlling environments, and validating tools and software. Get practical steps that tie measurements to patient impact, justify calibration intervals, and cut false accepts, rework, and scrap.
