Fusion Metrology: Avoiding Measurement Traps at 100M°C
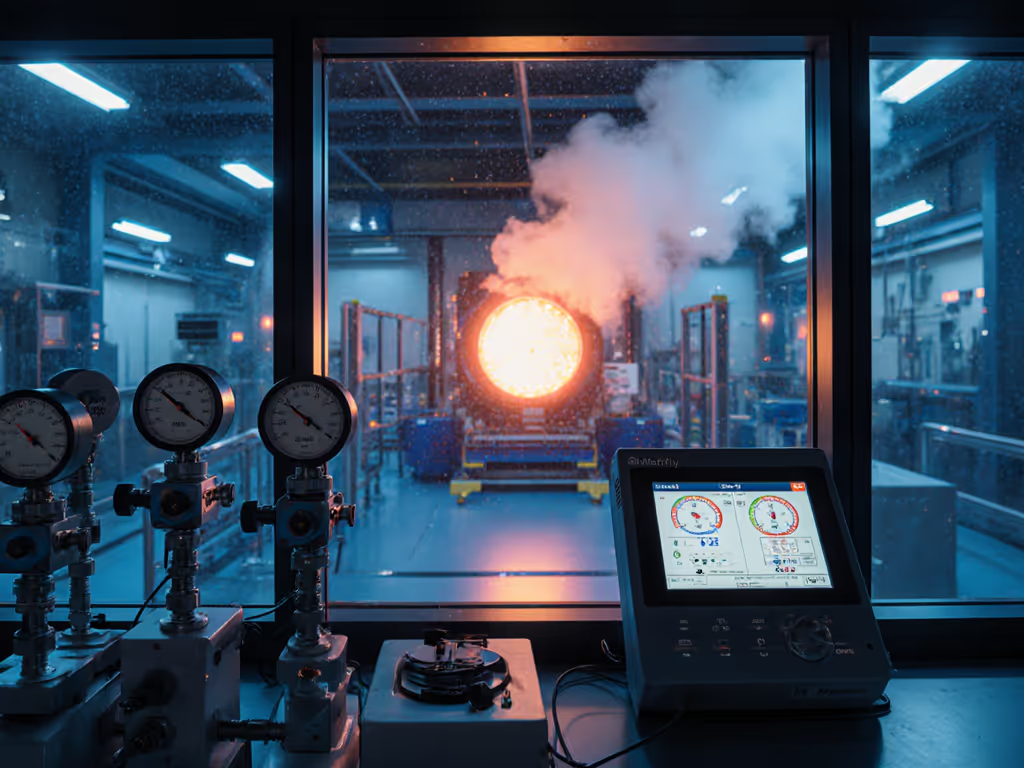
For metrology professionals, fusion energy metrology isn't just about plasma physics, it is the ultimate stress test for your documentation discipline. When plasma measurement systems operate at 100 million degrees, the same documentation gaps that cause minor audit findings in your shop become grid-scale failures. I've seen this play out: a missing revision on a micrometer SOP once halted a supplier PPAP. Measurements were correct; the paperwork wasn't. If you need a refresher on traceability fundamentals, see our measurement traceability guide. In fusion, that gap could strand trillions in infrastructure. Let's dissect this through the lens of what actually survives audits.
Why Should Precision Manufacturers Care About Fusion Metrology?
Simple: The measurement traps in fusion labs mirror your shop-floor vulnerabilities (just amplified). Your CNC machinist battles cosine error; fusion engineers fight plasma instabilities that distort laser paths by 0.001%. Your torque wrench drifts; their neutron flux monitors face radiation-induced calibration decay. Both hinge on one truth: consistency and documentation convert good measurements into reliable decisions. If it isn't documented, it is hope, not evidence under pressure.
Q: What's the Core Measurement Challenge in Fusion?
A: Extreme temperature measurement isn't about the thermometer, it is about the audit trail. Plasma density diagnostics (like dispersion interferometers) must prove continuous traceability. Consider this: ITER's magnetic confinement diagnostics require real-time calibration against NIST-traceable standards while neutron flux monitoring sensors degrade from 14 MeV radiation. Your shop's CMM calibration certificate? That is a warm-up drill. Fusion systems log environmental drift during operation, because if neutron flux data lacks timestamped temperature compensation logs, regulators reject it outright. Risk before convenience.
Q: How Do Fusion Labs Avoid Your Common Audit Traps?
Trap #1: "Good Enough" Uncertainty Budgets
- Fusion reality: A 0.5% error in electron density (measured via Thomson scattering) collapses confinement. Labs document every contributor: laser wavelength drift, window birefringence, vibration harmonics. Not just "<1% uncertainty".
- Your fix: Demand uncertainty budgets showing all environmental factors (coolant temp, floor vibration) for critical tooling. If your supplier hides behind "accuracy spec", escalate it as a high-risk item. Build yours from our measurement uncertainty budget guide.
Trap #2: Uncontrolled Revision Cycles
- Fusion reality: At Tokamak Energy's ST40 reactor, a single missed revision on a dispersion interferometer SOP triggered a 72-hour shutdown. Operators used outdated alignment procedures, even though the measurements were correct. Paperwork ≠ evidence.
- Your fix: Implement version-controlled work instructions for all gages above 4:1 TAR. Use QR codes linking to live calibration certs. Missing revision callouts = automatic nonconformance.
Trap #3: Ignoring Measurement Context
- Fusion reality: Wendelstein 7-X's API laser trackers measure stellarator geometry in vacuum conditions. Ambient air refraction would skew results by 500μm, but the system auto-compensates using real-time pressure logs tied to the measurement record.
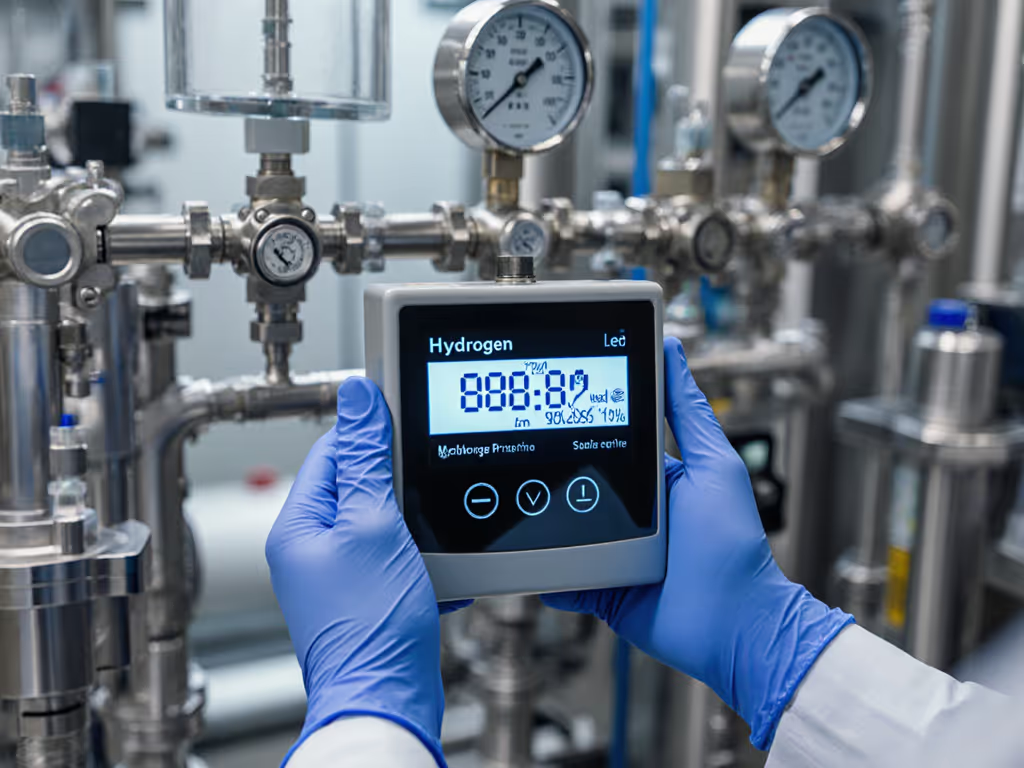
If your pressure gauge reads "760 torr" without timestamped logs, it is not data, it is hope. Audit evidence requires linked environmental context.
- Your fix: Mandate environmental logs (temp, humidity, vibration) for CMM rooms with timestamps synchronized to measurement exports. Tie them via SPC software. For industrial IoT data pipelines, consider wireless measurement tools with SPC integration. No links? No acceptance.
Critical Red Flags in Fusion Reactor Instrumentation (And Your Shop)
Fusion's neutron diagnostics expose flaws we ignore daily:
- "Calibration in situ" myth: Neutron spectrometers can't be recalibrated mid-pulse. Similarly, your in-process bore gage loses traceability if unchecked between lots. Acceptance criteria must include interim verification frequency.
- Silent tool drift: Radiation darkens optical fibers in interferometers, slowly corrupting density readings. Like your digital calipers losing zero after coolant exposure. Document drift tolerance in work instructions, not just "calibrate annually".
- Single-point failure: One damaged sensor cripples magnetic confinement diagnostics. Your audit should verify backup measurements for critical dimensions (e.g., secondary gaging method).
How to Audit-Proof Your Metrology (Without Fusion Budgets)
- Demand evidence links: For every tool, require a documented chain: calibration cert → environmental logs → raw measurement file. Like fusion labs linking INPA data to plasma wave simulations.
- Standardize revision callouts: Adopt ISO 17025's change-control rigor. If a technician modifies a gage setup, it triggers a new work instruction with version history. No exceptions.
- Map test accuracy ratio to risk: Use 10:1 TAR for safety-critical dimensions (e.g., medical implants), 4:1 for routine. Fusion uses 20:1 for plasma position control, match your ratio to consequence severity.
The Bottom Line for Metrology Teams
Fusion metrology isn't sci-fi, it is a mirror for your documentation gaps. When DIII-D National Facility achieved milestone triple products, it wasn't just the plasma physics; it was impeccable diagnostic traceability. Your shop's next audit hinges on the same question: Can you prove every measurement's validity under pressure?
Risk before convenience isn't a slogan, it is the difference between a twelve-minute audit sign-off (like our PPAP fix) and a stop-ship order. Harden your measurement systems now: document the unknowns, control the revisions, and demand evidence links. Because when the auditor asks, "How do you know this gage was valid during run #432?", hope won't cut it.
Further Exploration
- Cross-reference ASME B89.1.13 for environmental controls in precision measurement
- Study ITER's diagnostic quality protocols (INFCIRC/1575) for traceability models
- Implement NIST's uncertainty framework (TN 1297) for critical tooling
- Verify calibration intervals using actual drift data (not generic manufacturer claims)

