Shop-Proof Metrology Tools for Precision Metal Fabrication
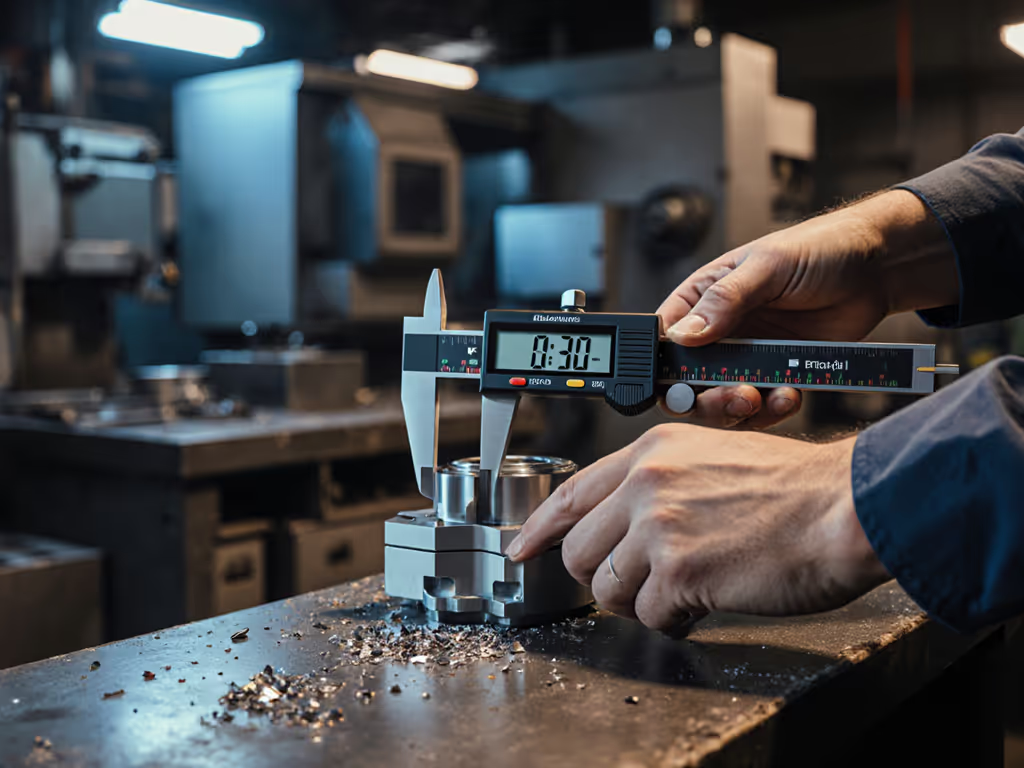
Let's cut through the marketing haze: your metrology tools only deliver value when they survive the reality of your shop floor. In precision metal fabrication, where tolerances hit ±0.005" and dimensional accuracy means the difference between profit and scrap, most engineers overpay for headline specs while underestimating the hidden costs of failure. I've seen a $299 "bargain" digital caliper become a $14,000 downtime event when its calibration drifted during aerospace production (three days waiting for a certified replacement while the line sat idle). Pay for capability, not chrome (count the lifecycle costs). This isn't theoretical; it's TCO math that separates those who pass audits from those who panic during them.
1. The TCO Trap: Why Spec Sheets Lie About Real-World Metrology Performance
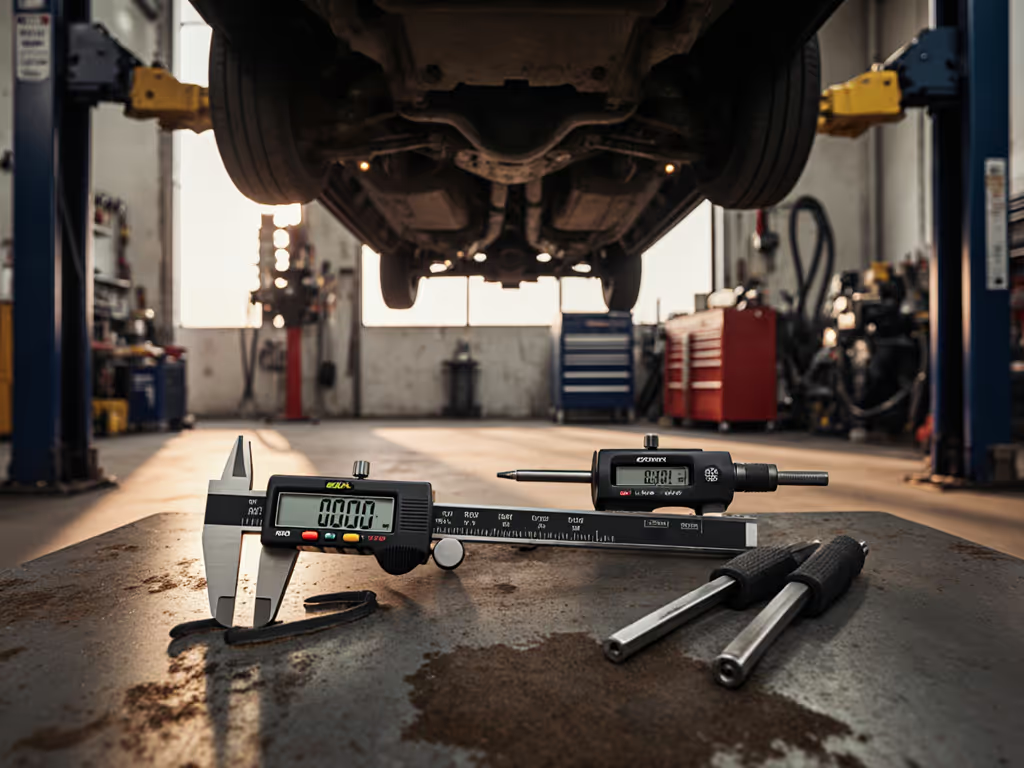
Manufacturers obsess over resolution (how small a movement the tool detects) while ignoring repeatability (whether it gives the same reading twice under shop conditions). For a quick refresher on fundamentals, see accuracy vs precision. A micrometer boasting 0.0001" resolution might deliver 0.0005" variation when handled by gloved technicians near coolant splashes. Last year, a medical device client insisted on "the highest resolution" calipers for 316L stainless components. Their $550 tools failed GR&R analysis within weeks, and their digital readouts flickered near welding stations due to electromagnetic interference they never tested for.
Reality Check:
- Verify test conditions: Does the manufacturer specify temperature ranges, vibration thresholds, or EMI resistance? If not, assume it's lab-only performance.
- Demand uncertainty budgets: Reputable vendors publish expanded uncertainty (k=2) for each measurement range. No budget? No contract.
- Calculate downtime risk: For critical processes, multiply your hourly line cost by your average calibration lead time. That's your true cost of tool failure.
Standard calibration intervals assume perfect conditions. Real shops need service terms that account for coolant exposure, thermal cycling, and technician turnover.
2. Your Calibration Dollar: Mapping Tolerance Requirements to Tool Capability
Precision sheet metal fabrication demands tools matching your tolerance stack, not marketing fantasies. A ±0.010" bracket needs different metrology than a ±0.001" medical implant. Yet 68% of shops (per SME survey) use the same calipers for both, causing either overkill or under-spec scenarios. The 10:1 test accuracy ratio rule (instrument accuracy must be 1/10th of part tolerance) isn't optional (it's physics). For 0.005" tolerances, your tools need 0.0005" uncertainty or better. If you're building an uncertainty budget, start with our measurement uncertainty guide.
Shop-Proof Strategy:
- Tier your tooling: Class A (±0.0002") for critical aerospace features, Class B (±0.001") for general precision work, General Purpose for non-critical.
- Calculate capability ratios: Aim for Cgk > 1.33 (per ISO 22514-3). If your height gauge shows Cgk=0.9 on first analysis, its TCO math is already failing you.
3. The Environmental Wildcard: Temperature, Vibration, and Their Hidden Costs
Steel expands 0.0000065" per inch per °F. A 72" part measured at 78°F instead of 68°F? That's 0.0047" error (enough to scrap an AS9100 component). Yet 40% of shops (per NIST data) don't temperature-stabilize measurement areas. Heat-resistant tools aren't just for foundries; standard calipers lose accuracy beyond 86°F ambient. One automotive supplier discovered their "precision" inspection cell hit 92°F in summer, causing 12% of parts to falsely fail flatness checks.
Critical Mitigation:
- Material matters: Invar steel tools (expansion coefficient 0.00000065/°F) cost 2x standard but eliminate thermal drift in uncontrolled environments.
- Document environmental controls: Your ISO 9001 audit requires proof of temperature monitoring during calibration. No logs? Automatic nonconformance.
4. Serviceability > Resolution: The Shop Floor Reality Check
I've watched technicians waste hours trying to "calibrate" a jammed depth micrometer when a $12 replacement anvil would've fixed it. Too many shops prioritize resolution over service terms. Metal thickness gauges must have field-replaceable contact points; surface finish testers need recalibration kits available within 48 hours. A Fortune 500 medical client switched vendors after their supplier quoted 14-day lead time for a replacement probe (anodized aluminum housings versus serviceable stainless steel made all the difference).
TCO Red Flags:
- No spares lists: If the vendor doesn't publish a bill of materials with lead times, assume 30+ day waits.
- Non-standard batteries: CR2032 cells last 2 years; proprietary packs cost $45 and take 3 weeks to ship.
5. Surface Finish Measurement: Beyond the Marketing Hype
Ra values look precise until you realize most handheld profilometers drift 15% after 6 months without recalibration. Medical device manufacturers learned this hard when identical instruments gave Ra 0.4μm vs 0.8μm readings on the same 304SS surface, causing batch rejections. Surface finish measurement tools require traceable calibration against certified roughness standards, not just "works good enough" field checks. For deeper context on parameters and methods, read our guide to surface roughness measurement.
Reality Protocol:
- Validate against known standards: Test your profilometer on NIST-traceable calibration stones daily.
- Track tip wear: Diamond tips degrade after 20,000 measurements. Budget $85/year/tool for replacements.
6. Metal Thickness Gauges: When "Good Enough" Becomes a Liability
Ultrasonic thickness gauges advertise ±0.001" accuracy but fail catastrophically on hot surfaces. A power plant maintenance team learned this when their "precision" gauge read 0.187" on 0.250" pipe insulation, because they didn't factor in the 180°F surface temperature. Non-destructive testing requires metal thickness gauges with temperature compensation verified per ASTM E797.
Audit-Proof Checklist:
- Requires: Temperature coefficient specs, calibration against stepped shims, and probe heat tolerance documentation.
- Reject: Any tool without ISO/IEC 17025-accredited calibration certificate showing traceability to NIST.
7. Building Layout Tools: Precision That Survives the Real World
Laser measures claiming ±1/16" accuracy often fail when mounted on vibrating structures. Construction crews using them for large-scale fabrication discovered 0.5" errors at 50 feet due to thermal lensing in afternoon sun. True building layout tools need ruggedized housings (MIL-STD-810G), not just IP67 ratings. One shipyard standardized on tripod-mounted units with thermal compensation, reducing alignment rework by 37% despite 20°F daily swings.
Shop Floor Mandate:
- Verify real-world uncertainty: Test tools at your maximum working distance under production conditions.
- Demand service history: Tools should log environmental exposure (temp, humidity, drops) to predict calibration needs.
8. The Hidden Service Network: Why Calibration Intervals Are Just the Start
Your calibration certificate is worthless if the vendor can't service it during production crunches. I've audited shops with $8,000 CMMs idle for weeks because the sole certified technician was on vacation. True precision metal fabrication requires service coverage matching your uptime needs, not annual calibration slots. One aerospace supplier negotiated on-site calibration techs as part of their service terms, cutting downtime risk by 89%.
Non-Negotiables:
- Loaner programs: For critical tools, require 24-hour replacement guarantees.
- Fleet standardization notes: Track mean time between failures (MTBF) across tool groups. If calipers fail 3x more than micrometers, consolidate your spend.
9. Cross-Compatibility: The Unseen Cost of Tool Silos
Using five different brands of digital calipers creates hidden costs: five calibration schedules, five software systems, five training protocols. One job shop calculated 117 labor hours/year just managing tool data across incompatible systems. True metrology tools ecosystem thinking requires standardized interfaces (USB-C over proprietary ports) and unified data formats.
Fleet Strategy:
- Adopt a single protocol: Bluetooth LE with open API beats closed ecosystems every time.
- Map data flow: Can measurements auto-populate your SPC system without manual transcription? If not, the tool's TCO math is broken. To streamline data capture, see our wireless SPC-ready measuring tools.
10. The ROI of Capability: Calculating What Precision Really Costs
Forget the purchase price. Real cost = (tool cost + calibration costs + downtime risk) ÷ years of service. A $1,200 caliper with 5-year service life, $150/year calibration, and 4-hour max downtime costs $1,800. A $700 "budget" model lasting 18 months with $200 calibration and 24-hour downtime risk? $2,340, and that's before scrap costs. Standardize where it helps across your fleet, and you'll see 15-30% TCO reduction.
Final Verdict
Stop buying metrology based on spec sheets. Demand tools engineered for your shop's reality, with service terms matching production needs, spares lists that prevent downtime, and standardization that simplifies audits. The true cost of precision metal fabrication isn't in the tool cabinet; it's in the hours you lose when your measurements fail. I've run the TCO math across 27 vendor trials: capability sustained over time beats headline specs every time. Pay for what keeps your line running, not what looks good in a brochure. Your next audit, and your bottom line, will thank you.

