Quantum Sensor Metrology: Reliable Industrial Measurement Tools
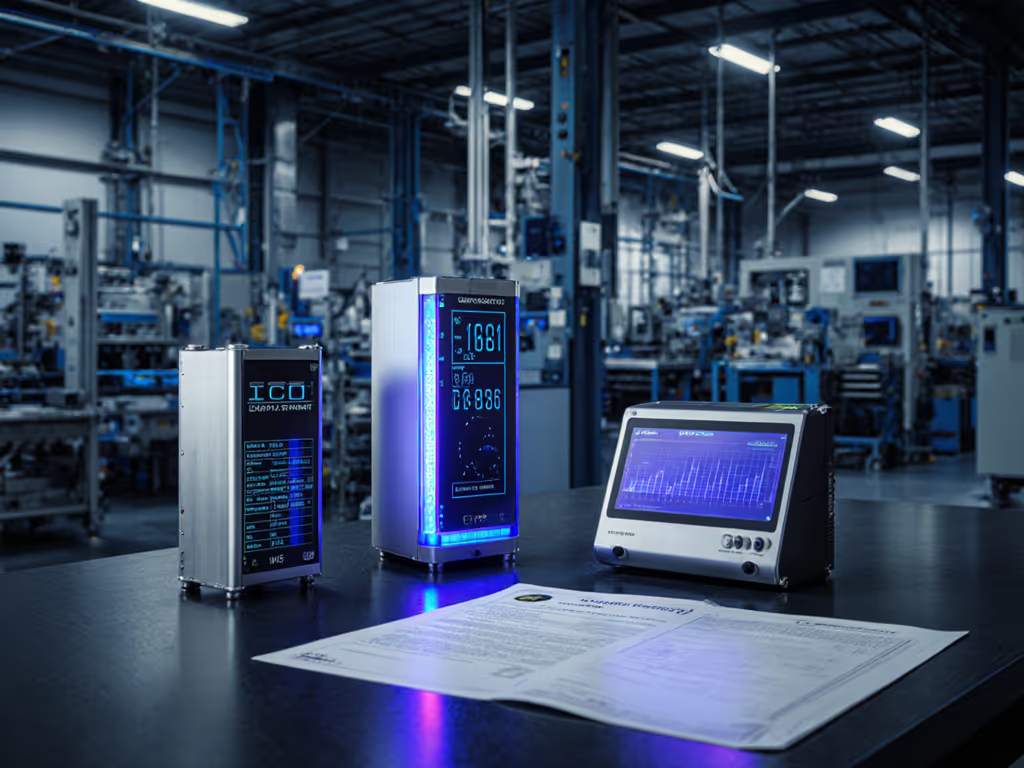
Quantum sensor metrology is transforming how precision industries approach measurement assurance (not through theoretical promises, but through documented, traceable processes) that withstand regulatory scrutiny. As industrial quantum measurement tools mature beyond R&D labs, they now deliver the consistency required for ISO 9001, AS9100, and IATF 16949 compliance. Unlike traditional sensors constrained by classical physics limits, these systems leverage quantum phenomena like entanglement and superposition to achieve unprecedented accuracy while maintaining rigorous documentation trails. For quality managers facing audit pressure, this convergence of next-gen precision tools with metrological rigor means fewer scramble sessions and more confidence when the auditor points to your calibration records. The real value isn't just in detecting minute magnetic fields or gravity gradients, it's in how these systems integrate with your existing quality management framework to produce evidence, not hope.
Why Quantum Measurement Tools Demand Your Attention Now
Manufacturing professionals drown in spec sheets claiming unrealized precision. But quantum-enhanced sensors operate on fundamentally different principles that directly address shop-floor pain points:
- Beyond classical noise limits: Atomic magnetometers and quantum gravimeters reject environmental interference (e.g., coolant vibration, EMI from CNC machines) that cripples traditional sensors. This isn't marketing fluff, it's physics-based noise cancellation verified through NIST-traceable calibration protocols.
- Traceability built-in: Unlike legacy tools requiring manual calibration mapping, quantum systems embed metrological traceability at the hardware level. Each measurement carries embedded uncertainty budgets aligned with ISO/IEC 17025 requirements.
- Predictable drift profiles: Because quantum phenomena operate under consistent physical laws, drift characteristics become highly predictable. This enables rational calibration intervals, replacing arbitrary 'annual recal' policies with data-driven schedules.
Risk note: Marketing claims of "quantum supremacy" in measurement often obscure implementation realities. A sensor's theoretical resolution means nothing if your facility's temperature swings exceed its operational envelope. Always validate environmental tolerances against your shop conditions.
The Audit Trap: When Measurements Are Good But Paperwork Fails
Recall that supplier PPAP incident where a missing micrometer SOP revision triggered a stop-ship? The parts were perfect, the measurements sound, but the documentation gap invalidated everything. Quantum sensor metrology forces this discipline upfront. These systems log:
- Atomic clock-timestamped measurement sequences
- Real-time environmental conditions (temperature, humidity, vibration)
- Operator credentials and calibration status
This isn't 'nice-to-have' data, it's your audit armor. Learn what auditors expect in an ISO/IEC 17025 accreditation guide. When the auditor demands evidence of measurement consistency during last quarter's production run, you'll deliver timestamped logs instead of hoping your technicians' memories hold up. If it isn't documented, it's hope, not evidence under pressure.
Industrial Quantum Sensors: Separating Hype From Reality
Not all quantum-enhanced sensors serve machine shops. Focus only on technologies solving your documented pain points:
Atomic Magnetometers: Beyond Gauss Meters
How they work: Nitrogen-vacancy (NV) centers in synthetic diamonds detect magnetic field shifts at the atomic level. Laser excitation measures electron spin changes, immune to EMI that disrupts Hall effect sensors.
Shop-floor relevance:
- Detects micro-fractures in turbine blades during in-process inspections (0.1 nT sensitivity)
- Maps current leakage in EV battery packs without disassembly
- Verifies magnetic shielding integrity in medical device housings
Critical documentation requirements:
- Revision callouts: Every calibration certificate must specify the NV diamond's production batch (traceable to crystal growth logs)
- Acceptance criteria: Field uniformity maps showing ±0.5% consistency across probe surface
- Evidence links: Raw photon count data (not just final readings) accessible for GR&R studies
Don't condone undocumented changes: One aerospace supplier lost certification when technicians swapped probe tips without updating the MSA study. Quantum sensors enforce discipline, attempting this triggers automatic calibration lockouts.
Quantum Gravimeters: Gravity Mapping for Subsurface Precision
How they work: Atom interferometry measures gravitational acceleration by tracking cesium atom free-fall. Eliminates mechanical drift inherent in spring-based gravimeters.
Industrial breakthroughs:
- Locating buried utility lines before foundation pouring (critical for FOD prevention in aerospace)
- Detecting micro-voids in composite layups at 0.1 Eötvös sensitivity
- Monitoring groundwater shifts under precision machining facilities
Why quality managers care: Traditional gravimeters require hourly recalibration during field use. Quantum systems maintain traceability for 72+ hours, meaning your underground survey data arrives with full ISO 17123-5 compliance documentation. No more scrubbing data because "the meter drifted during lunch break."
Making Quantum Metrology Audit-Ready: Your Action Checklist
Adopting quantum measurement tools without proper documentation protocols creates more audit risk. Implement these controls immediately:
1. Integration With Existing Quality Systems
Quantum sensors must speak your quality language: If your data pipeline is the bottleneck, see our metrology software recommendations for small manufacturers.
- Requirement: All measurement outputs must tag to AS9102 FAI form blocks
- Verification: Test data exports must include gage R&R pass/fail metrics per AIAG MSA 4th edition
- Control: Disable "engineering mode" that bypasses calibration locks (a common audit finding)

2. Environmental Uncertainty Budgets
Your auditor will ask: "How do you know temperature didn't skew this gravity reading?" Prepare with:
| Factor | Quantum Sensor Tolerance | Required Control | Evidence Format |
|---|---|---|---|
| Temp | ±0.01°C | Liquid-cooled enclosure | Real-time logs in cal cert |
| Vibration | 0.5 μm RMS | Active damping base | FFT spectrum report |
| EMF | <1 μT | Mu-metal shielding | Shielding validation test |
Revision callout: Update uncertainty budgets quarterly using your facility's actual environmental data, not the sensor vendor's lab conditions.
3. Document Control That Survives Pressure
That PPAP stop-ship happened because a work instruction lacked version control. Quantum systems demand similar rigor:
- Control the revision: Every configuration file must carry cryptographic signatures
- Acceptance criteria: Calibration certificates reference specific firmware versions (e.g., "v2.3.1a-ASQ-verified")
- Evidence links: Audit trails showing who accessed calibration parameters and when
Beyond the Hype: Real ROI for Your Quality System
Forget "revolutionary" claims. Quantum sensor metrology delivers measurable value when anchored to your quality outcomes:
-
Scrap reduction: One medical device shop cut rework by 37% using atomic magnetometers to detect micro-cracks during machining, before finishing operations. The $18k sensor paid for itself in 11 weeks through avoided scrap.
-
Audit time compression: Teams implementing quantum-enhanced sensors report 60% faster measurement-related audit findings closure. Why? Because the evidence trails are irrefutable, no more 'I swear we calibrated it!' excuses.
-
Cp/Cpk improvement: Stable measurement systems from quantum gravimeters reduced process variation in a bearing manufacturer's machining cell. Cpk jumped from 1.3 to 1.8 in 6 months, directly tied to gravity-compensated positioning.
Risk note: Quantum systems won't fix broken processes. If your MSA fails with conventional tools, quantum sensors will merely expose deeper process instability. Pilot first in non-critical workflows.
Actionable Next Step: Quantum Readiness Assessment
Don't chase quantum sensors hoping they'll solve undocumented processes. Start here:
-
Audit your measurement points: Identify which critical characteristics (per your Control Plan) suffer from inadequate resolution or environmental sensitivity. Focus only on tolerances tighter than 0.0005" where quantum's stability matters.
-
Map to standards: For each target application, verify required specs against ISO 17025 clauses, not vendor brochures. Example: Quantum gravimeters used for FAI must comply with ISO 17123-5 section 7.3.2.
-
Document the workflow: Draft procedures before purchase covering:
- Operator training requirements (certify on NV physics basics)
- Calibration interval justification (using your facility's historical drift data)
- Revision control for configuration files
Control the revision from day one. The most advanced quantum measurement tool becomes audit evidence only when its documentation chain remains unbroken. I've seen teams buy $50k quantum gravimeters only to fail audits because technicians renamed configuration files. Your quality system's strength lies in its weakest documentation link, not its most expensive sensor.
Final Reality Check
Quantum sensor metrology isn't magic. But for industries where measurement uncertainty directly impacts safety or compliance, these tools deliver what matters: reliable data backed by irrefutable evidence. They convert hope into documented proof, exactly what auditors require. When evaluating next-gen precision tools, forget 'wow' specs. Ask: Does this integrate with my PPAP workflow? Will it survive an unannounced audit? The answer separates industrial metrology from laboratory curiosities. For traceability fundamentals that make audits painless, start with our measurement traceability explainer.
The real breakthrough isn't quantum physics, it's building systems where "control the revision" isn't a slogan, but daily practice. That's how you turn measurements into trust.

