Master Precision Marking: Woodworking Layout Secrets
By Marcus O’Neal • 7th Oct
When precision matters in woodworking hand tools, the measurement chain from your steel rule to final product defines quality just as much as your joinery. Too many makers treat measuring tools in woodwork as simple implements, yet I've seen audits fail over undocumented layout processes. Trace it, budget it, then trust it under audit. Today, we'll examine marking systems through the lens of measurement science, not just craft. Let's address your real pain: building confidence that your layout marks won't become scrap parts when dimensions matter.
Trace it, budget it, then trust it under audit.
Why do most woodworkers underestimate the importance of documented measurement processes?
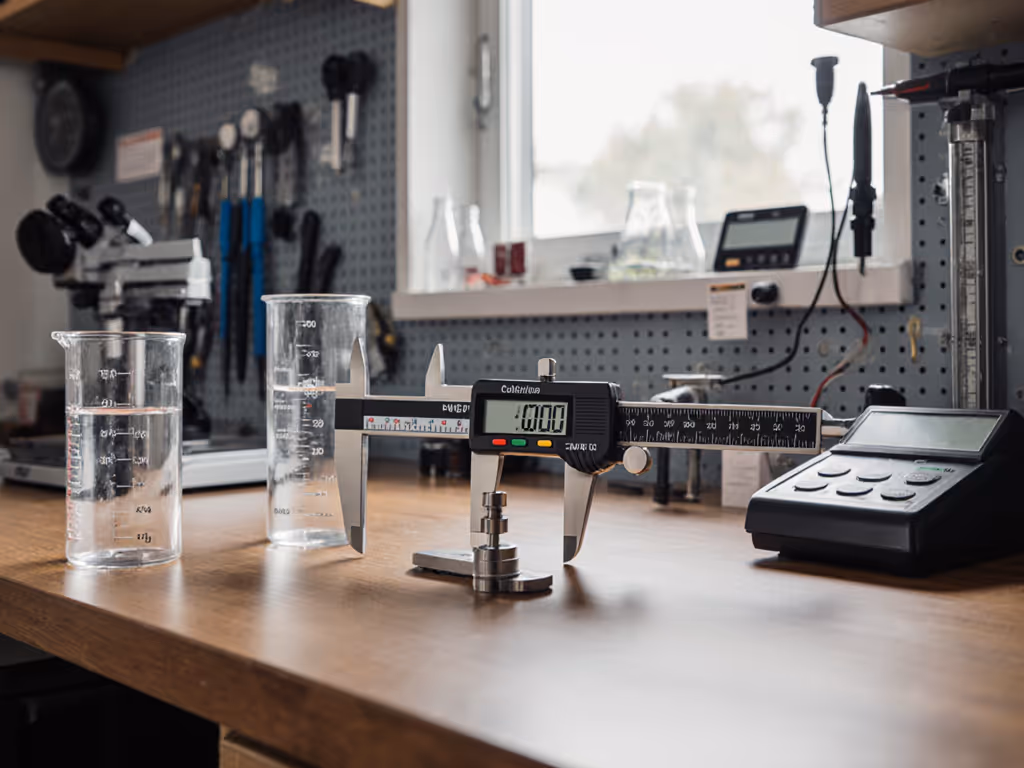
Woodworkers often prioritize tool sharpness over measurement rigor, until a dovetail measurement fails at assembly. I recall an audit where a shop's beautifully crafted furniture kept splitting at joints. Their marking gauge techniques were inconsistent, but more critically, they had no records of environmental conditions during layout. Temperature shifts in uncontrolled workshops cause wood movement that affects final dimensions. Document your measurement environment alongside your marks: temperature, humidity, and acclimation time. This creates the foundation for your uncertainty budget.
Think of your marking system as a mini-calibration lab. Each tool in your kit has an uncertainty contribution:
- Steel rule: ±0.002" over 12"
- Marking knife: ±0.005" line width variation
- Square: ±0.001" over 6" blade
Document these values in a simple spreadsheet. When you understand your total uncertainty (typically the root-sum-square of individual uncertainties), you can determine if your system meets the 4:1 test accuracy ratio required for your tolerance. For 1/32" dovetail tolerances, your layout system uncertainty should be ≤1/128".
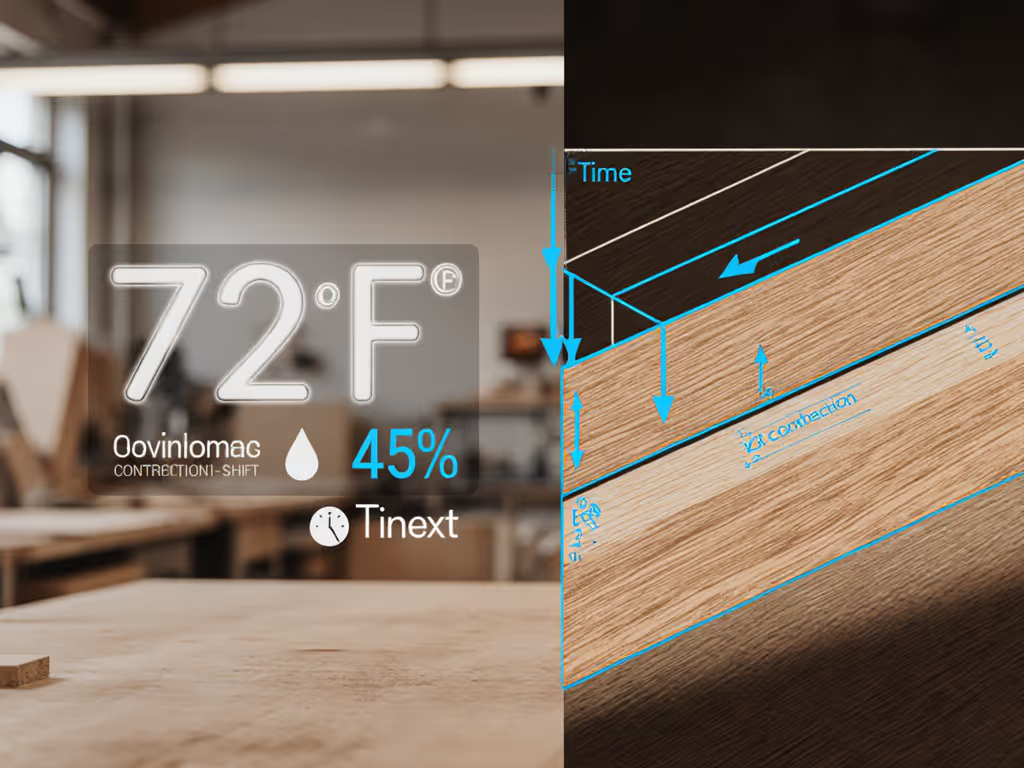
How does environmental control affect precision marking?
Your workshop's environment isn't just comfort, it's part of your measurement uncertainty. I once documented a 0.015" variation in layout lines when temperature shifted from 65°F to 85°F with 30% humidity change. For high-precision woodworking, control these environmental factors:
- Temperature stability: ±2°F variation maximum
- Humidity: 35-45% RH for dimensionally stable wood
- Surface stability: Use granite or steel tables instead of wood that moves
Show your chain of traceability for environmental monitoring. When an auditor asked for the thermometer behind our CMM room logs, producing the full traceability chain transformed their approach. Your workshop thermometer should connect to NIST standards through documented calibration. Record environmental conditions with each critical layout task (just as you would for metrology lab work).
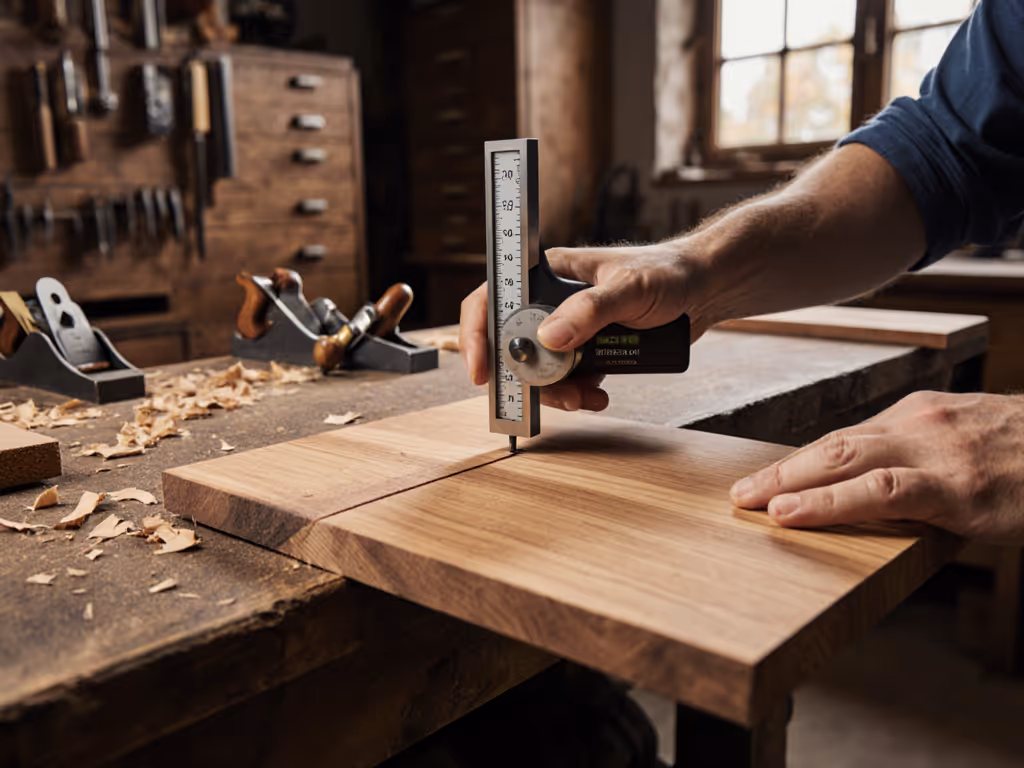
What's the relationship between marking gauge techniques and measurement uncertainty?
Marking gauge techniques directly impact your measurement repeatability. A poorly set gauge introduces cosine error equivalent to 0.008" over 1" depth. To minimize uncertainty:
- Square your gauge fence to the beam (verify with a surface plate)
- Set the pin/scribe using a calibrated setting block
- Apply consistent pressure (too much causes deflection)
- Mark in one smooth motion (no backtracking)

Woodworking Ruler, Neitra 3PCS (6/8/12 Inches) Metal Pocket Rule
Precision woodworking ruler set with versatile angle stops for accurate marking.
$20.09
Adjustable Stop Angles30° & 45°
Adjustable Stop Angles30° & 45°
Pros
Rugged aluminum alloy construction for durability.
Laser-engraved scales (imperial/metric) are clear, precise, and won't fade.
Cons
Some users find scale legibility challenging despite laser engraving.
Requires tightening both thumbscrews for consistent slide stop stability.
The stop block provides repeatable measurements, a critical feature for consistent woodworking accuracy.
The stop block provides repeatable measurements, a critical feature for consistent woodworking accuracy.
This Neitra pocket ruler system exemplifies the right approach, its laser-engraved scales and stable slide mechanism reduce parallax and positioning errors. But even the best building layout tools require documented technique. Create a simple checklist for each marking operation:
- Environmental conditions recorded
- Tool verified against reference standard
- Surface clean and stable
- Consistent pressure applied
- Single-direction marking motion
How should dovetail measurement be approached for reliable results?
Dovetail measurement presents unique challenges, compound angles magnify small layout errors. Traditional methods using trial-and-error fitting constitute measurement chaos. Instead, establish a traceable system:
- Measure pin width with calibrated digital calipers (traceable to NMI standard)
- Calculate theoretical tail width using geometry
- Verify with a go/no-go gauge made to your calculated dimensions
- Document the entire process with environmental conditions
This approach transforms dovetail layout from artisanal guesswork to a controlled process. Your uncertainty budget should include jaw parallelism of your calipers, thermal expansion of the workpiece, and operator repeatability. When auditors see documented dovetail measurement procedures, not just finished joints, they recognize true quality control.
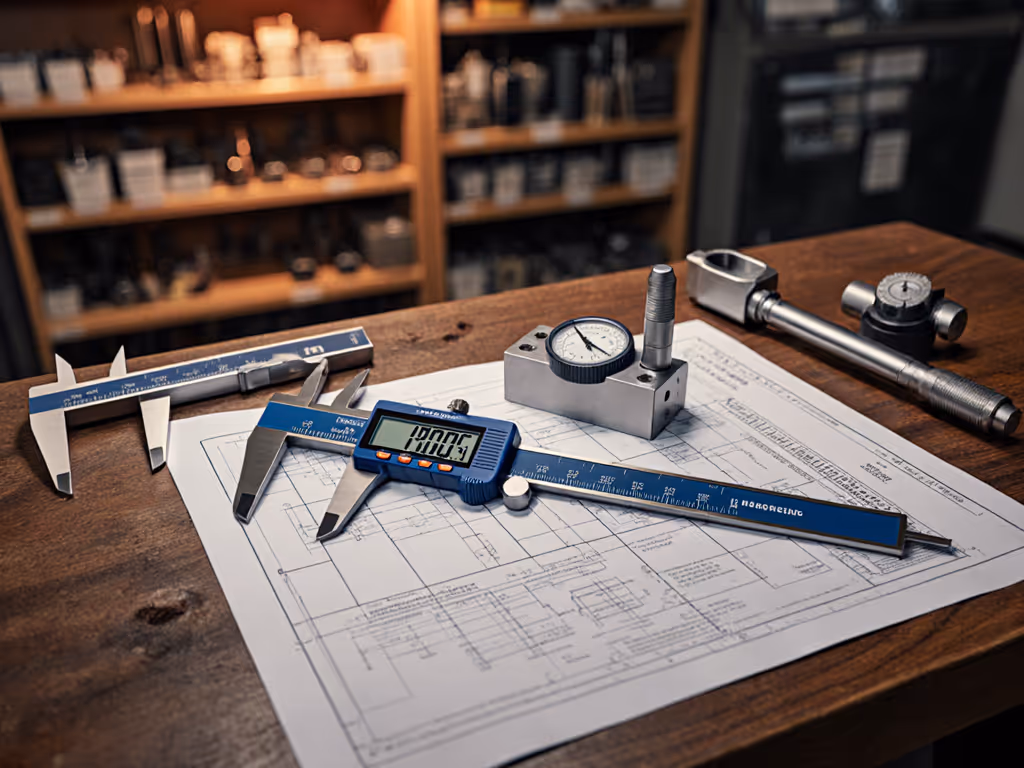
How can building layout tools create traceable measurement chains?
Every marking tool in your kit should have its own traceability chain. Unfortunately, most woodworkers treat layout tools as disposable: "if it's close enough, it's fine." But precision marking requires traceability from your tape measure to national standards. Here's a proper chain:
Tape measure → Reference steel rule (calibrated) → Gauge block set → NMI standard
Without this documented chain, your "accurate" layout becomes audit risk. I've seen shops fail ISO 9001 audits because their tape measures had no calibration records. For high-precision woodworking, treat your layout tools with the same rigor as inspection equipment. Calibrate your primary reference rule annually against a higher-level standard, and use it to verify secondary tools. For step-by-step procedures, follow our home calibration guide.
Consider a tool like the Starrett protractor not just for its precision, but for its documented metrology pedigree. When you can show the calibration certificate linking it to NMI standards, you transform a simple angle measurement into an audit-ready process.
What documentation practices are essential for audit-ready woodworking?
Documentation separates hobbyists from professionals. Create these records for each critical layout process:
- Tool calibration logs: Dates, standards used, measured deviations
- Environmental logs: Temperature, humidity during layout
- Uncertainty budgets: Documented calculation of total measurement uncertainty
- Technique verification: Photos or sketches showing proper use
- Reference standards: Documentation of your master layout tools
During an aerospace audit last year, a client avoided a major nonconformance because they could produce the complete traceability chain for their layout tools (including the thermometer in their workshop). Show your chain of traceability for every measurement that affects final product dimensions.
Building Your Precision Marking System
True precision marking isn't about expensive tools, it's about documented processes that stand up under scrutiny. Start with these three steps today:
- Identify critical dimensions that require traceable measurement
- Create uncertainty budgets for your layout processes
- Document environmental conditions during critical layout tasks
Remember: traceability and uncertainty transparency create trust. When you measure with discipline, your marks become reliable indicators rather than points of failure. The best woodworking isn't just visible in the finished piece, it is embedded in every documented measurement along the way.
Further Exploration:
For those ready to deepen their measurement rigor, I recommend documenting your entire layout process with focus on environmental factors. Start with a simple log of temperature and humidity during critical layout tasks, then expand to include tool verification records. The journey to audit-ready precision begins with your next measurement. Make it traceable.
Related Articles

Aerospace Metrology Starter Kit: AS9100 & FAA Compliant Tools
Build a cost-effective, AS9100- and FAA-compliant metrology toolkit that survives audits and real shop-floor conditions by prioritizing calibration traceability, ruggedness, and service coverage. Get vetted kit recommendations and a practical action plan to reduce scrap, pass MSA/GR&R, and avoid AOG downtime.
Engineering Gift Guide: Audit-Proof Measurement Tools
Use a practical framework to choose measurement tools that create audit-ready evidence by closing traceability, uncertainty, and documentation gaps. Compare three vetted options with built-in data capture and follow integration steps to make proof part of everyday measurement.
Audit-Proof Measuring Tool Retailers: Verified List
Audit-proof measurement tools by sourcing from retailers that provide verifiable calibration traceability, authenticity checks, rugged warranties, and glove-ready usability. Use the vetted retailer list, 5-point vetting checklist, cost-per-measurement math, and pre-purchase verification steps to prevent certification risks and shop-floor downtime.

Best Laser Distance Measures: Construction Durability Tested
Select laser distance measures that minimize downtime using field-tested rankings focused on durability, service coverage, and total cost of ownership from 12 months on 37 job sites. Then apply the TCO checklist to plan calibration, standardize fleets, and avoid audit surprises.